
Nail care / Published 2026-11-21
How to Make Your Manicure Last Longer
Learn how to make your manicure last longer with better prep, thinner coats, top-coat habits and daily care — for regular polish, gel and press-ons.
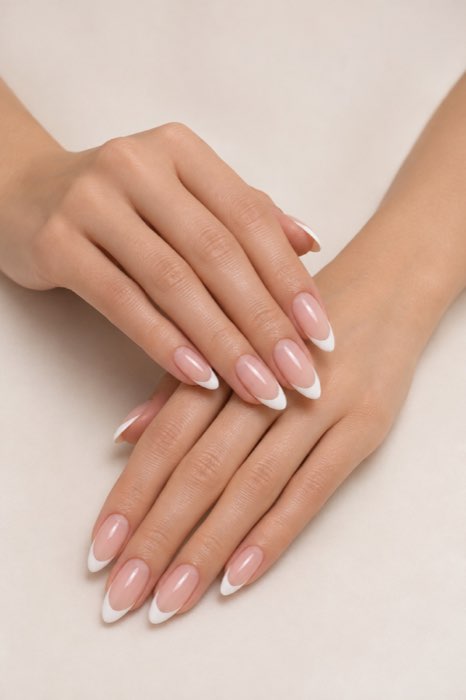 Original Nail Art Inspo image
A manicure rarely fails all at once — it chips at the tip, lifts at the cuticle, or fades at the edges, usually because of something small that happened before the color ever went on. How long a manicure lasts depends less on the brand of polish than on preparation, application, and what your hands do afterwards.
This guide walks through the full routine — prep, base coat, thin color coats, top coat, drying, and daily habits — for regular polish, gel, and press-ons. Nothing here promises a fixed number of days: wear time varies by product, nail type, and routine. But each step below removes one common reason manicures fail early. For the wider routine, see our nail-care guide.
At a glance: what makes a manicure last
| Step | Do this | Why it helps |
|---|---|---|
| Prep | Clean, dry, oil-free nails | Polish grips a clean surface, not a slippery one |
| Base coat | One thin coat, edge to edge | Seals the nail and gives color something to hold |
| Color | Two or three thin coats | Thin layers dry fully; thick coats stay soft and dent |
| Top coat | Seal the free edge | Protects the tip, where chips start |
| Drying | Wait between coats | Rushing traps solvent and softens the finish |
| Daily care | Gloves and cuticle oil | Water, chemicals and dry skin all shorten wear |
| Removal | Remove patiently, never peel | Peeling strips nail layers and weakens the next manicure |
Start with clean, dry, oil-free nails
Polish grips a clean nail plate and slides off an oily one, so preparation decides more of your wear time than the color you choose. Start by removing every trace of old polish, then wash your hands with soap and water and let your nails dry fully — nails absorb water and swell slightly, and polish applied to a swollen nail lifts as the nail dries back to size.
Before the base coat, wipe each nail with polish remover or rubbing alcohol on a lint-free pad to remove natural oils and residue. Skip hand cream and cuticle oil until after the manicure is finished: moisturizer under polish is one of the most common reasons a fresh manicure peels within a day.
If your nails are naturally oily, this step matters even more. A dehydrator or a second alcohol wipe can help, but do not over-dry the surrounding skin — the goal is a clean nail plate, not stripped cuticles.
Context image
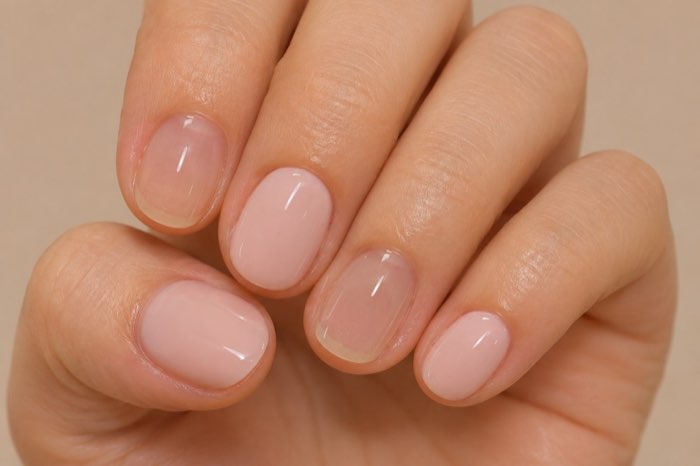
Push cuticles back — don't cut them
Polish that touches cuticle skin lifts as the skin moves, so a clean cuticle line is worth two minutes of your time. After a shower, when the skin is soft, gently push the cuticle back with a wooden stick or a soft pusher — never force it, and never cut living cuticle tissue.
Cutting cuticles does not make polish last longer. It opens the seal that protects the nail matrix, invites infection, and leaves ragged skin that polish catches on. If you use a cuticle remover, choose a gentle one, follow the label, and rinse it off fully before polishing.
Context image
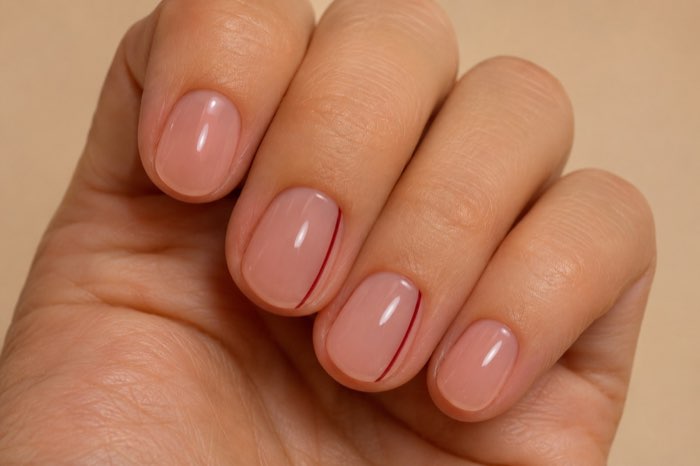
File in one direction and smooth the free edge
A rough free edge is a snag waiting to happen: every catch pulls at the polish and starts a chip. File in one direction with a fine-grit file, moving from the side toward the center, and finish by smoothing the edge itself so it feels even to the touch.
Sawing back and forth frays the nail tip and weakens it, which shortens wear even under gel. Match the length to what your hands actually do — nails you can maintain always outlast nails you have to baby. A shorter, well-shaped nail with a smooth edge beats a long nail that catches on everything.
Context image
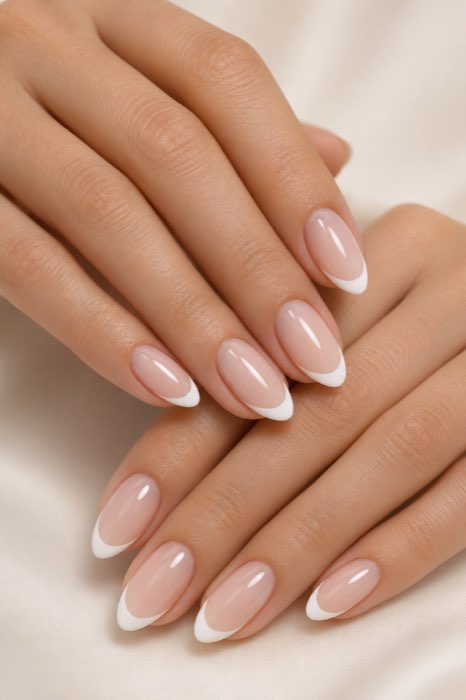
Base coat is not optional
Base coat does two jobs that color cannot: it seals the nail plate against staining and gives the color something to grip. One thin coat, edge to edge, is enough — a thick base coat stays soft and defeats its own purpose.
Choose a base coat that matches your system: a regular base for lacquer, the system's base for gel. Ridge-filling bases can smooth an uneven nail surface, which helps sheer colors look even and wear longer. Let the base coat dry — or cure, for gel — before the first color coat.
Context image
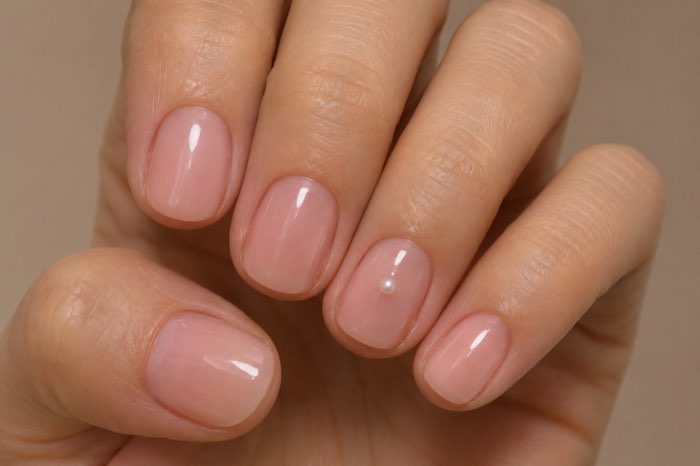
Thin coats beat one thick coat
The single biggest application mistake is a thick coat. Thick polish looks finished faster, but the surface dries while the layer underneath stays soft — it dents, smudges, and peels from the tip within a day or two.
Two or three thin coats always outlast one thick one. Wipe most of the polish off the brush, paint a thin layer, and wait for it to lose its wet shine before the next coat. Sheer and jelly colors especially reward patience: they build evenly and show fewer brush marks in thin layers.
A good test is the brush: if polish drips off in a thick blob, wipe it on the inside of the bottle neck until the brush carries a thin, even layer. Two thin coats with a minute between them will always look smoother — and last longer — than one thick coat that never quite dries.
Cap the free edge
Chips almost always start at the tip, where the polish edge meets daily wear. Capping — running the brush lightly along the very edge of the nail tip — seals that edge with base coat, color, and top coat, so water and friction cannot work underneath.
Cap with every layer, not just the top coat, and keep the stroke light: a heavy blob on the tip looks messy and peels as a sheet. On very short nails the edge is small, but capping still helps — it is the cheapest extra day of wear in this whole guide.
Top coat — and reapply it
Top coat is the shield over your color: it adds gloss, evens out sheer shades, and takes the scratches that would otherwise reach the pigment. Apply it while the last color coat is dry to the touch, seal the free edge, and let it dry fully before using your hands.
One top coat is not a one-time job. Reapplying a thin top coat every two or three days refreshes the seal, smooths micro-scratches, and can add several days to a lacquer manicure. Keep the bottle within reach — this is the easiest maintenance habit in the guide, and the one most people skip.
Let every coat dry properly
Rushing is the enemy of wear time. Each coat needs to lose its wet shine before the next one goes on, and the finished manicure needs real drying time before it meets water, heat, or pressure. Polish that feels dry on top can still be soft underneath.
Avoid hot water, showers, and washing up for at least an hour after polishing — ideally longer. Quick-dry drops and sprays help the surface set, but they do not replace drying time for the layers below. If you can, paint your nails in the evening and let them cure overnight.
Context image
Gel lasts longer — with its own rules
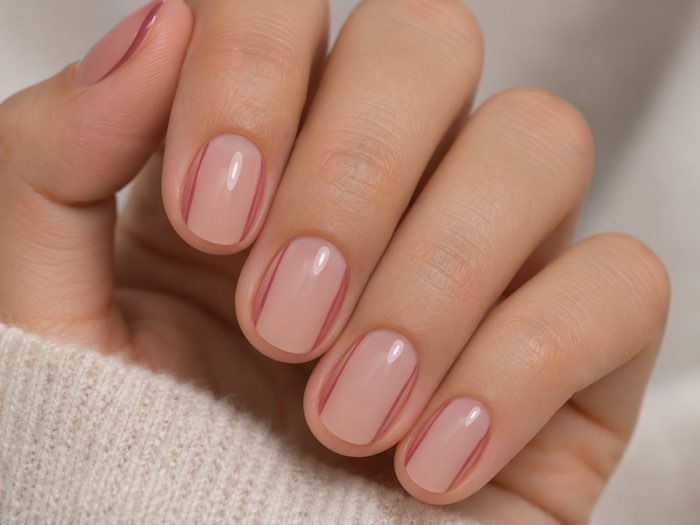
Gel polish earns its reputation: properly applied and cured, it typically wears for two weeks or more without chipping. The trade is a stricter routine — a lamp, system-matched base and top coats, and curing exactly as the label directs.
Under-cured gel is worse than no gel at all: it lifts, peels, and can sensitize the skin. Cure each coat for the full recommended time, keep uncured gel off the skin, and never use a lamp that is weaker than the system calls for. Our beginner gel kit guide and UV/LED lamp guide cover the setup, and the gel removal guide covers the soak-off routine that protects the nail underneath.
Context image
Press-ons last when the fit is right
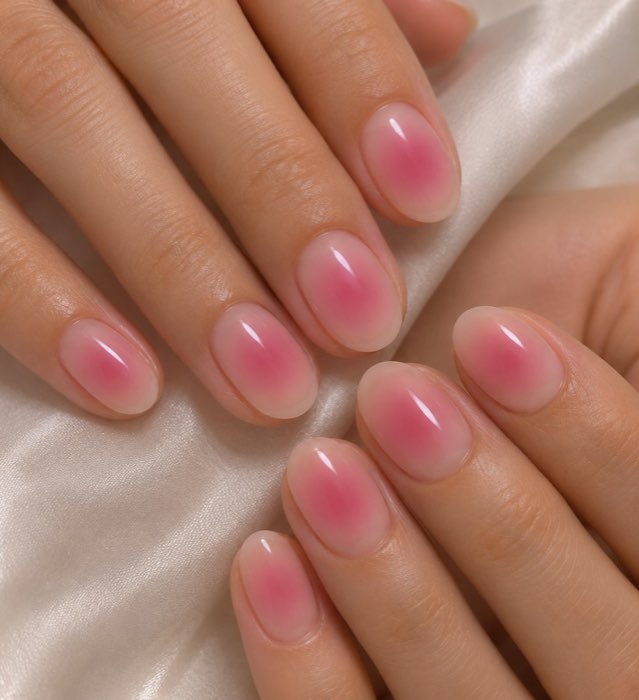
Press-on nails fail at the edges: a tip that is too wide lifts at the sidewalls, and one that is too narrow pops off under pressure. Size each nail so the tip covers the natural nail edge to edge without touching skin, and prep the natural nail exactly as you would for polish — clean, dry, and lightly buffed.
Adhesive choice sets the wear window. Glue generally holds longer than adhesive tabs, but it needs careful removal; tabs are gentler and easier to remove, with shorter wear. See our press-on kit guide for glue and tab options, and the press-on removal guide for taking a set off without damaging the nail.
Protect your hands all week
Water is the quiet enemy of a manicure. Nails absorb water, swell, and flex — and each cycle loosens polish at the edges. Wear gloves for washing up, cleaning, and any long wet chore, and keep showers as short as your routine allows.
Your nails are not tools. Opening cans, scraping labels, and picking at things with your fingertips all lever polish off the tip. Keep a file in your bag and smooth a snag the moment you feel it, before it becomes a chip.
Context image
Moisturize cuticles every day
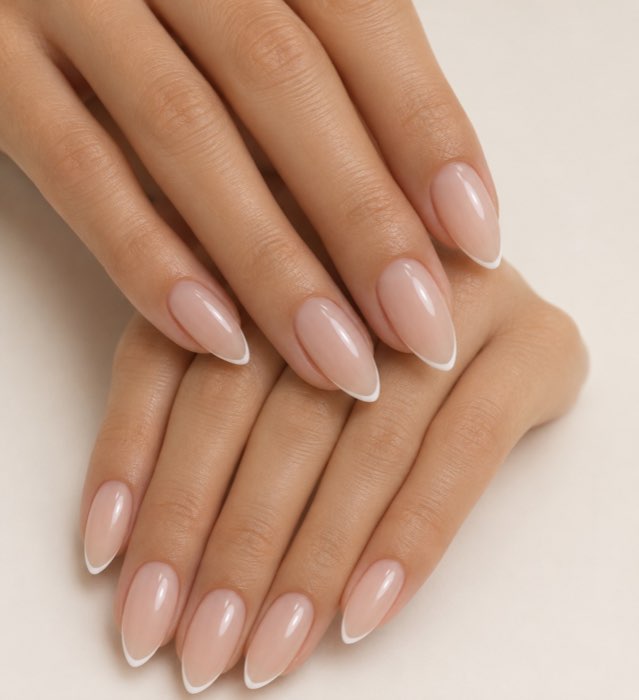
Flexible nails chip less than brittle ones, and the skin around the nail matters as much as the nail itself. A daily drop of cuticle oil or balm keeps the surrounding skin supple, reduces hangnails, and stops dry cuticles from pulling polish away at the base.
Apply oil after the manicure is fully dry — never before polishing — and reapply through the day, especially after washing your hands. It will not soften cured polish, and it is the simplest daily habit for a longer-lasting manicure.
Context image
Fix a chip early — don't peel it
A small chip is a repair, not a reason to start over. Smooth the chipped edge gently with a fine file, dab a thin layer of the same color over the gap, let it dry, and seal with top coat. A two-minute repair can buy several more days.
What you must not do is peel. Peeling polish — or gel — strips layers off the nail plate, leaving a rough, weakened surface that the next manicure cannot grip. If a manicure is lifting badly, remove it patiently with remover rather than pulling it off. See our polish removal guide for the careful route.
Know when to remove and start over
Every manicure has a natural end. For gel, two to three weeks is the usual window; beyond that, lifting lets moisture under the product, and removal gets harder. For lacquer, widespread chipping or a dull, scratched top coat is the signal.
Remove on schedule, even if the manicure still looks acceptable — the next manicure lasts longer on a healthy, intact nail plate than on one that has been carrying lifted product. After removal, give nails a short rest with oil and moisturizer before the next application.
What a longer manicure can't promise
No product or routine guarantees a fixed number of days. Nail type, water exposure, work, and even the weather change how long a manicure lasts — a nurse who washes hands fifty times a day will not get the same wear as someone who types all day. The steps in this guide remove the avoidable failures; the rest is your routine.
Watch for warning signs rather than pushing through them: pain, swelling, redness, persistent lifting, or a green tinge under the product all deserve a pause and appropriate professional advice. These are general care notes, not medical guidance — when in doubt, ask a professional and let the nail recover before reapplying.
Frequently asked questions
How long should a manicure last?
A regular lacquer manicure typically lasts three to seven days; a gel manicure typically lasts two to three weeks; press-ons last from a few days with tabs to around two weeks with glue. Prep, application, and daily habits move those numbers in either direction.
Does base coat really help polish last longer?
Yes. Base coat seals the nail plate, prevents staining, and gives color a surface to grip. Skipping it is one of the fastest ways to lose a manicure early — color applied straight to a bare, oily nail peels sooner.
Why does my polish always chip at the tips?
Chips start at the tip because that is where polish meets the most friction and water. Capping the free edge with base, color, and top coat seals it, and a top-coat refresh every few days keeps the seal intact.
How often should I reapply top coat?
Every two or three days is a good rhythm for lacquer. A thin layer refreshes the seal, smooths micro-scratches, and can add several days of wear. Let it dry fully before using your hands.
Can I make press-on nails last longer?
Yes — fit and prep decide most of it. Size each tip edge to edge, prep the natural nail as you would for polish, and choose glue for longer wear or tabs for easier removal. See our press-on kit guide for the options.
Does cuticle oil help polish last?
Indirectly, yes. Oiled cuticles stay supple instead of drying and pulling polish away at the base, and flexible nails chip less than brittle ones. Apply oil after the manicure is dry, never before polishing.
Is it bad to keep gel on for more than three weeks?
Past three weeks, lifting usually lets moisture under the product, and removal gets harder. Remove gel on schedule and let the nail recover with oil before reapplying — the next manicure lasts longer on a healthy nail plate.
Conclusion
A long-lasting manicure is a chain: clean prep, a thin base coat, thin color coats, a sealed free edge, a fresh top coat, and hands protected through the week. No single step carries the result — but every step removes one reason manicures fail early. Start with the two habits that cost nothing: thinner coats and a top-coat refresh every few days.
Sources and verification
- FDA: Nail care products — U.S. Food & Drug Administration nail-care guidance.
- FDA: Using cosmetics safely — FDA cosmetic safety guidance.
- American Academy of Dermatology: Healthy nail tips — everyday nail-care guidance.
- NHS: Nail problems — when to seek advice.