Nail care / Published 2026-11-11
How to Remove Nail Polish: 20 Careful Steps
A controlled regular-polish removal guide covering ventilation, cotton technique, acetone choices, aftercare, and clear stop signs.
 Original Nail Art Inspo image
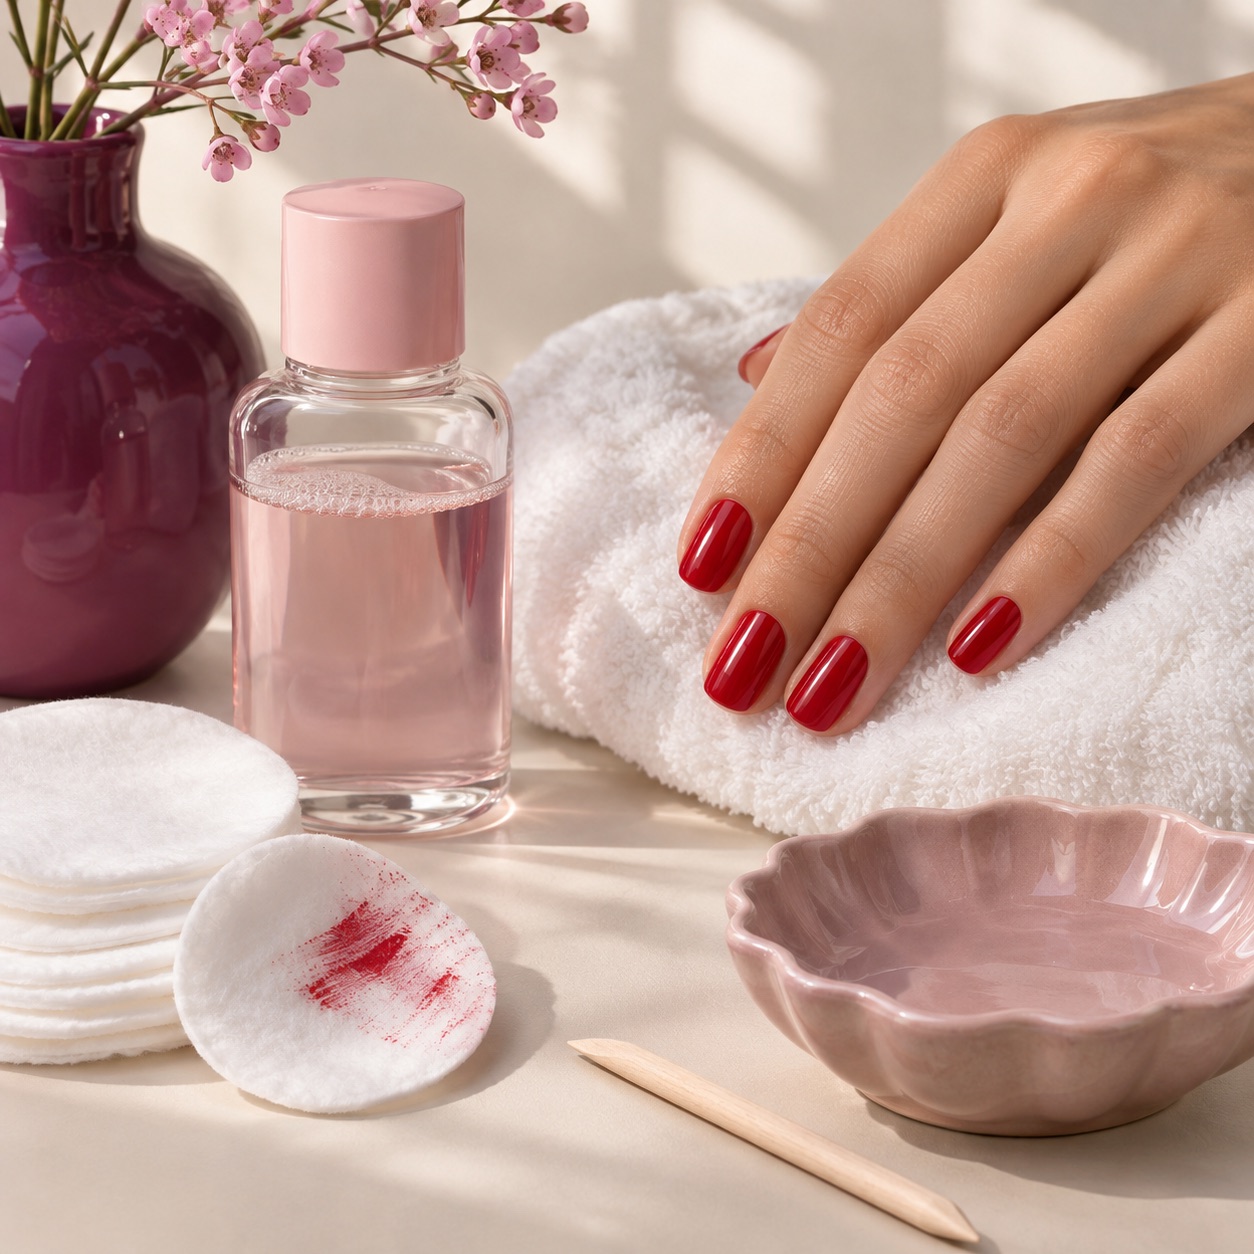
Removing regular nail polish is easiest when you soften the color with a controlled amount of remover, wipe from the base toward the tip, and use fresh cotton as soon as it becomes saturated. You do not need to scrape, peel, or buff the natural nail to chase a stubborn patch. Test one nail first, work in ventilation, and stop if the skin or nail begins to burn, swell, bleed, or develop a new rash.
This guide is for regular lacquer. Gel polish, builder gel, acrylic, and press-on systems need different removal routes, so do not treat a hard or cured layer like ordinary polish.
THE 20 STEPS
How to remove nail polish: 20 careful steps
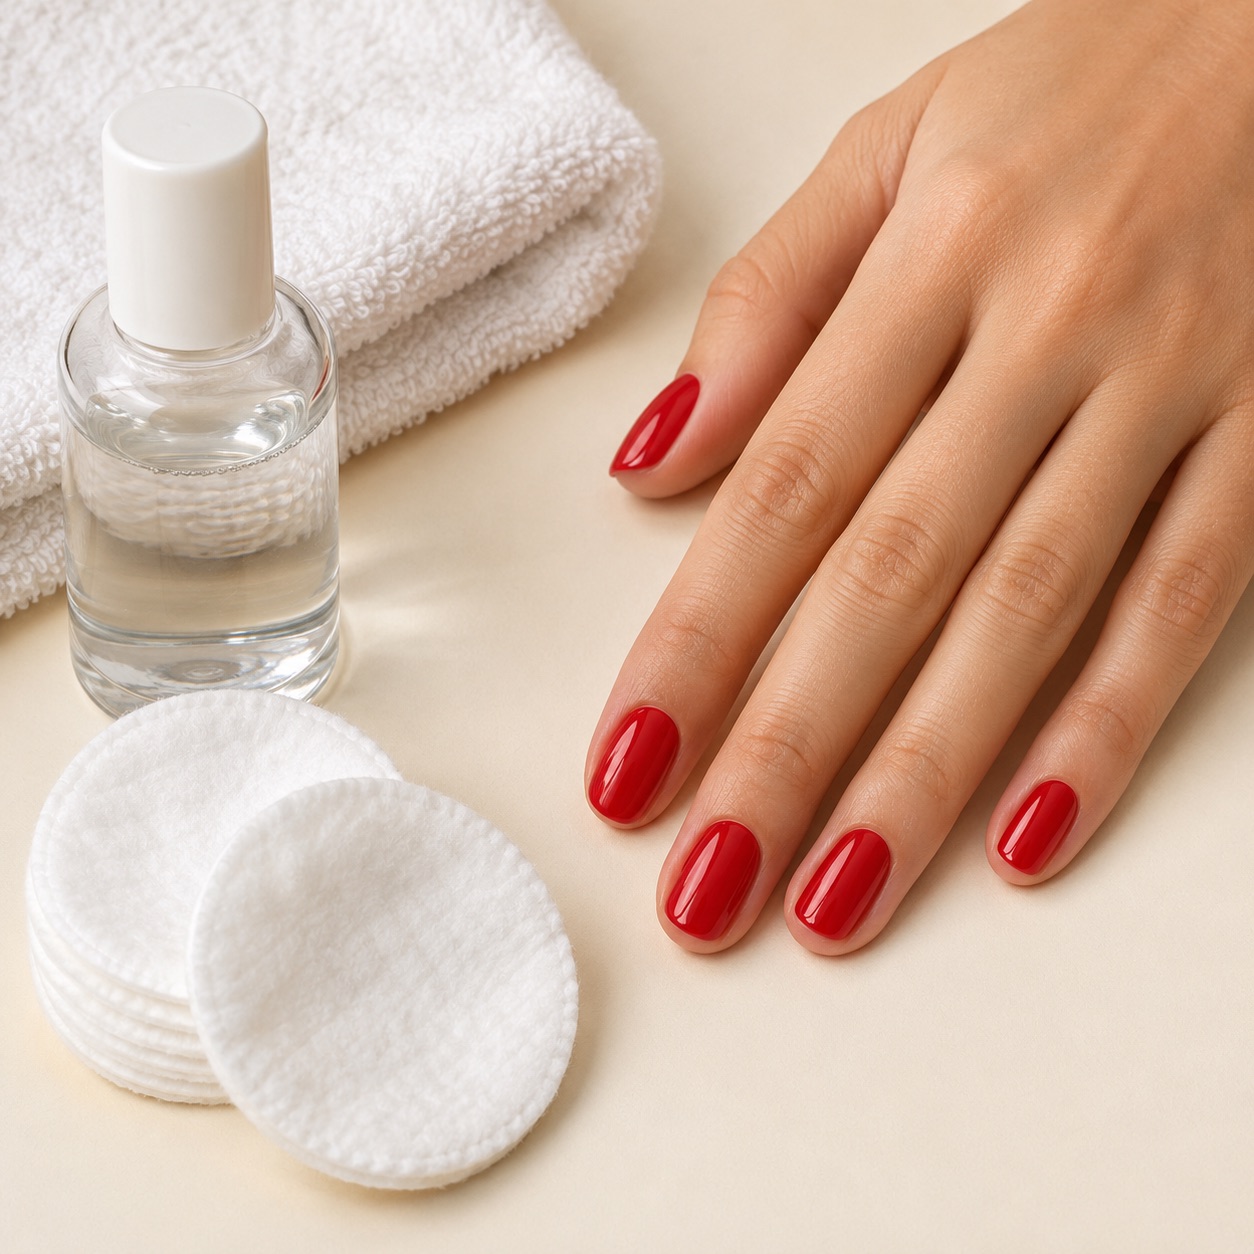
Follow the sequence below. Each step has its own reference image and a practical explanation.
 Original Nail Art Inspo image
01
Set up a ventilated space
Open a window or work near good air circulation before opening remover. Keep the bottle away from candles, flames, heat sources, food, and children. A tidy setup reduces spills and keeps you from rushing the first nail.
 Original Nail Art Inspo image
02
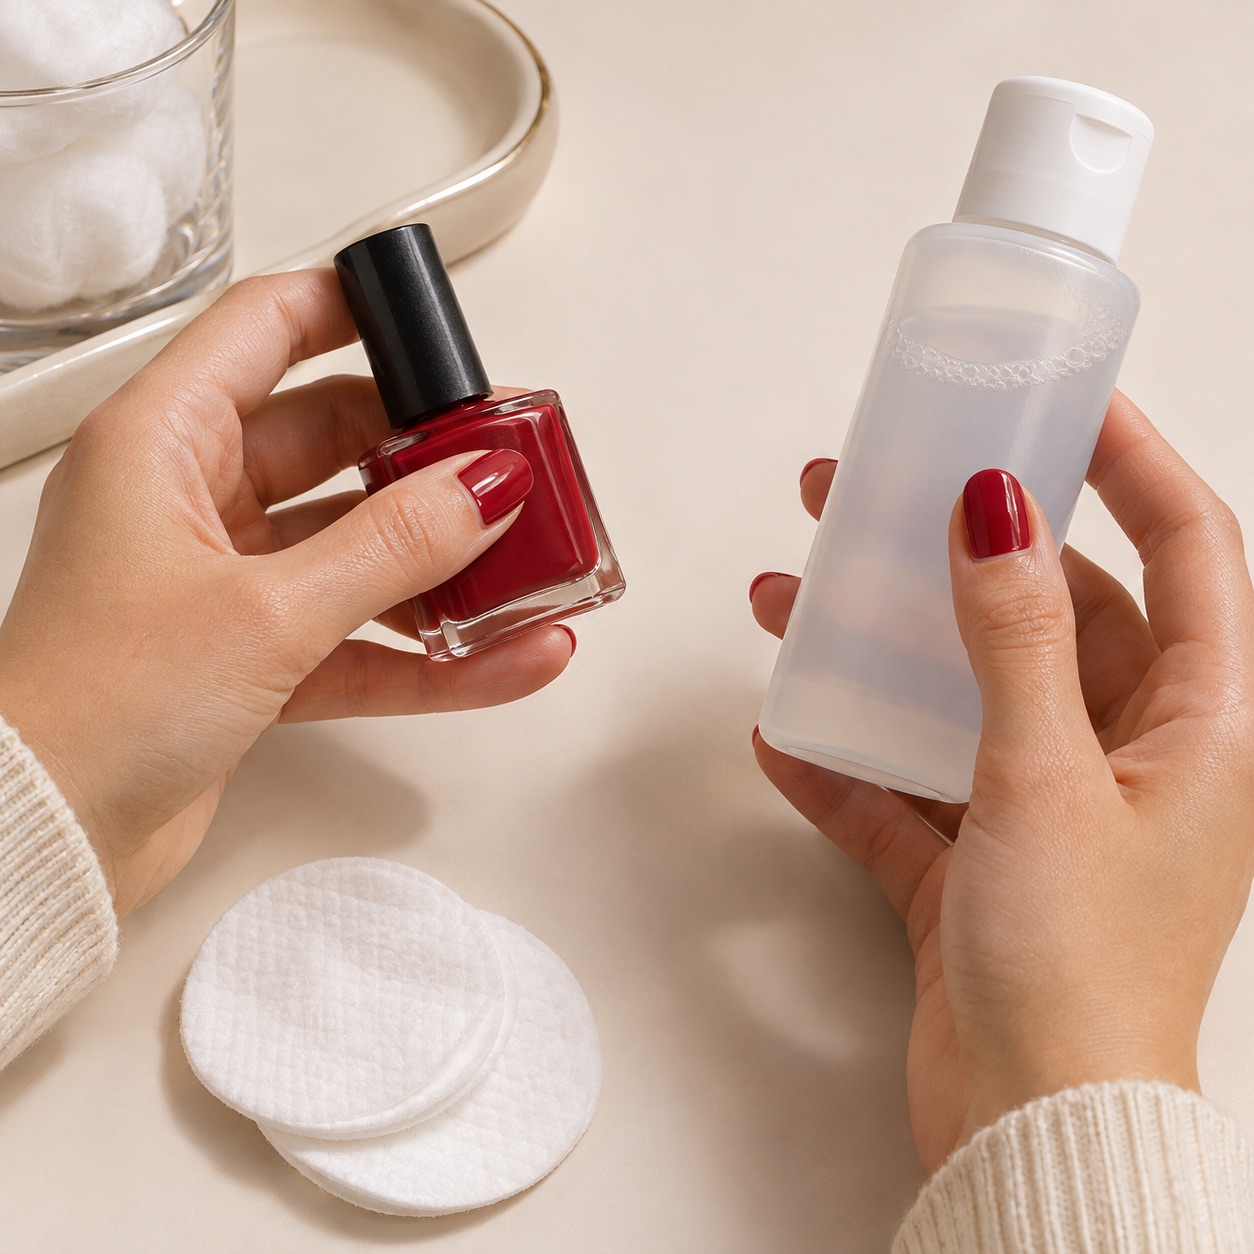
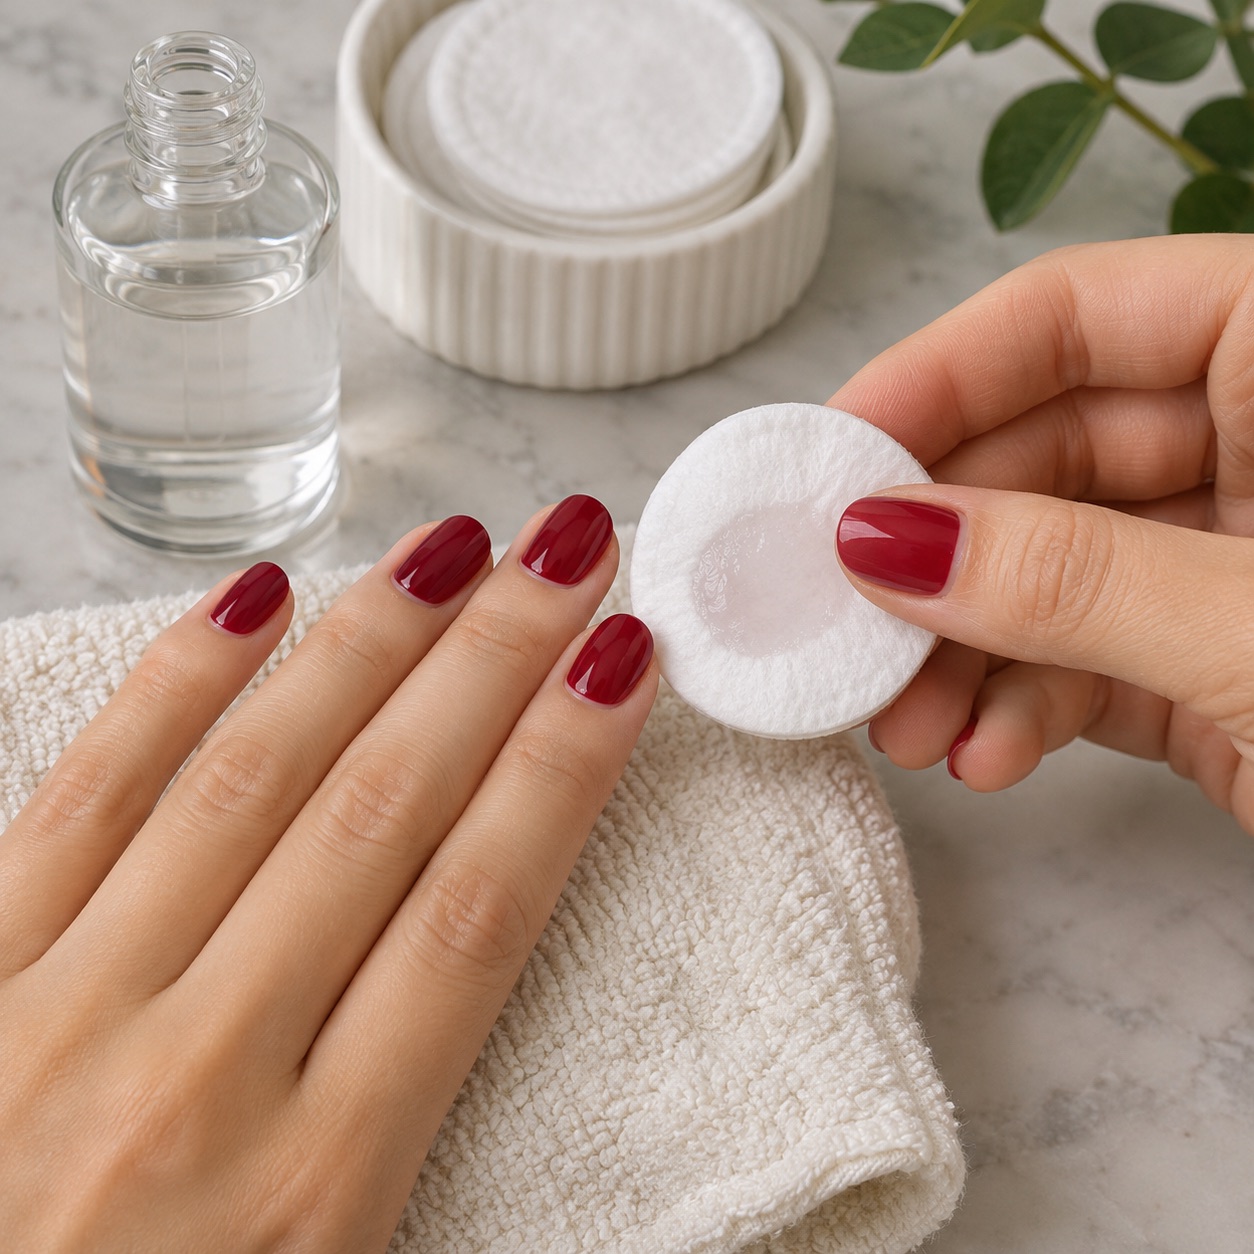
Read the remover label
Check whether the product is acetone, acetone-free, scented, or intended for artificial nails. Follow its label directions. Do not assume a “gentle” name means it is safe to leave on skin or use without ventilation.
 Original Nail Art Inspo image
03
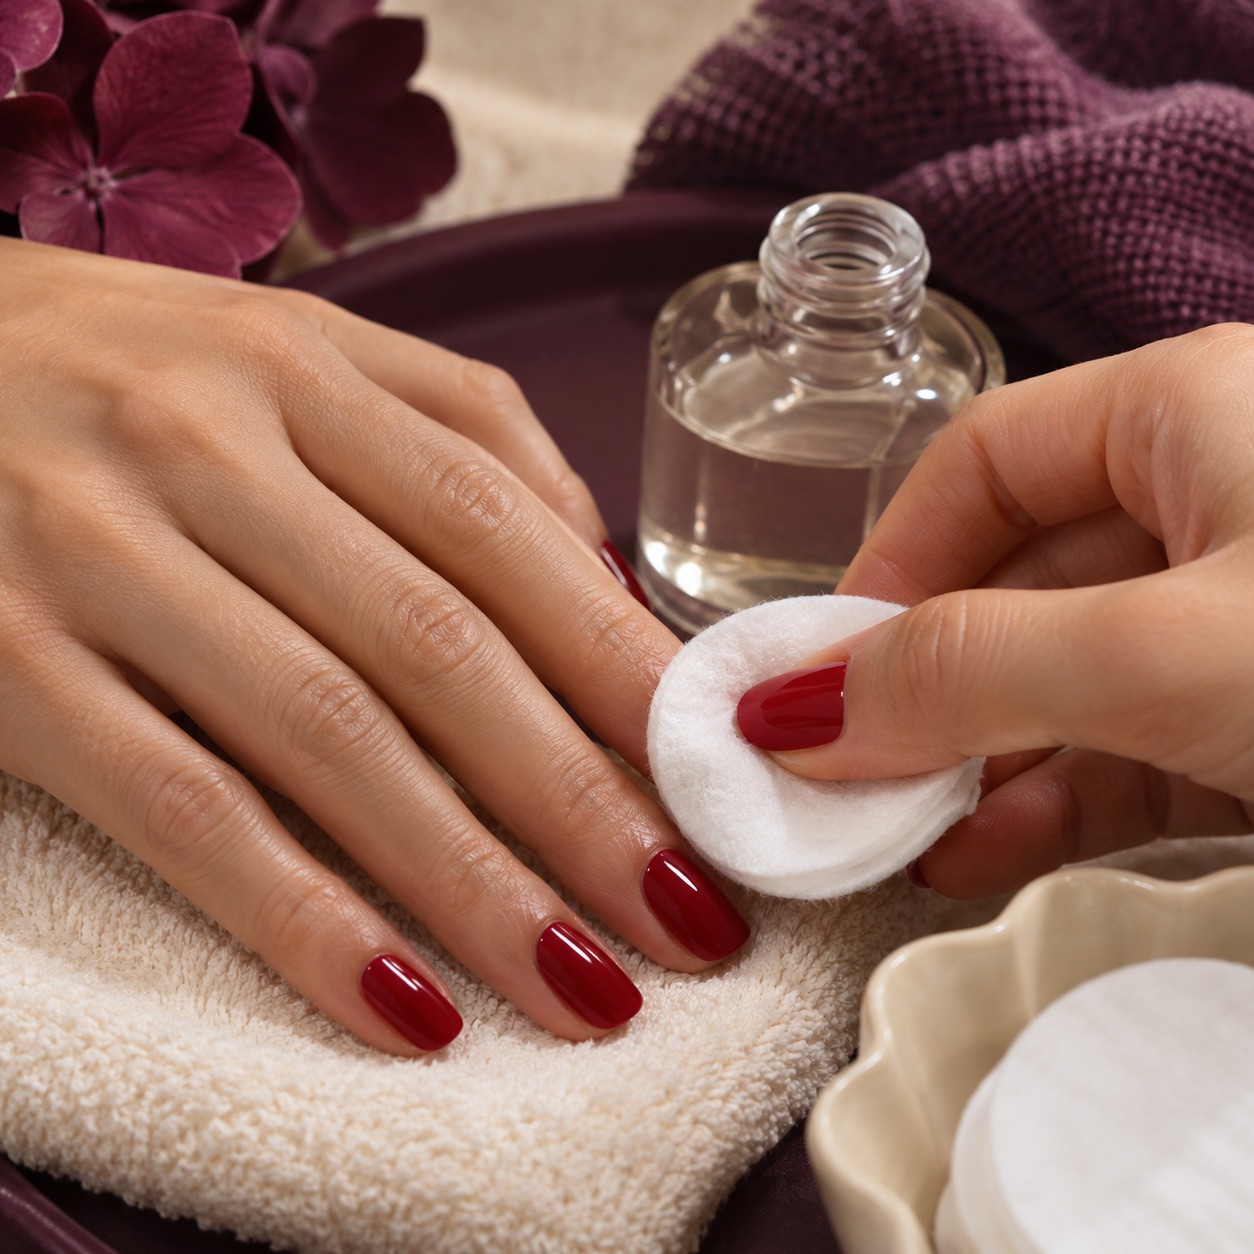
Protect the work surface
Place a washable towel or tray under your hands. Nail-polish remover can mark painted furniture, dissolve some finishes, and transfer color to fabric, so a protected surface is part of the removal method.
 Original Nail Art Inspo image
04
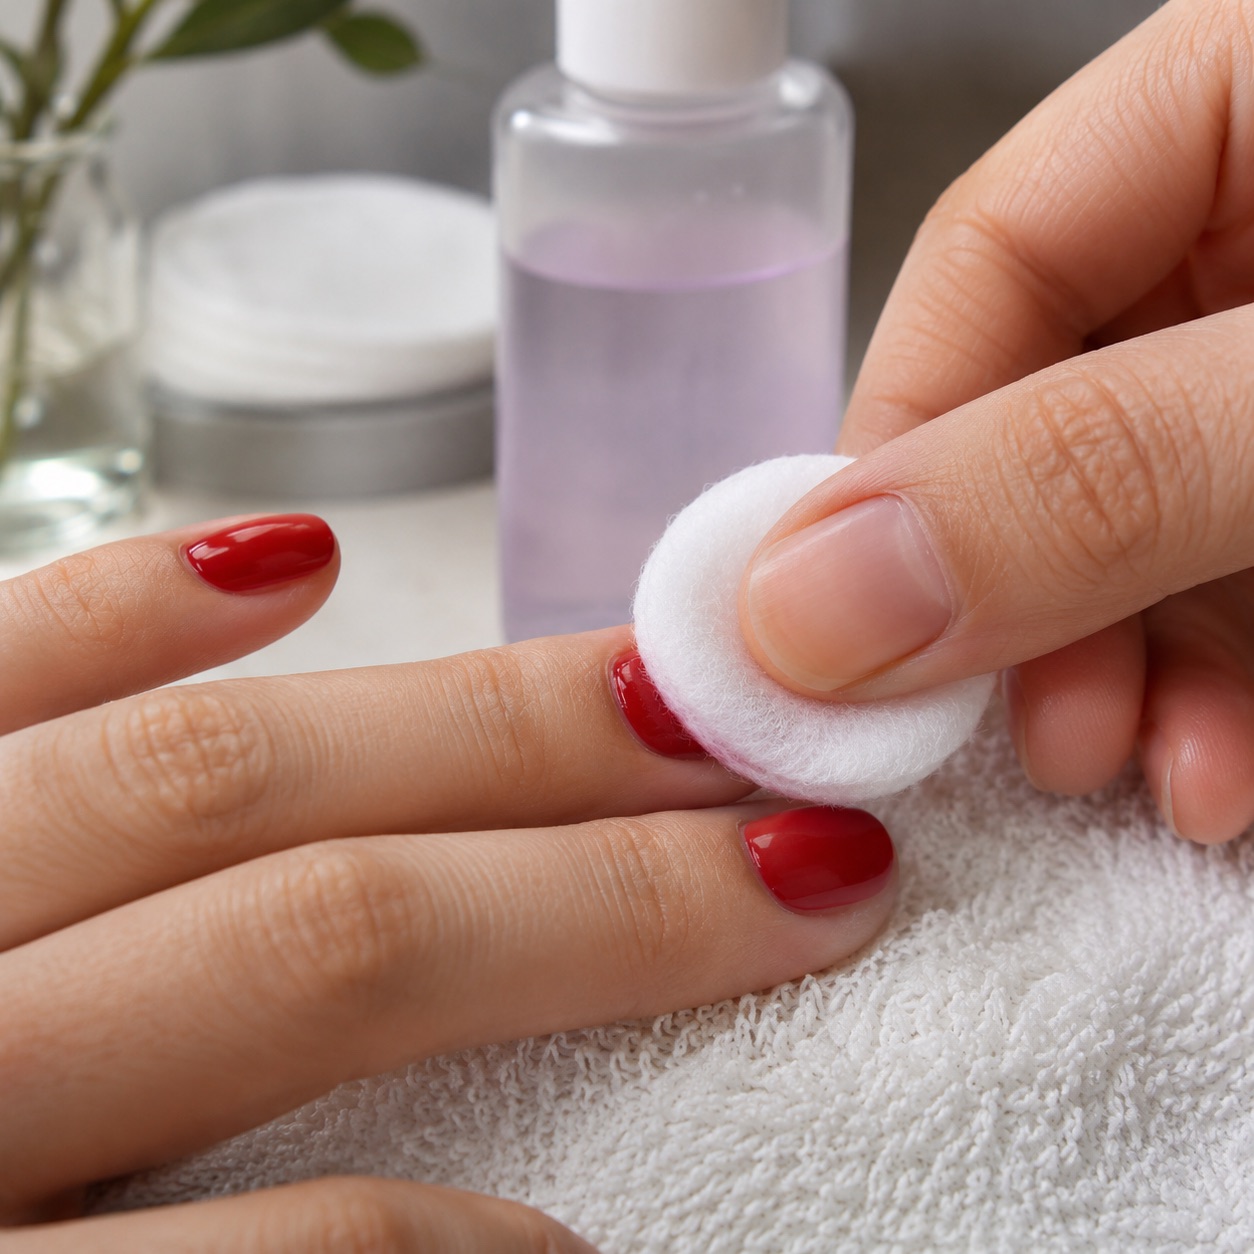
Gather small cotton pieces
Use cotton rounds, lint-free wipes, or small cotton pieces rather than one large wet ball. Pieces close to the nail size keep remover more controlled and reduce unnecessary contact with the surrounding skin.
 Original Nail Art Inspo image
05
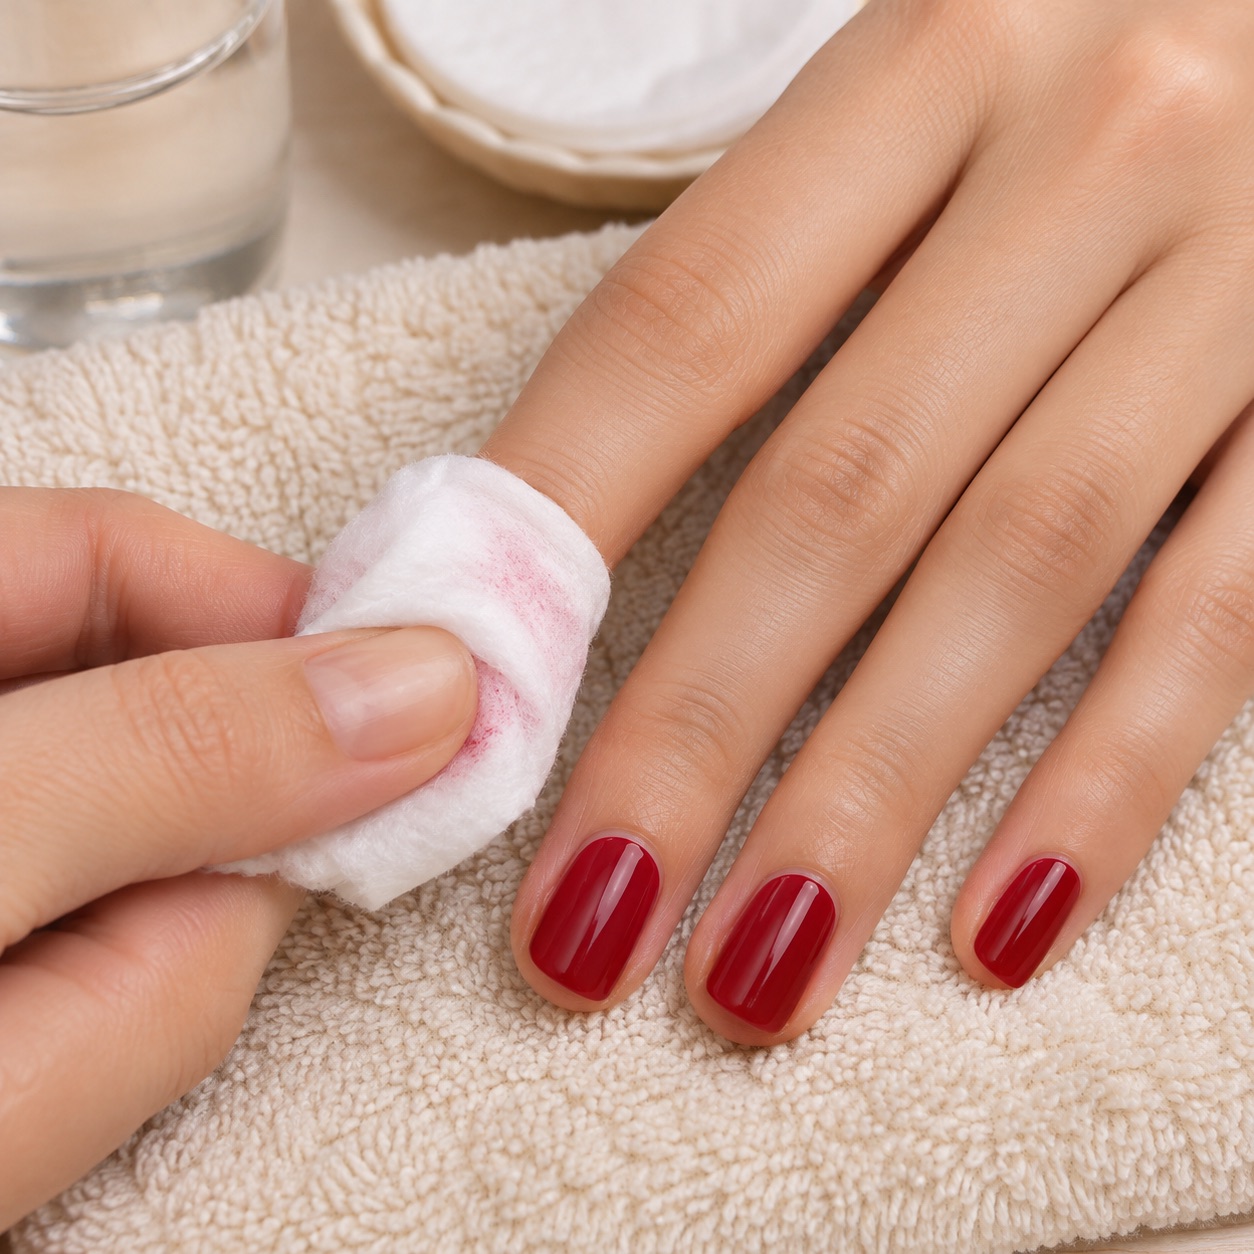
Keep a clean towel nearby
A dry towel catches drips and gives you somewhere to place used cotton. Do not use the same saturated pad on every nail because it can spread dissolved pigment back over the nail plate.
 Original Nail Art Inspo image
06
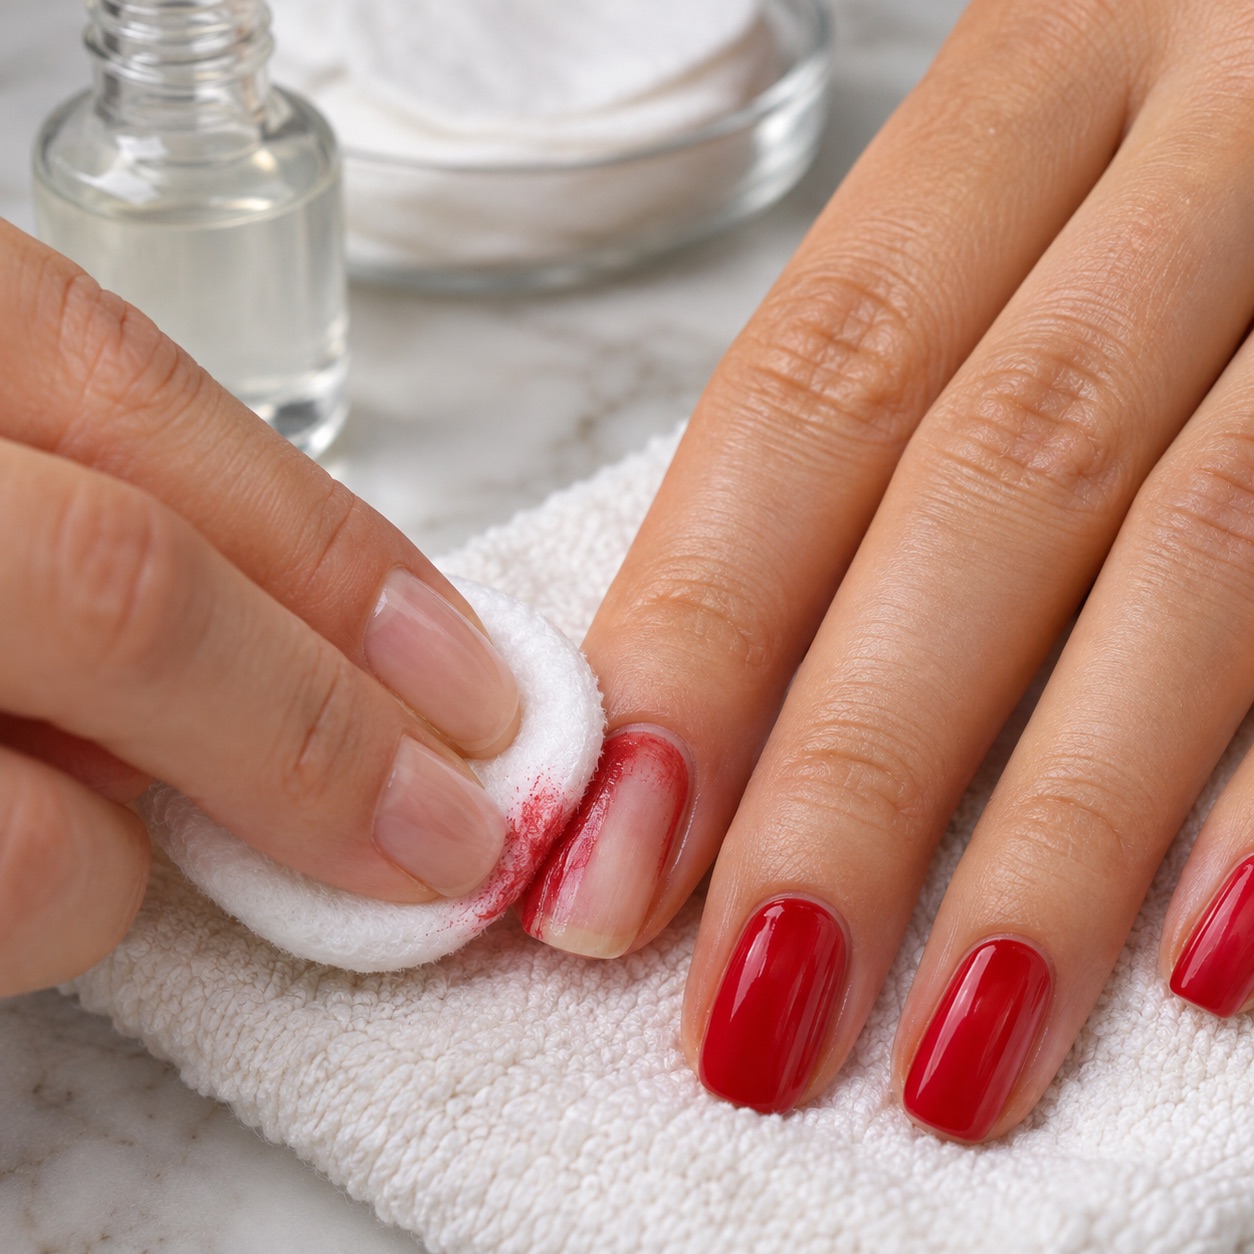
Test one nail first
Before removing the full manicure, test one nail. Notice how quickly the polish softens, whether the remover irritates your skin, and whether the color transfers heavily. Stop and change your plan if there is burning or a rash.
 Original Nail Art Inspo image
07
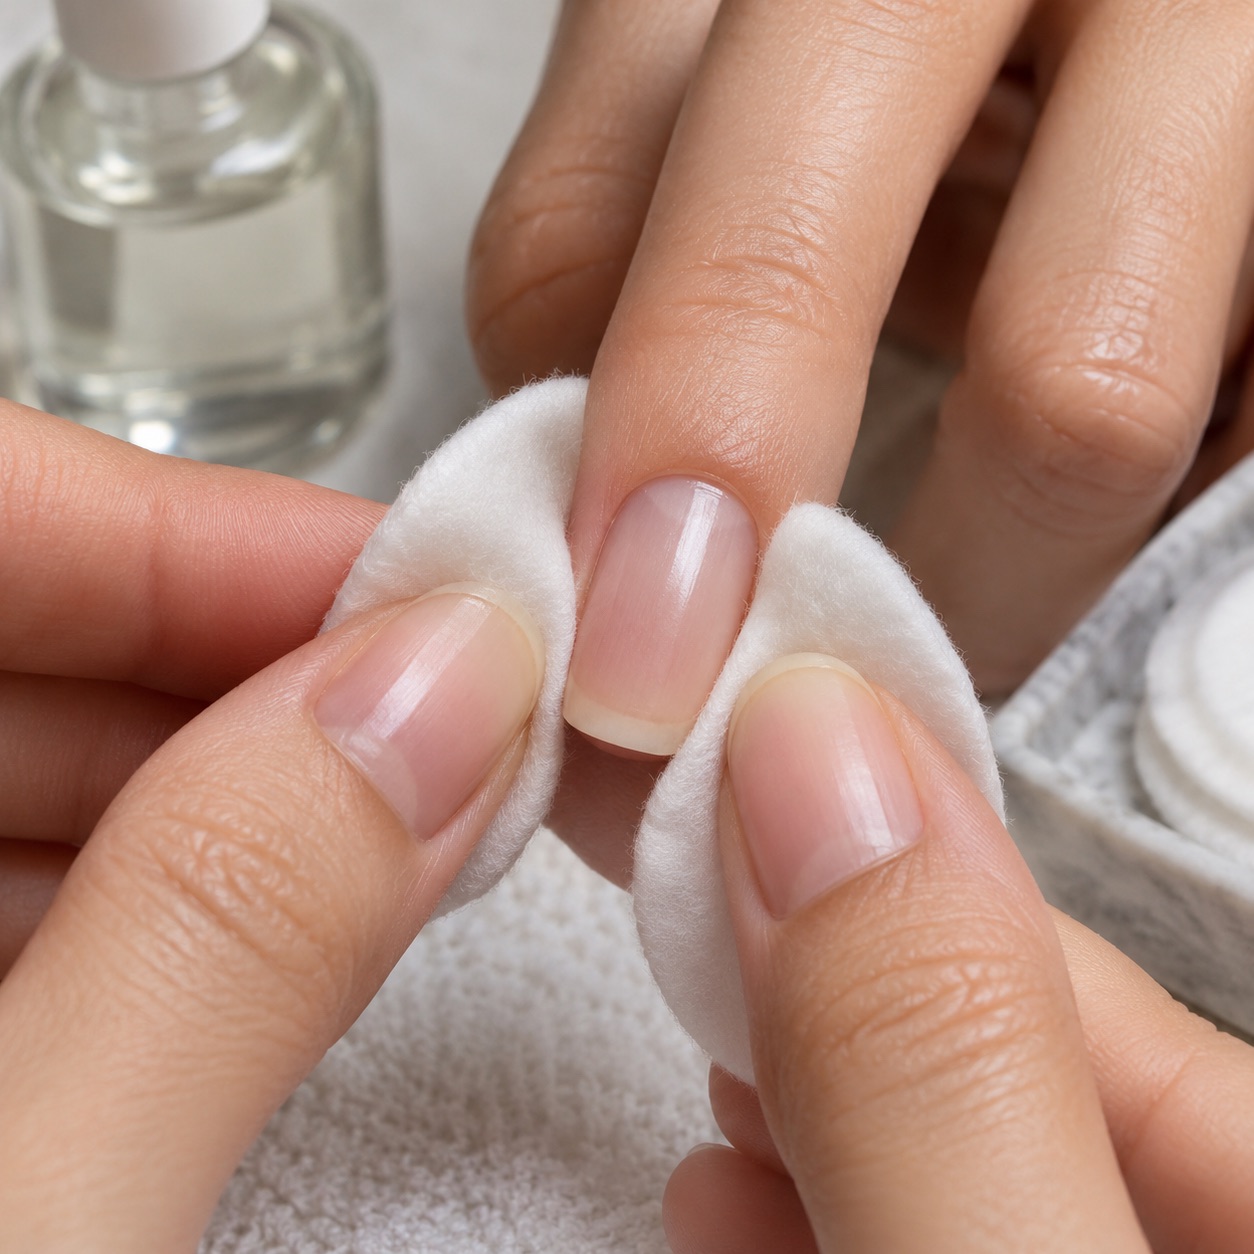
Wet the cotton, not the whole hand
Add enough remover to dampen the cotton without flooding it. You want the solvent on the painted nail, not pooled around the cuticle, fingertip, or nearby skin.
 Original Nail Art Inspo image
08
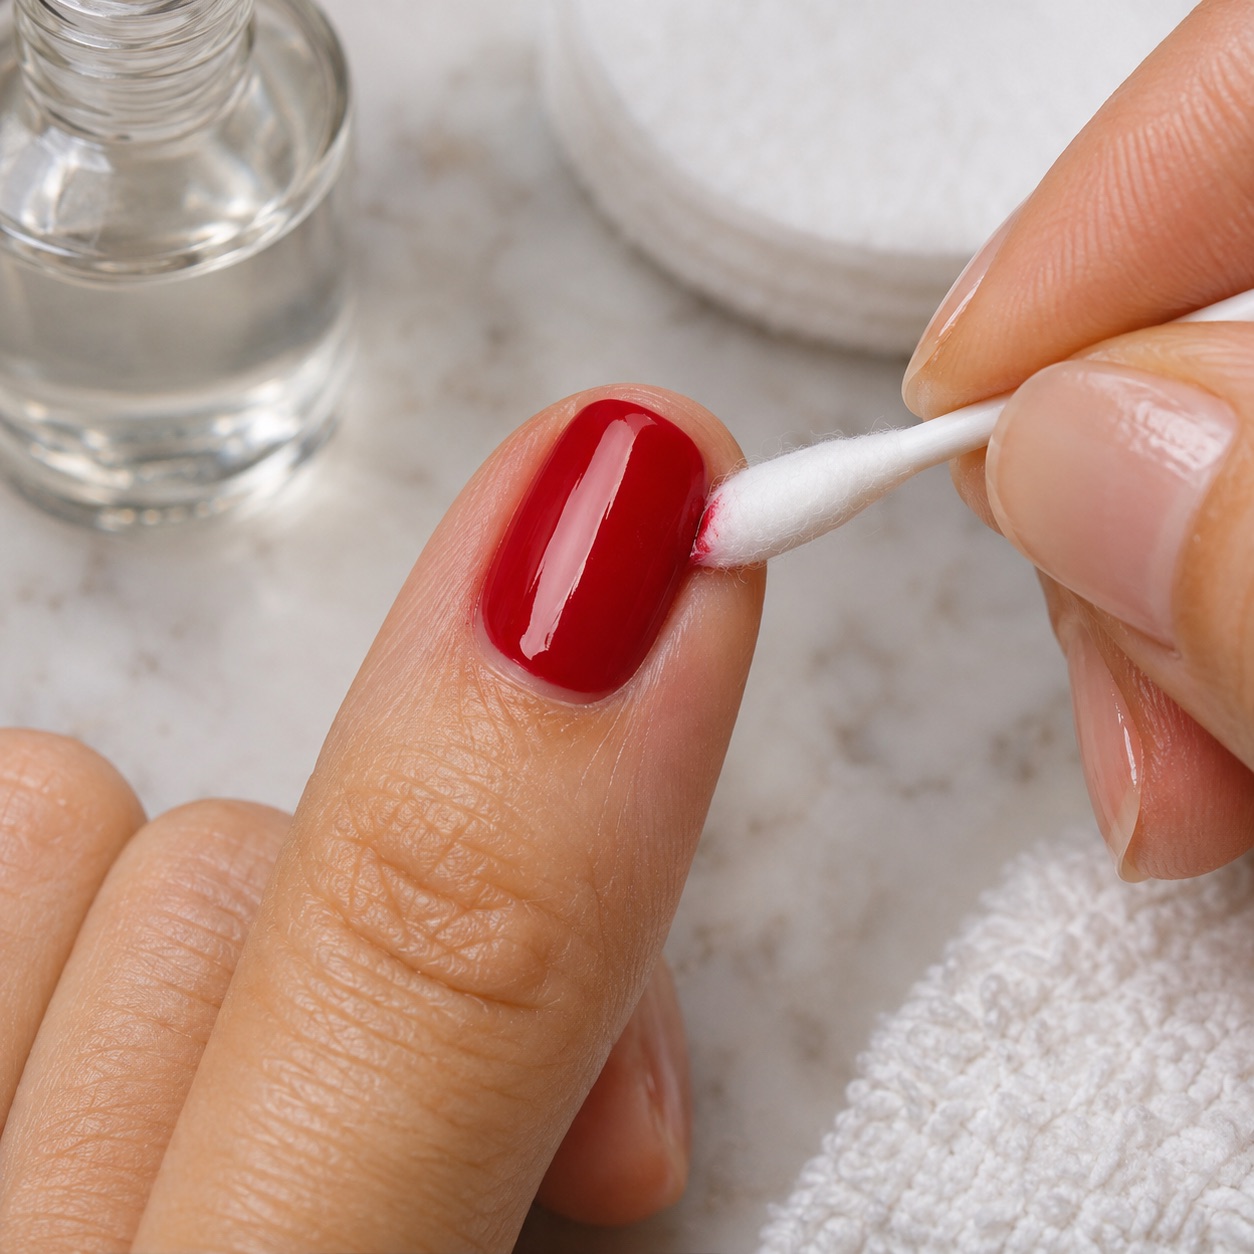
Press instead of scrubbing
Place the damp cotton over the nail and hold it still for several seconds. Pressure and contact time let the solvent loosen the film. Fast back-and-forth scrubbing usually spreads pigment and dries the surrounding skin.
 Original Nail Art Inspo image
09
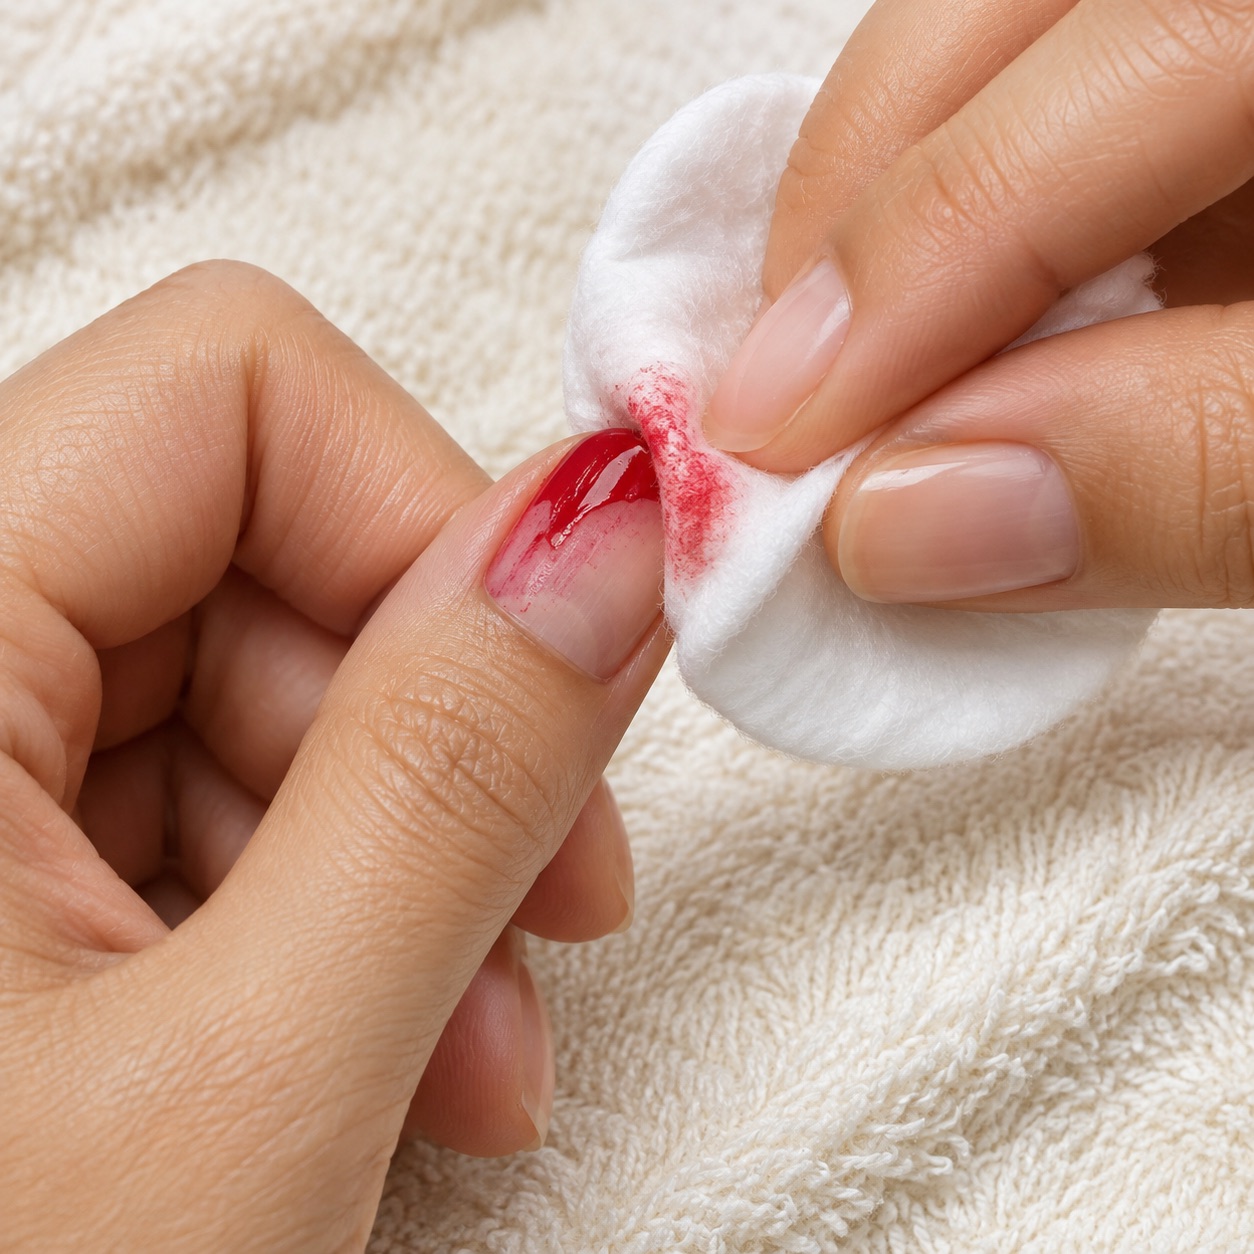
Wipe from the base toward the tip
Make one controlled wipe from the cuticle area toward the free edge. Rotate to a clean part of the pad for the next pass. This moves loosened polish away instead of dragging it across the whole nail.
 Original Nail Art Inspo image
10
Clean the sidewalls carefully
Use a fresh corner of cotton or a cotton swab for the left and right edges. Work around the skin without digging into the sidewall. If color is stuck, add a little remover and wait rather than scraping.
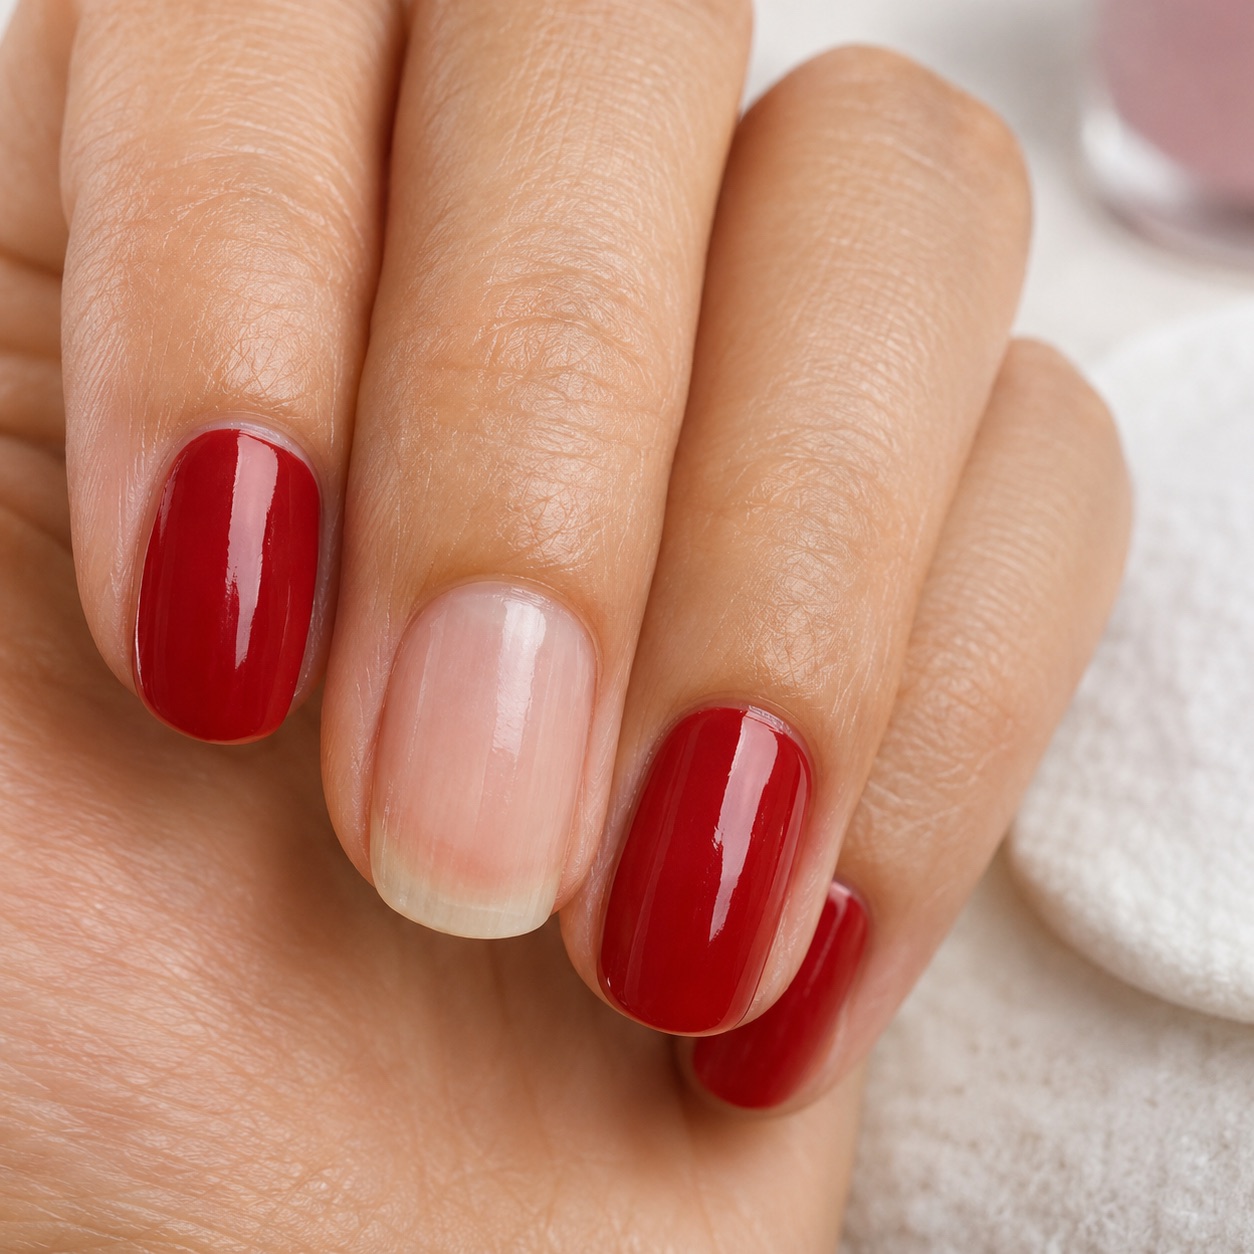 Original Nail Art Inspo image
11
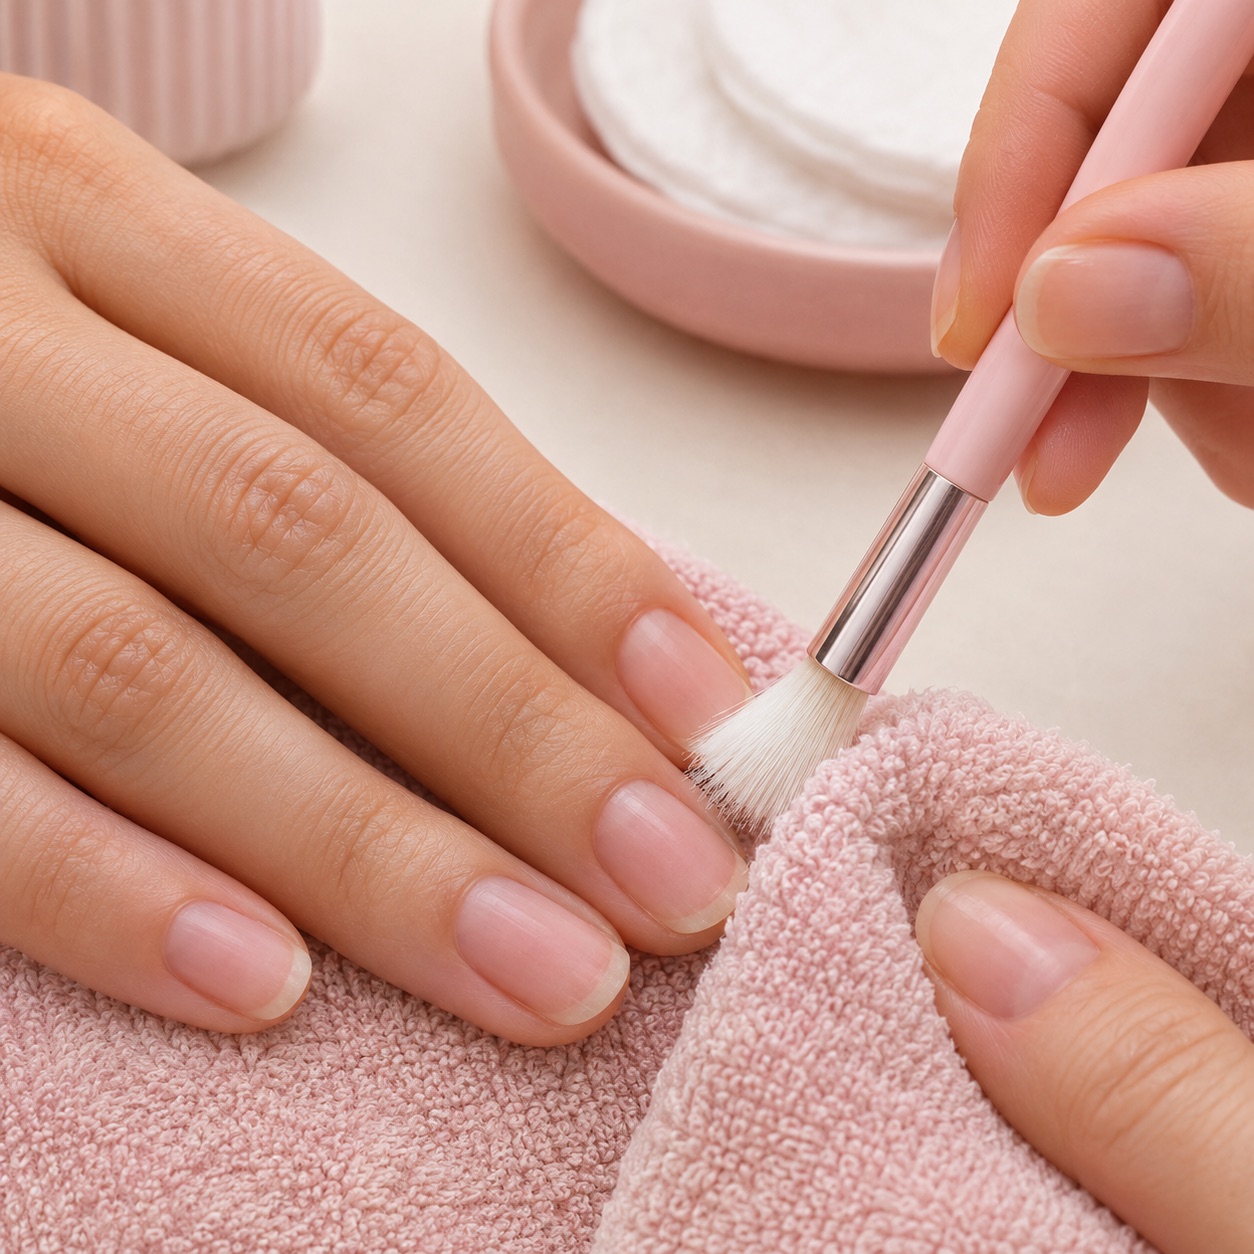
Repeat with fresh cotton
Heavy, dark, glitter, or multiple-coat polish may need another damp press. Fresh cotton matters because a saturated colored pad can re-deposit pigment on a nail you already cleaned.
 Original Nail Art Inspo image
12
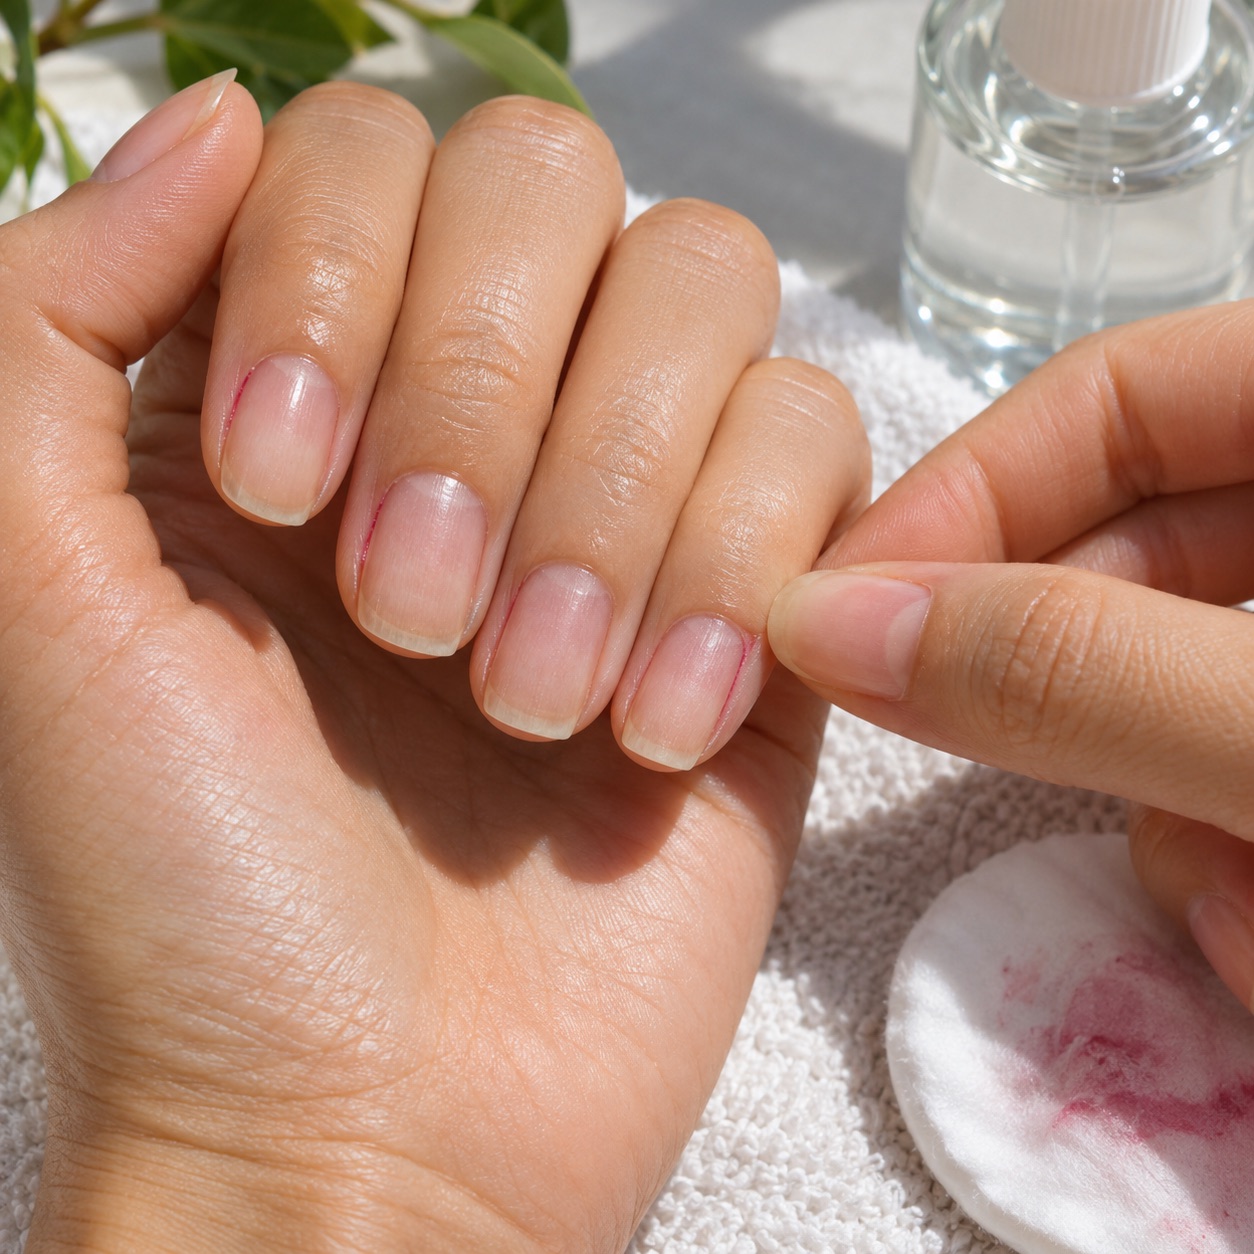
Use a cotton swab for small residue
For a thin line near the cuticle, lightly dampen a cotton swab and trace only the residue. Keep the motion small. Do not push the swab under the cuticle or use a sharp tool to chase a tiny mark.
 Original Nail Art Inspo image
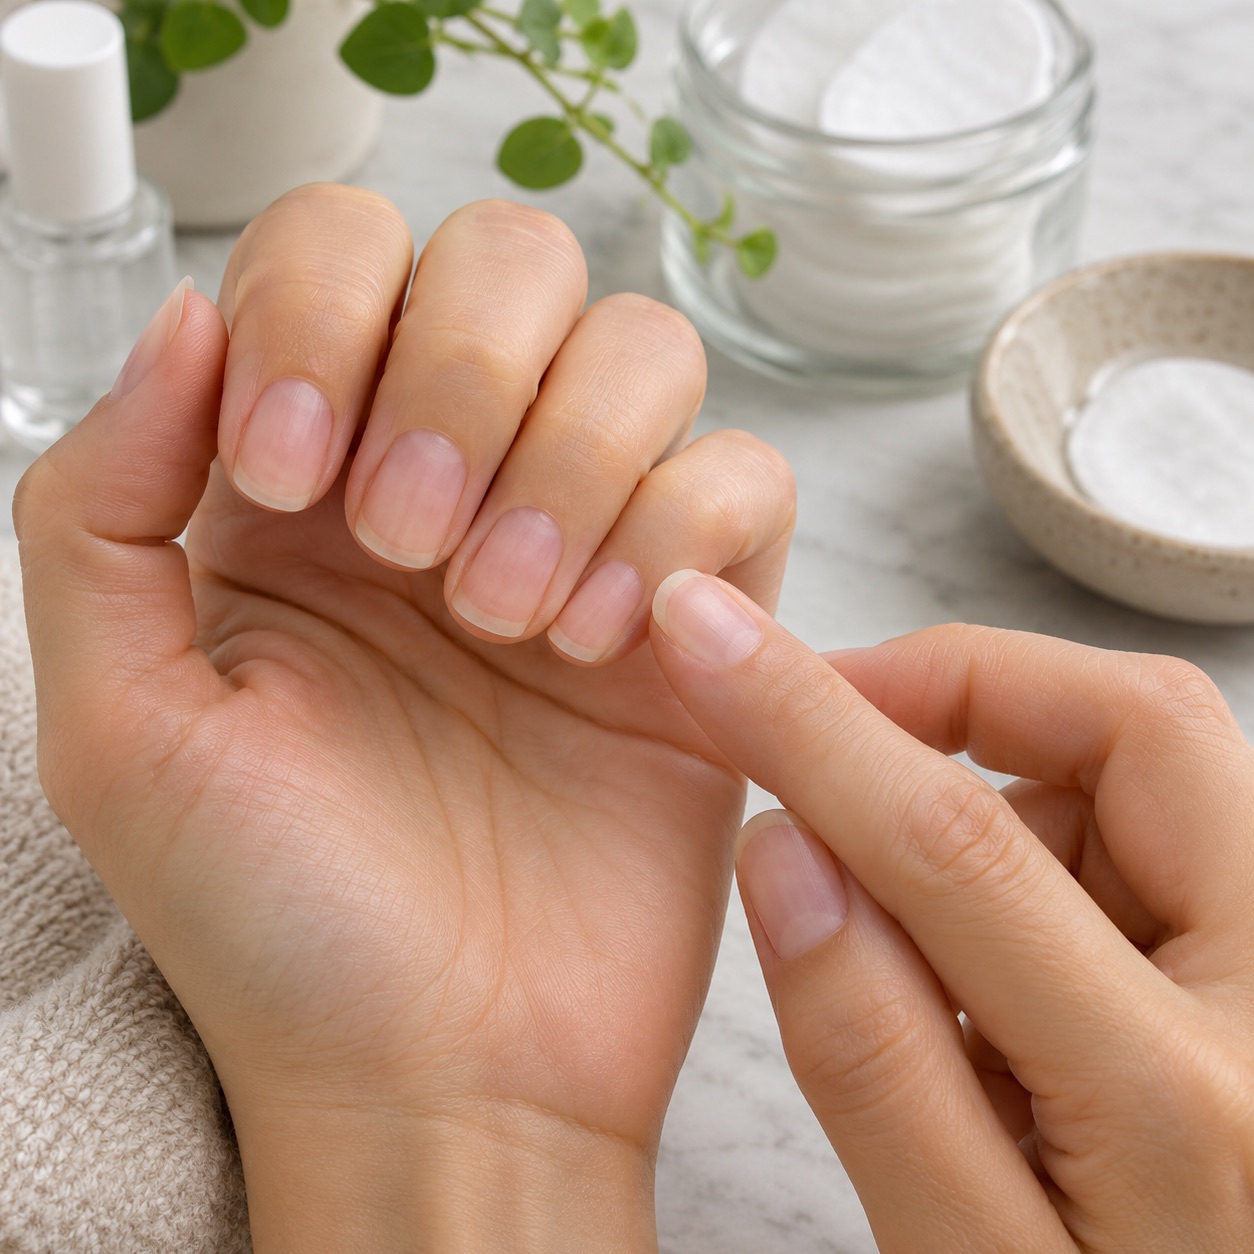
13
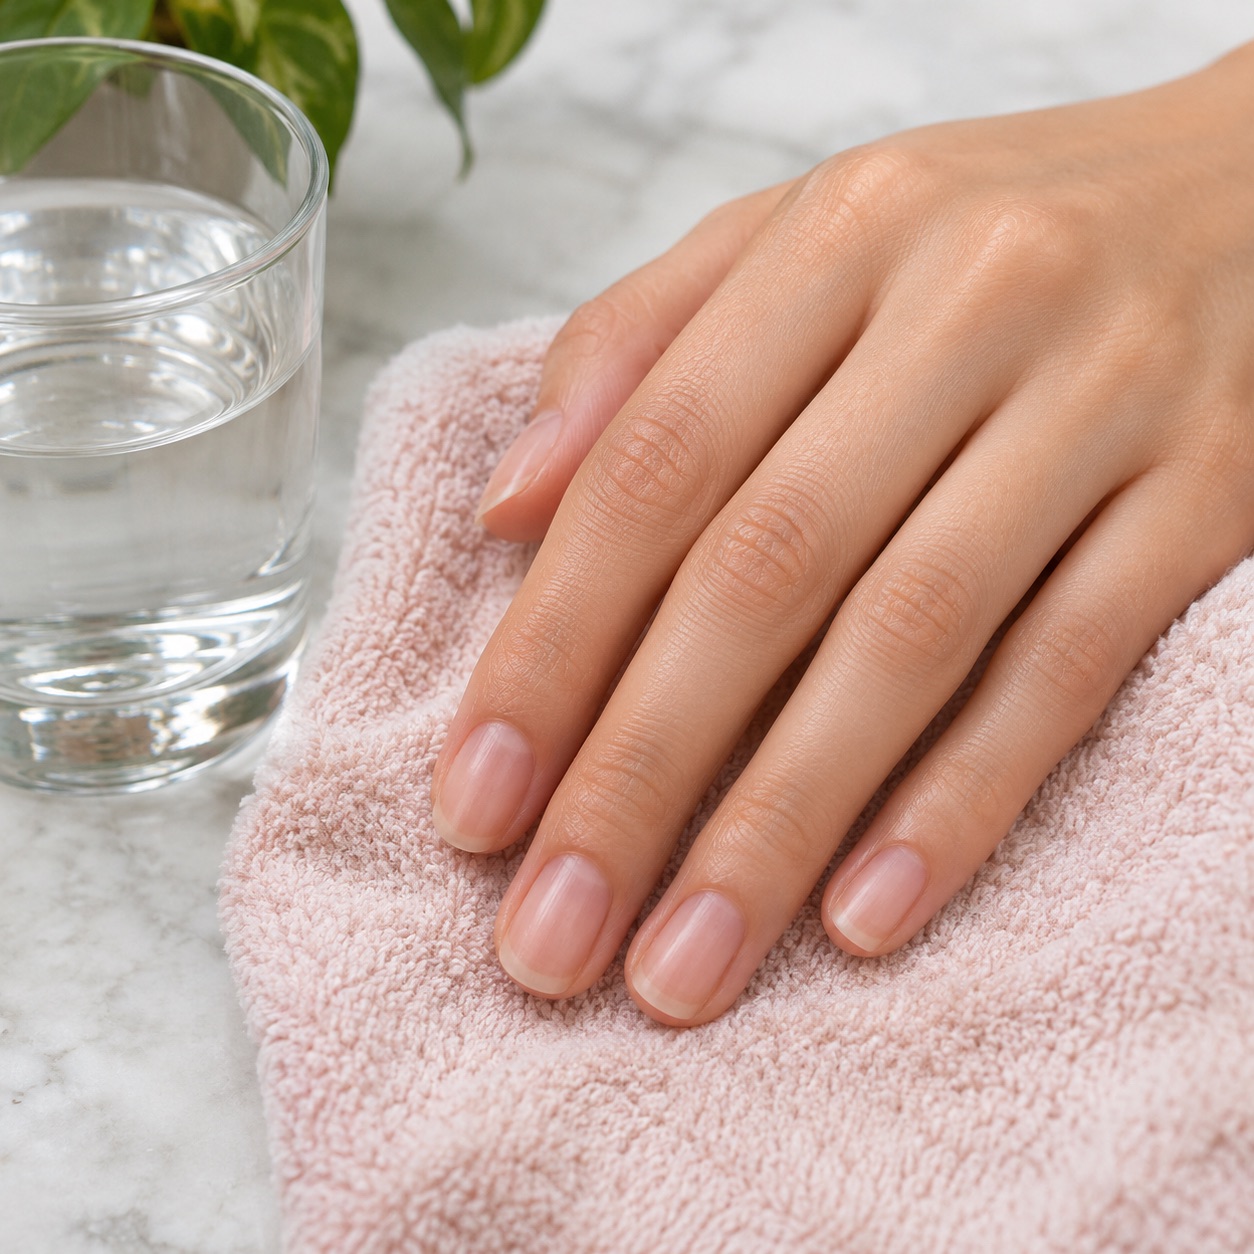
Check every nail in daylight
Look at the nails from the side and under bright, indirect light. Leftover polish can hide near the free edge or sidewalls. A careful check is better than repeated aggressive wiping later.
 Original Nail Art Inspo image
14
Remove loose lint and pigment
Use a clean, dry lint-free wipe to lift loose fibers or flakes. If a dark stain remains on the skin, wash first; avoid turning the nail plate into a scrubbing surface.
 Original Nail Art Inspo image
15
Wash your hands gently
When the polish is gone, wash with mild soap and comfortable-temperature water. Rinse away remover residue, then pat dry. Avoid very hot water if the skin feels dry or sensitive.
 Original Nail Art Inspo image
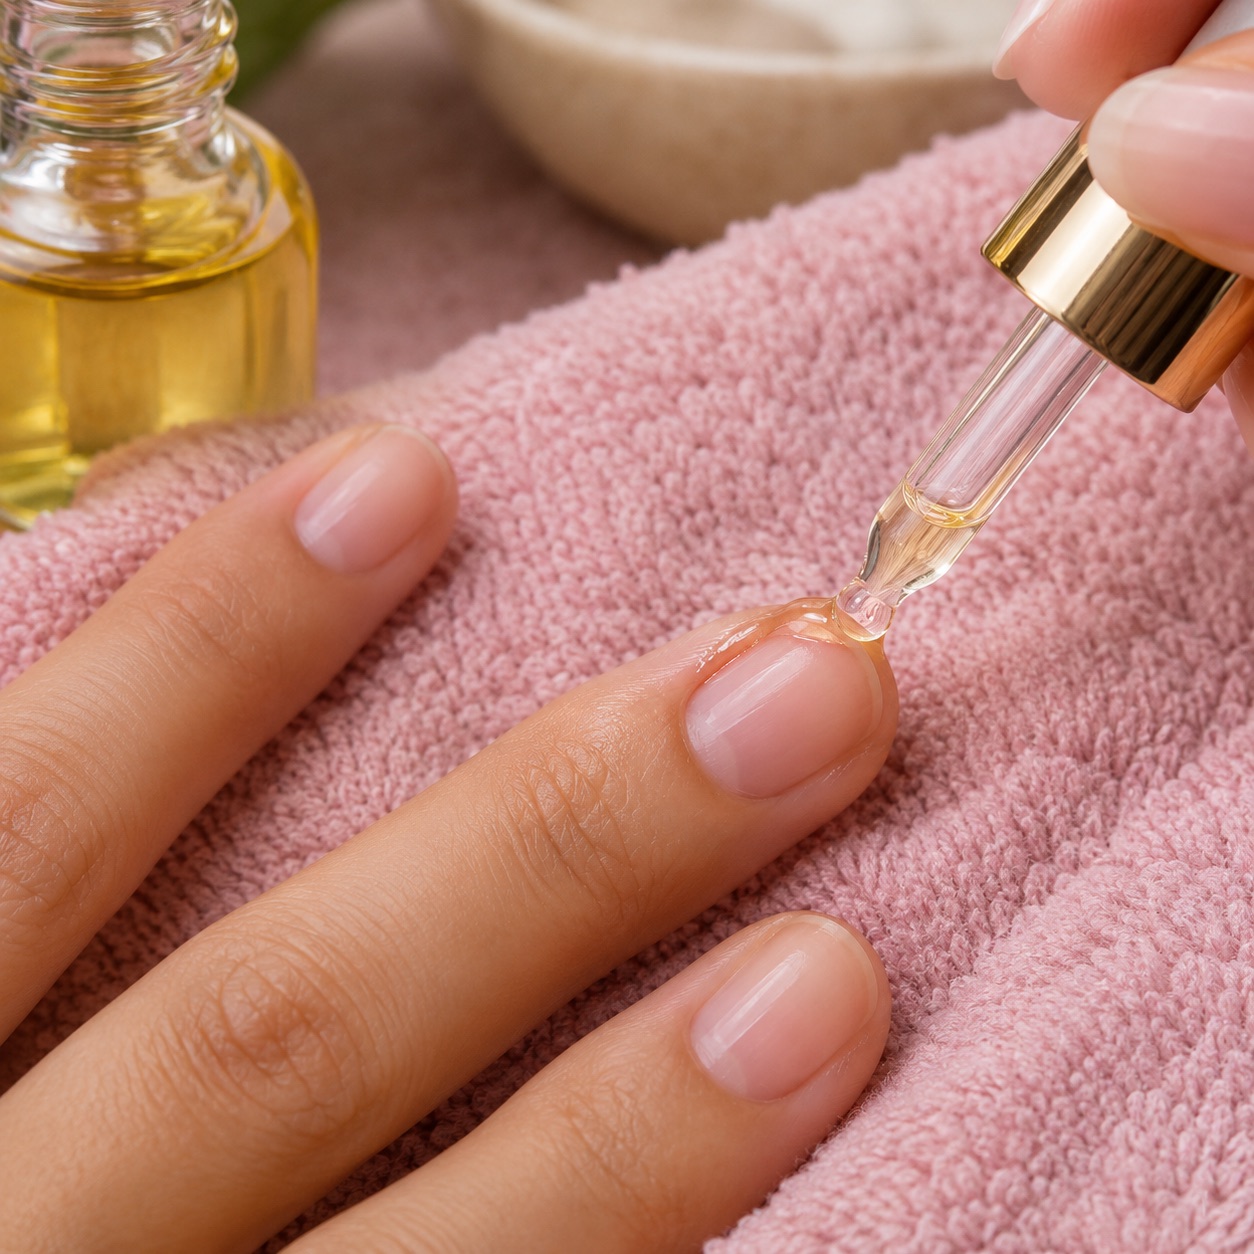
16
Apply cuticle oil around the nail
Place a small amount of cuticle oil around the cuticle and sidewalls, not under damaged skin. Massage only as comfortably as the skin allows, then wipe excess from the nail if you plan to repaint.
 Original Nail Art Inspo image
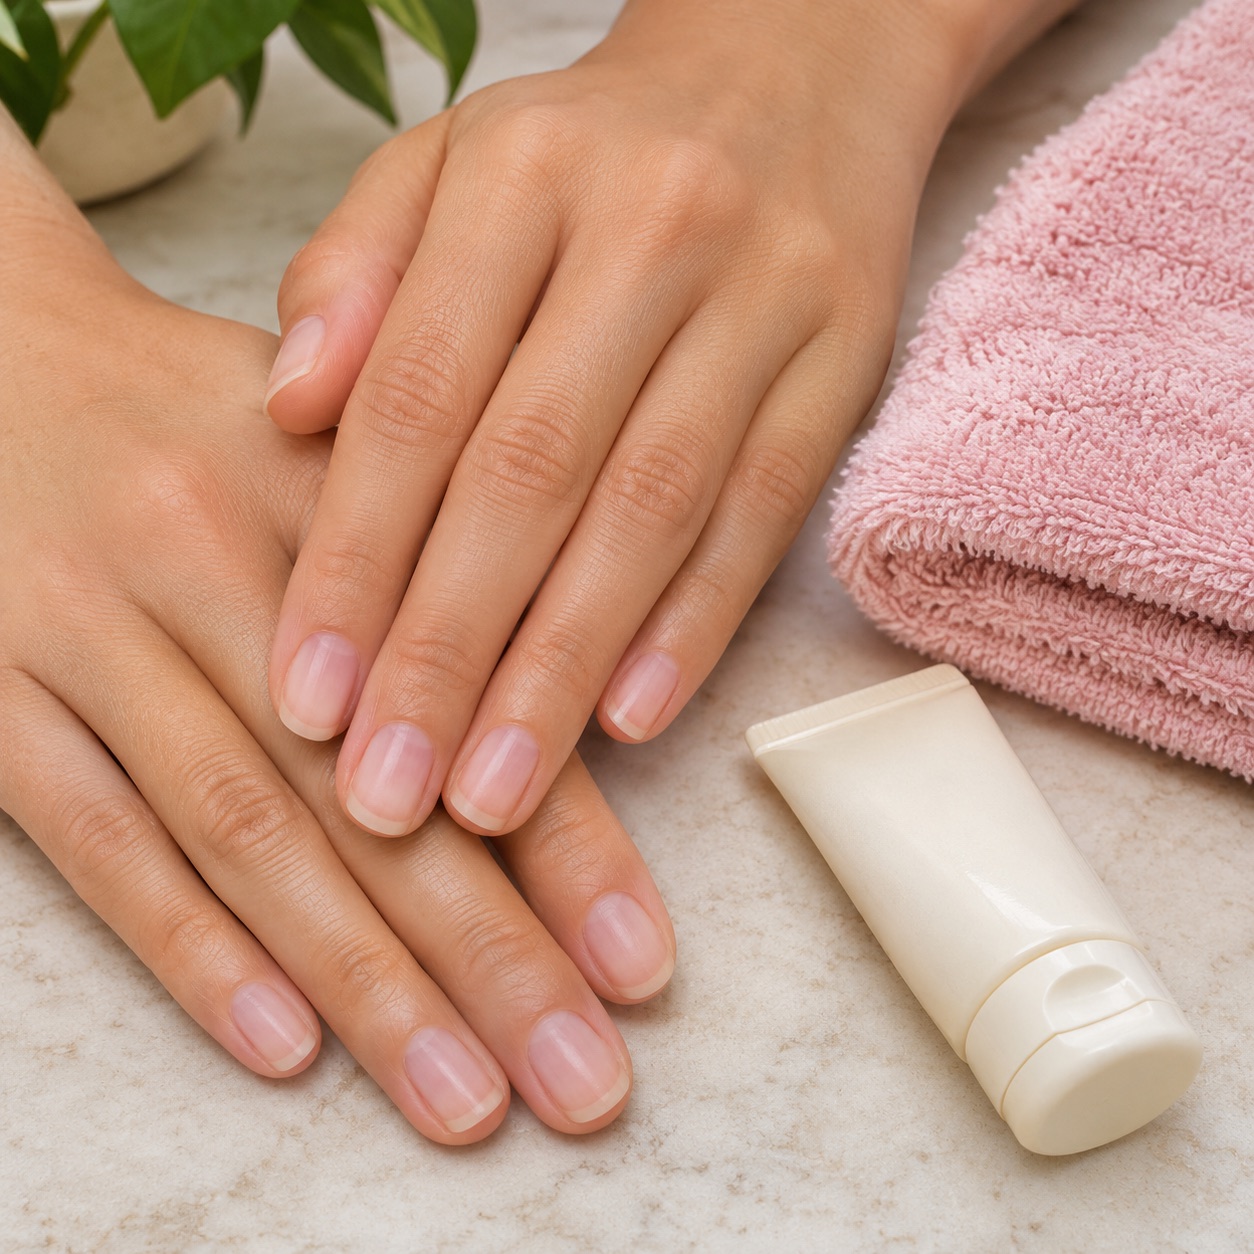
17
Moisturize the fingertips
Use a simple hand cream on the fingers and the backs of the hands. Regular remover can leave the surrounding skin feeling dry, so hydration is useful after the solvent has been washed away.
 Original Nail Art Inspo image
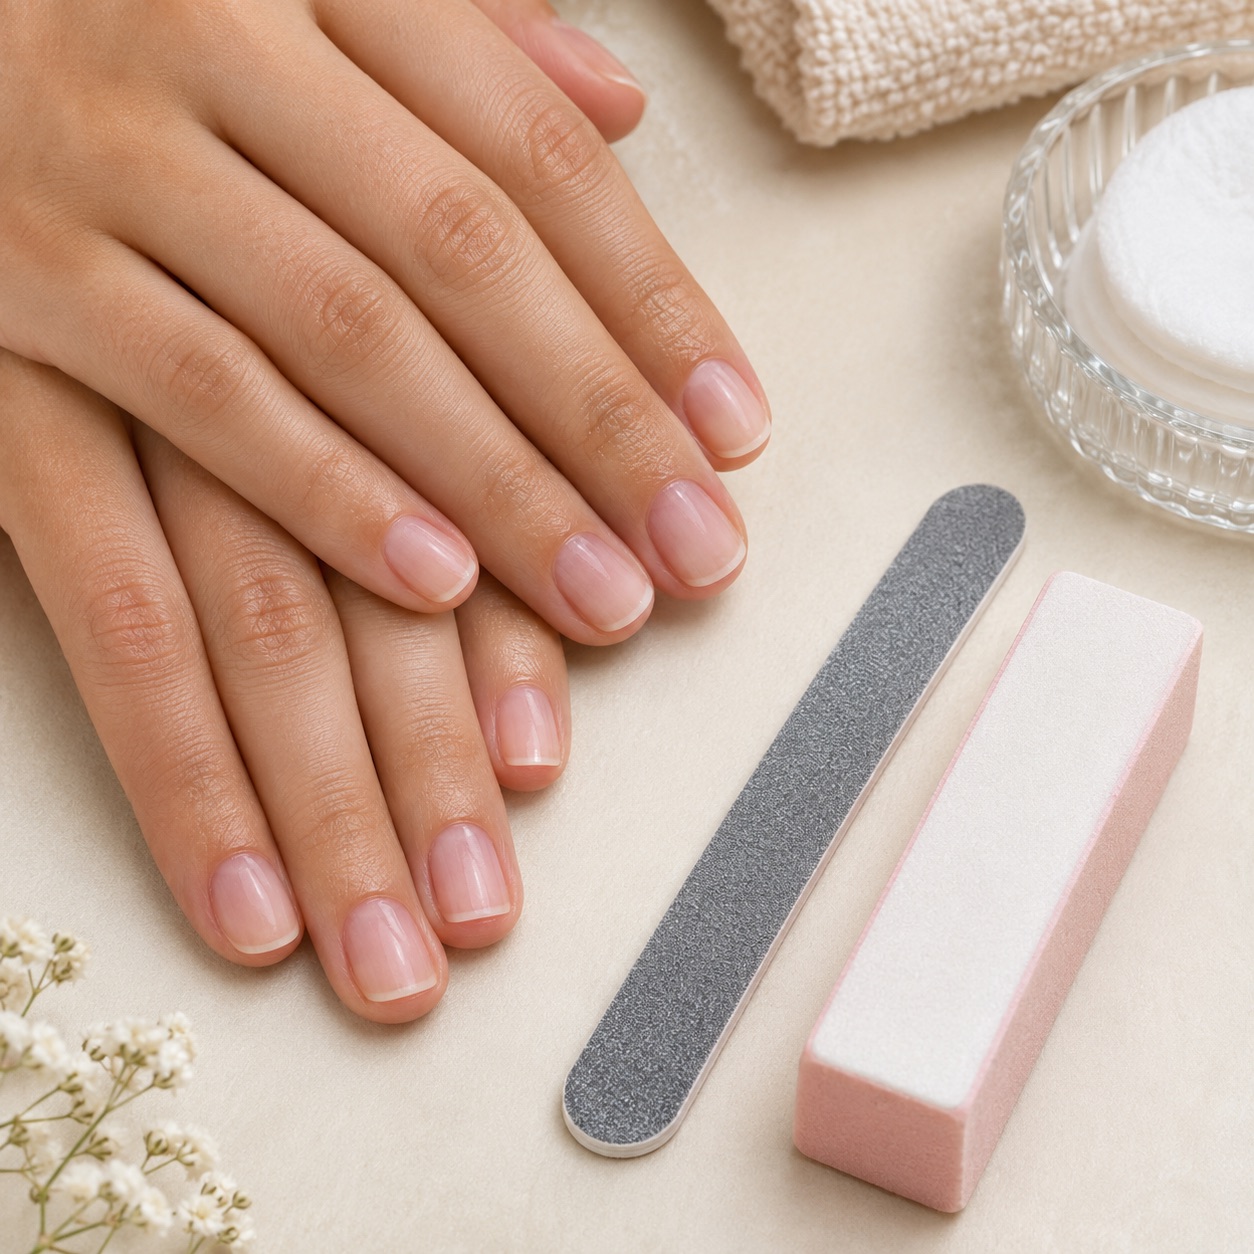
18
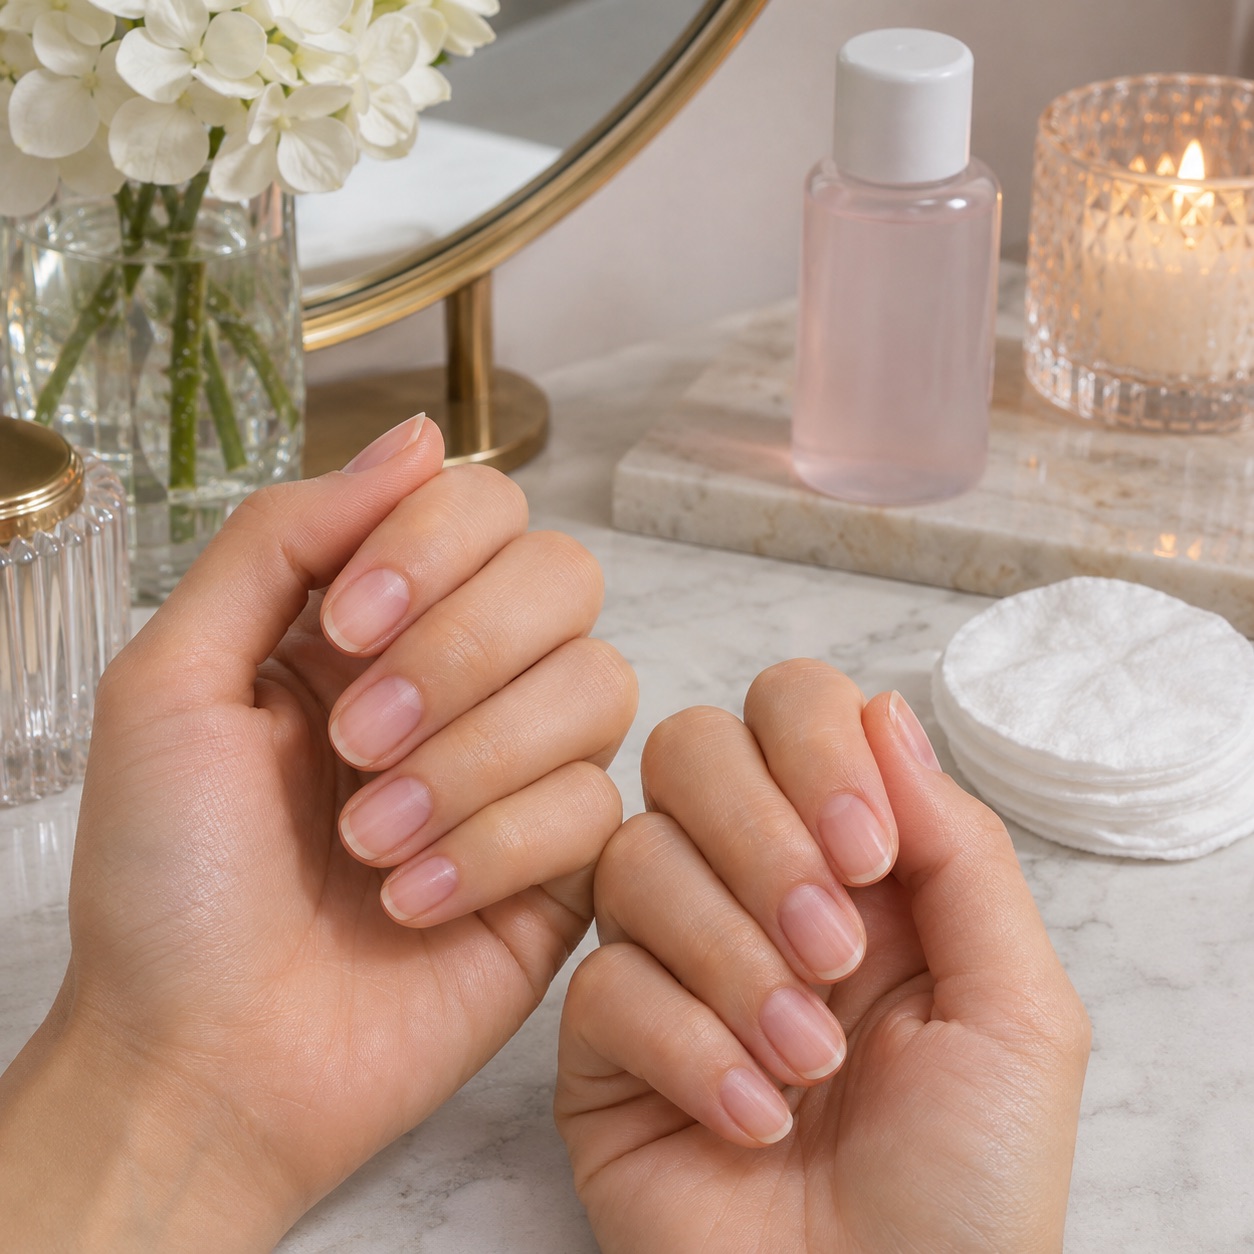
Smooth only a rough free edge
If a nail edge feels snaggy, use a fine file in one direction with light pressure. Do not buff the entire nail to remove a faint color shadow; that can thin the natural plate.
 Original Nail Art Inspo image
19
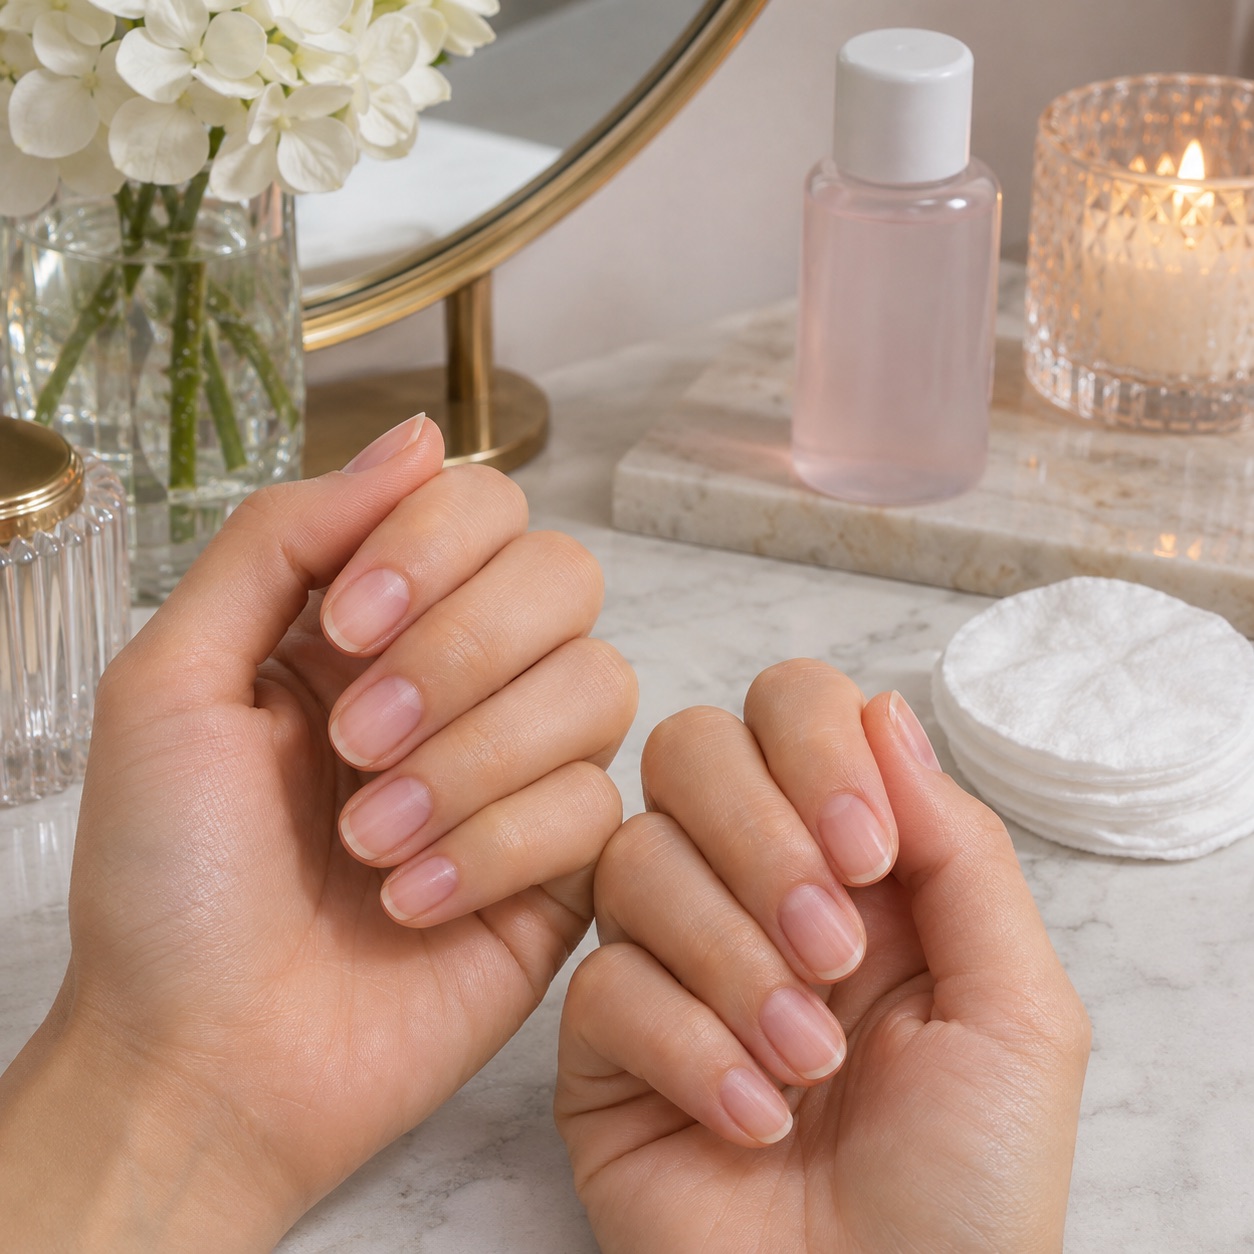
Pause if the nail or skin reacts
Stop if you notice persistent burning, swelling, marked redness, pain, bleeding, drainage, or a new rash. Remove any remaining product gently, rinse the area, and seek professional medical advice when symptoms continue.
 Original Nail Art Inspo image
20
Store the remover safely
Close the bottle immediately, wipe the neck if it dripped, and store it according to the label away from heat and children. Dispose of used cotton in a suitable bin and let the area air out.
Choose the removal route before you start
| Situation | Practical first choice | Important caution |
|---|---|---|
| One or two thin coats of regular lacquer | Small cotton piece and the labeled remover | Use a fresh area of cotton for each pass |
| Dark, glitter, or several coats | A longer still press, then a fresh pad | Do not increase force when the pigment resists |
| Sensitive or dry surrounding skin | Smaller cotton pieces and careful wiping | Keep solvent on the nail instead of soaking the skin |
| Gel, acrylic, builder, or enhancement | Stop and identify the system | This guide does not replace the product-specific removal method |
Context image
What to prepare
Set up before opening the bottle: remover that is labeled for regular nail polish, cotton rounds or lint-free wipes, cotton swabs, a washable towel, mild soap, water, cuticle oil, hand cream, and a fine nail file only if a free edge later feels rough. Work on a protected surface with good air circulation. Keep the remover closed between uses and away from heat, flames, food, and children.
Read the label instead of relying on marketing language. Acetone can dissolve regular lacquer quickly, while acetone-free formulas may take more contact time. Neither option should be treated as a skin treatment, and “natural,” “gentle,” or “non-toxic” wording is not a substitute for the actual ingredient list and warnings.
The goal is to remove the color while disturbing the natural nail as little as possible. That means the remover does the dissolving and the cotton does the lifting. Your fingers should not have to pull, pry, or scrape. If the first nail takes longer than expected, treat that as useful information about the product rather than a reason to use more force.
Before you begin, check the condition of the skin around each nail. A small hangnail, cracked cuticle, or irritated sidewall may sting when solvent touches it. You can protect the nearby skin by keeping cotton pieces narrow and wiping drips immediately, but do not cover a painful or broken area with remover and continue. If the manicure is very old, thick, or unusually glossy, identify the system before assuming it is regular lacquer.
A calm sequence also makes cleanup easier. Remove rings if they could catch on the towel, keep the bottle upright, and work on one hand at a time. Put used cotton in one place instead of leaving wet pieces on the table. These small decisions prevent accidental transfers, reduce the temptation to reuse dirty cotton, and make the final hand-washing step quicker.
Context image
Acetone versus acetone-free remover
Acetone is a strong solvent and may shorten the time needed for dark or layered regular polish. It can also leave the surrounding skin feeling dry, so the controlled-cotton method matters. Acetone-free products may feel more comfortable for some people, but they can require more passes or longer contact. The right choice depends on the formula, the number of coats, your skin response, and the label directions.
Do not pour remover into a bowl and soak the entire hand just because it seems faster. Direct contact with more skin increases exposure and can make dryness or irritation more noticeable. If a professional service uses a different system, ask what product is on the nail before choosing a home method.
Context image
Mistakes that make removal harder
Picking at a peeling edge can lift layers of the natural nail. Scrubbing aggressively can spread dark pigment into the cuticle area. Using one saturated cotton ball for every finger can redeposit color. Filing the nail plate to remove a faint stain can thin the surface. Adding heat, covering the whole hand, or mixing products is also unnecessary.
If the polish does not soften, pause and identify what is actually on the nail. A glossy layer may be gel, a strengthening product, a base system, or an enhancement rather than ordinary lacquer. The safest next step is to follow that system’s instructions or ask a trained nail professional.
Context image
Aftercare and when to pause
After washing away residue, apply cuticle oil around the nail and a plain hand cream to the surrounding skin. If you plan to repaint, let the surface dry and remove excess oil from the nail plate first. If you do not plan to repaint, leave the natural nail alone rather than buffing it until it shines.
Pause the routine for persistent burning, swelling, strong redness, pain, bleeding, drainage, a spreading rash, or a nail that has become detached. Rinse the area, stop using the product, and seek medical advice if symptoms continue or are severe. Nail polish removal should be a solvent-and-wipe process, never a test of how much force the nail can tolerate.
Context image
Frequently asked questions
Is acetone the fastest way to remove regular nail polish?
Often it dissolves regular lacquer quickly, but the best method still depends on the formula and the number of coats. Use a small amount on cotton, press briefly, and wipe with a clean section instead of flooding the hand.
Can I remove nail polish without acetone?
Yes. Acetone-free removers can work, although some need longer contact or more passes. Follow the product label and stop if the skin reacts. Do not assume that more rubbing makes an acetone-free formula safer.
Why does dark polish stain the skin?
Pigment can collect around the cuticle and sidewalls, especially when a saturated pad is reused. Fresh cotton, smaller pieces, and a final gentle wash usually work better than scraping the skin.
Should I buff off leftover polish?
Do not buff the natural nail aggressively to remove a small shadow of color. Use a fresh damp cotton swab for residue, then leave the nail alone. Buffing can make the plate thinner and more sensitive.
Can I use nail-polish remover on a damaged nail?
Be cautious. If the nail or surrounding skin is cracked, bleeding, painful, swollen, or showing drainage, stop and get professional advice instead of repeatedly applying solvent.
How long should I wait before repainting?
There is no universal timer. Wait until the nail and surrounding skin are clean and dry, and remove excess oil if you want new polish to adhere. If the area feels irritated, skip repainting until it settles.
Conclusion
The safest way to remove regular nail polish is controlled and unhurried: ventilate the space, protect the surface, test one nail, use small damp cotton pieces, press before wiping, change to clean cotton, wash the residue away, and moisturize afterward. If the product does not behave like regular lacquer or the nail begins to react, stop instead of escalating force.
Useful Sources And Verification
- FDA, Nail Care Products: https://www.fda.gov/cosmetics/cosmetic-products/nail-care-products
- FDA, Using Cosmetics Safely: https://www.fda.gov/cosmetics/resources-consumers-cosmetics/using-cosmetics-safely
- American Academy of Dermatology, Gel manicures and nail-health guidance: https://www.aad.org/public/everyday-care/nail-care-secrets/basics/gel-manicures
- Northwell Health, Nail polish remover safety: https://thewell.northwell.edu/nail-polish-remover-safety