Nail care / Published 2026-11-08
How to Get Gel Nail Polish Off: 20 Careful Steps
A conservative gel-polish removal guide covering product identification, controlled soak-off, one-nail testing, gentle cleanup, and stop signs.
 Original Nail Art Inspo image
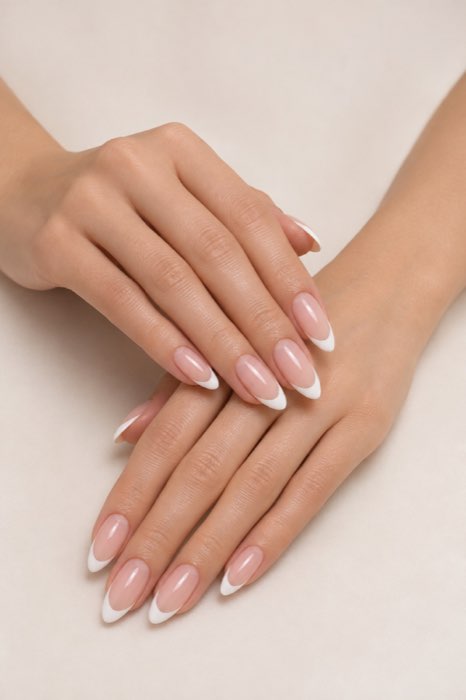
Removing gel nail polish at home can be straightforward when the product is actually a soak-off system and you use the correct process. It can also become damaging when you peel, pry, or keep scraping after the product has stopped softening. This guide explains a conservative removal route, what to prepare, how to test one nail, and when home removal is the wrong choice.
The first rule is to identify what is on the nail. Regular lacquer, soak-off gel polish, hard gel, builder gel, acrylic, and press-ons can look similar in a photo but require different removal methods. If you do not know the system, ask the salon or check the product name before starting. Do not treat this guide as a diagnosis or a substitute for professional care.
THE 20 STEPS
How to get gel nail polish off: 20 careful steps
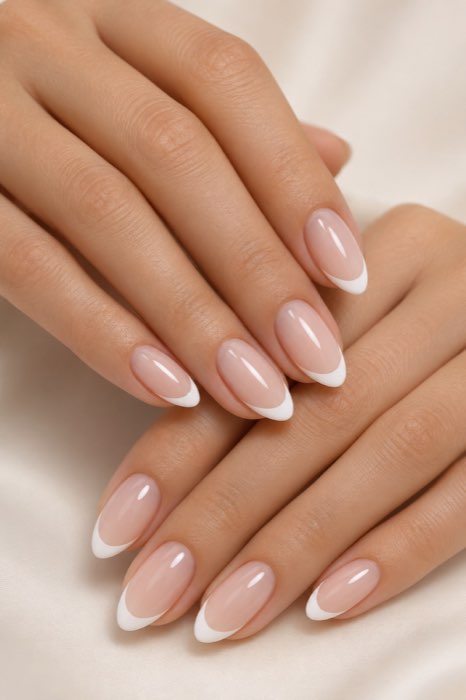
Start with the visual you came for. Each idea below has its own reference image and a practical explanation to take to your next appointment.
 Original Nail Art Inspo image
01
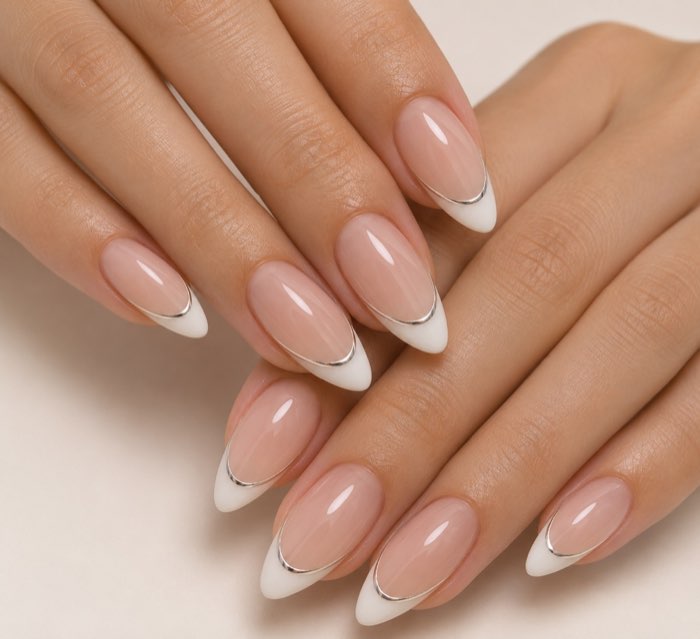
Identify the product first
Regular lacquer, gel polish, builder gel, acrylic, and press-ons do not remove the same way. Check the product name or ask your nail professional before choosing a method.
 Original Nail Art Inspo image
02
Read the label and service instructions
The brand’s removal directions are the safest starting point for that system. Follow the stated soak, file, wrap, or lamp instructions rather than guessing.
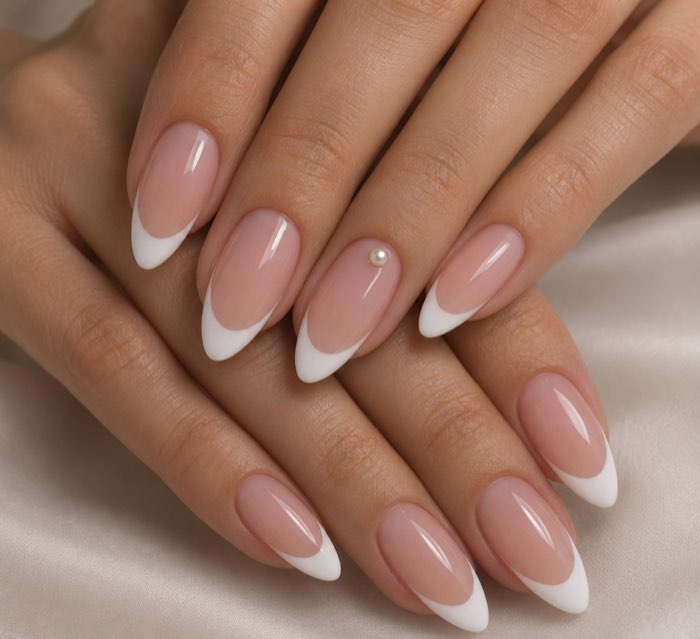 Original Nail Art Inspo image
03
Set up a ventilated workspace
Choose a stable, well-lit area with ventilation. Keep remover, foil, cotton, tools, and a towel ready before you begin.
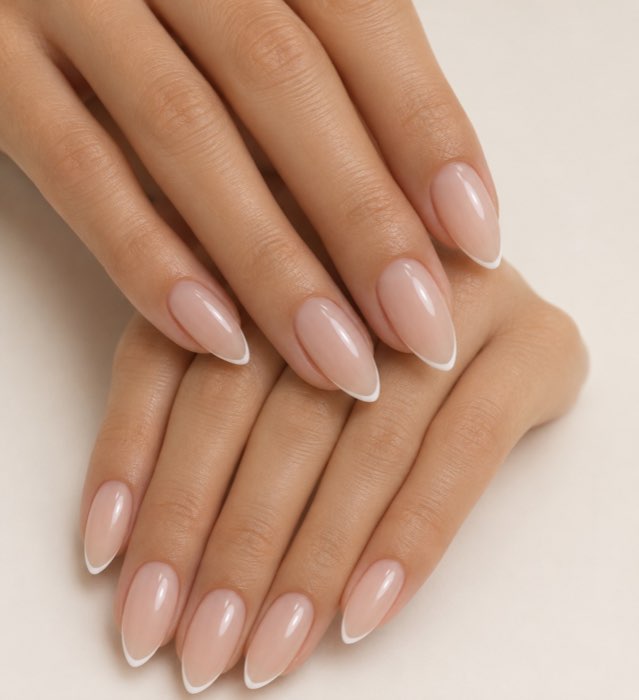 Original Nail Art Inspo image
04
Protect the surrounding surface
Place a washable towel or mat under your hands. Keep remover away from painted furniture, fabrics, heat, flames, and children.
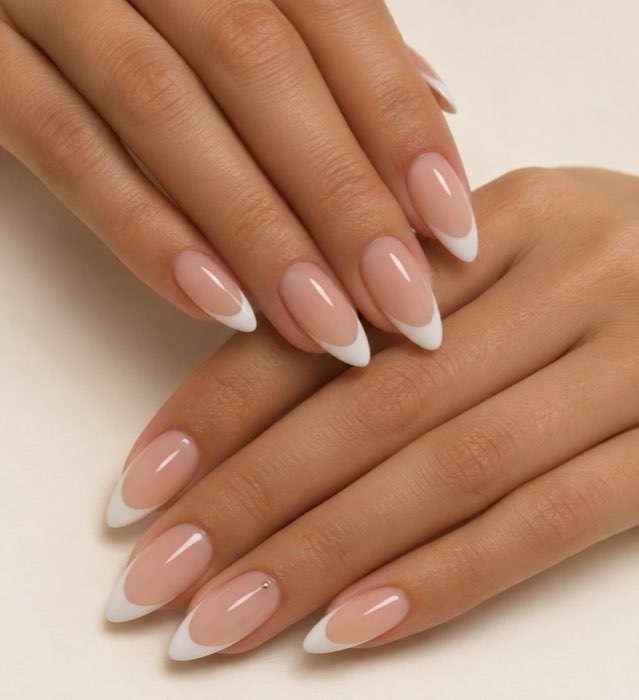 Original Nail Art Inspo image
05
Gather the right supplies
For soak-off gel, common supplies include remover recommended for the system, cotton, foil or clips, a file, an orangewood stick, and moisturizer.
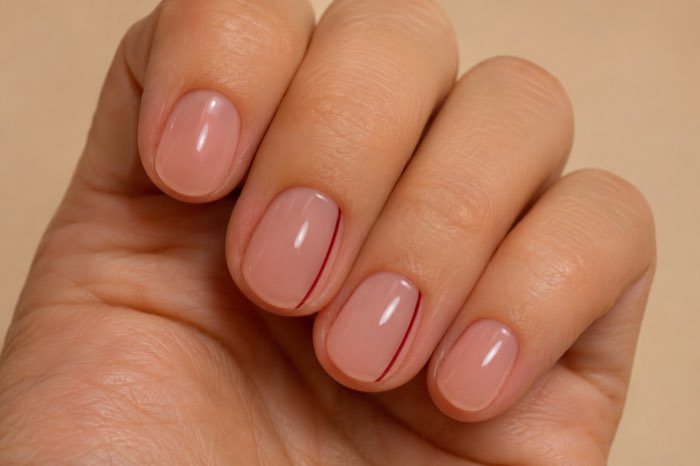 Original Nail Art Inspo image
06
Shorten excess length carefully
If an enhancement is long, shorten the free edge before removal so there is less leverage. Do not cut into the natural nail or sensitive area.
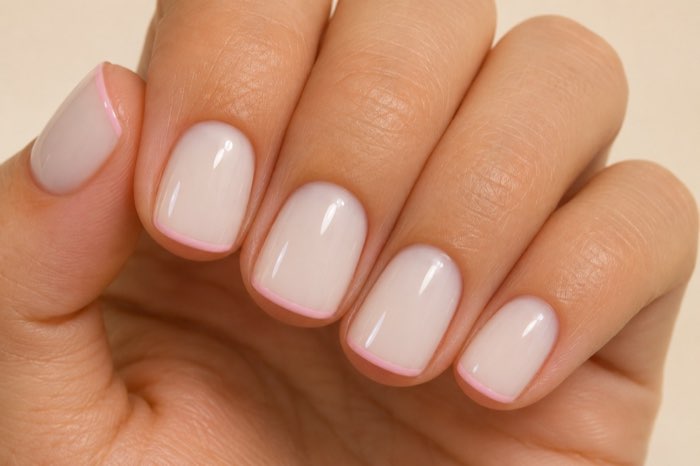 Original Nail Art Inspo image
07
Break the top seal gently
A light file pass can remove the shine from some soak-off systems. Do not aggressively thin the natural nail or file through pain.
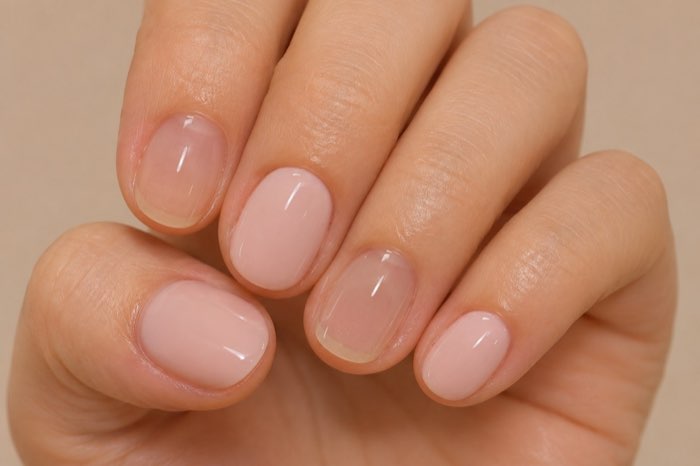 Original Nail Art Inspo image
08
Use enough saturated cotton
Dry cotton will not soften product well. Saturate the pad according to the remover instructions and keep it positioned over the product.
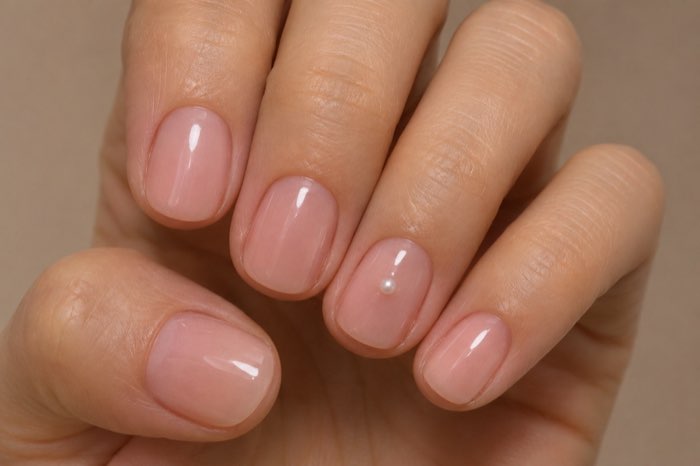 Original Nail Art Inspo image
09
Wrap without squeezing the skin
Secure foil or clips so the cotton stays in place, but avoid pressure, pinching, or a wrap that causes numbness.
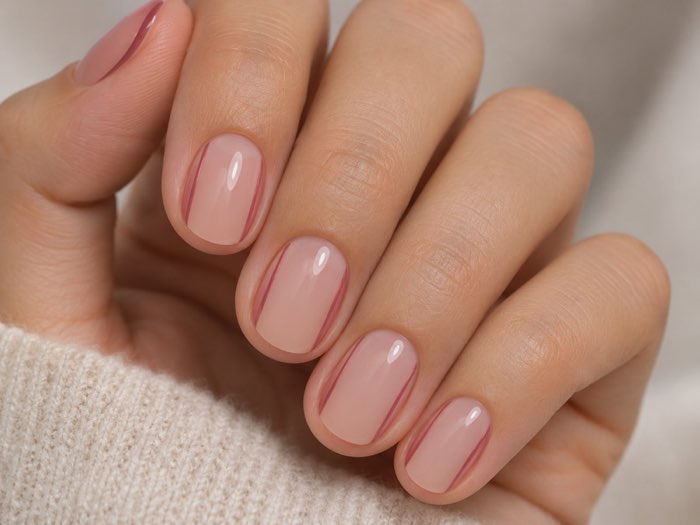 Original Nail Art Inspo image
10
Wait for the stated time
Soak-off time varies by product, layers, thickness, and preparation. Check one nail rather than repeatedly scraping every nail.
 Original Nail Art Inspo image
11
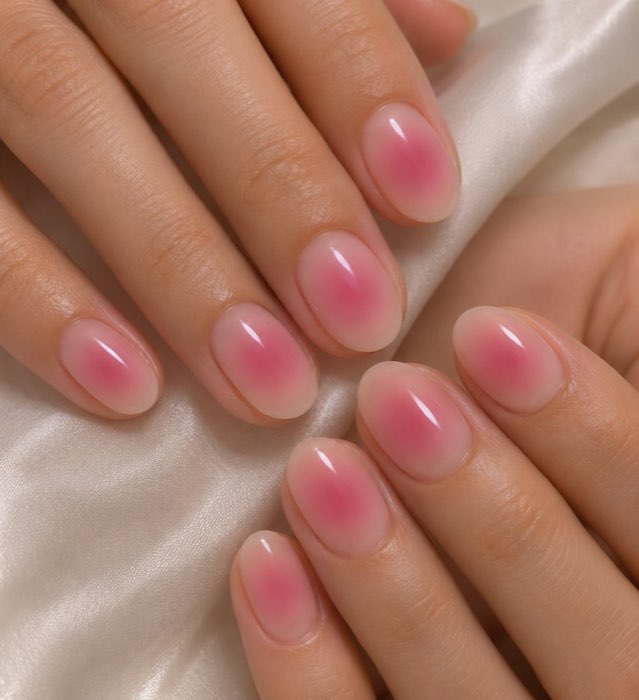
Test one nail before continuing
After the recommended time, test a single edge. Softened product should lift or roll gently; resistance means more time may be needed.
 Original Nail Art Inspo image
12
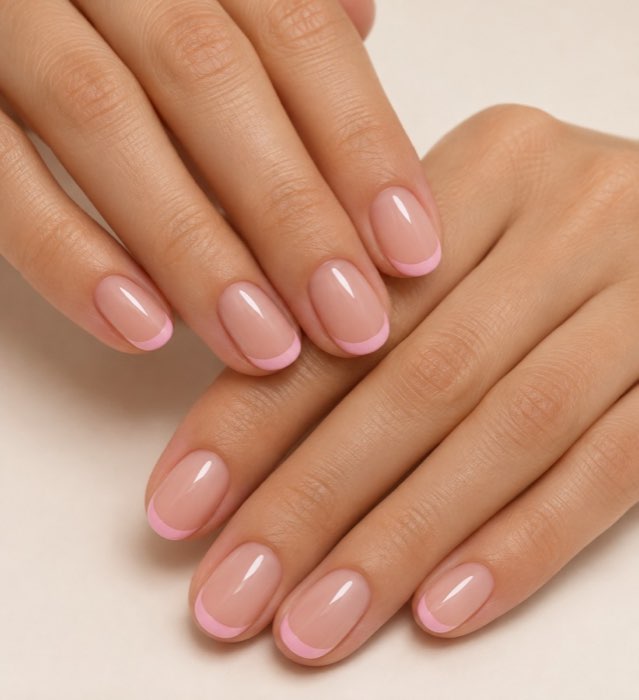
Never pry with force
If the product does not move, re-wrap or follow the professional removal route. Prying can take layers of the natural nail with it.
 Original Nail Art Inspo image
13
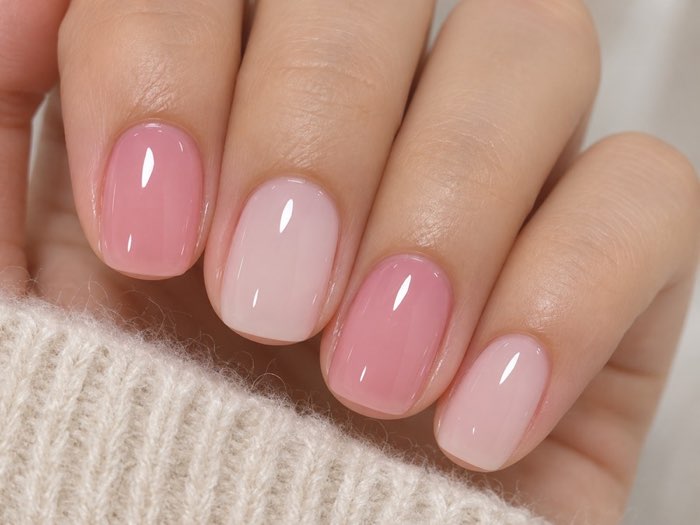
Use a wooden stick with restraint
A wooden stick may help lift softened residue, but only with light pressure. Stop if the surface feels tender or the product remains hard.
 Original Nail Art Inspo image
14
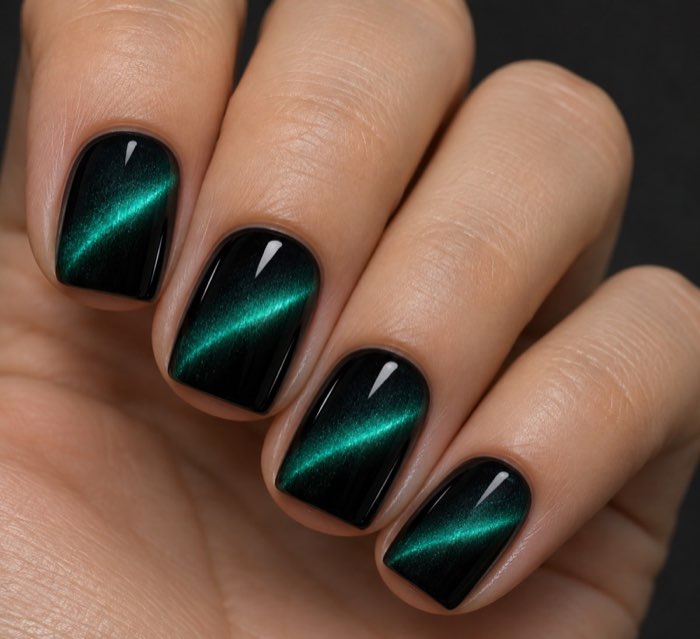
Repeat short soak cycles
Several gentle cycles are safer than one aggressive scrape. Keep the remover targeted and avoid prolonged unnecessary contact with skin.
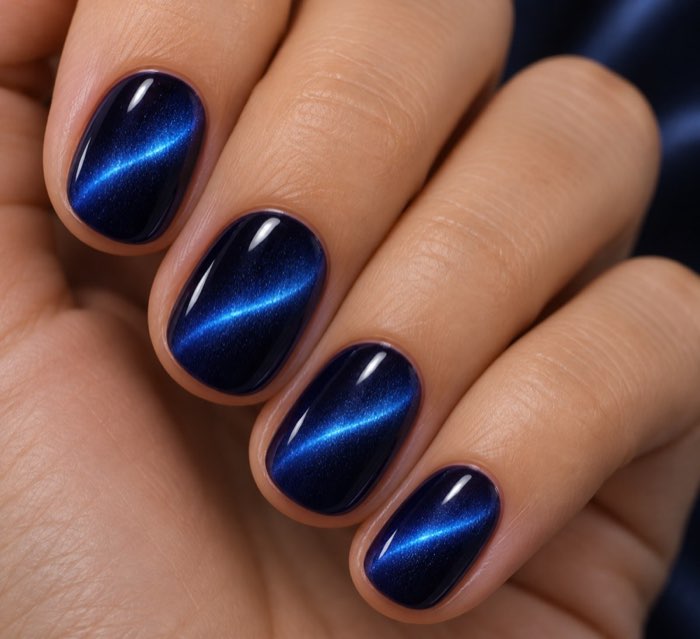 Original Nail Art Inspo image
15
Separate enhancement removal from repair
After removal, inspect the natural nail before applying another product. A break, lifting, or irritation may call for a pause.
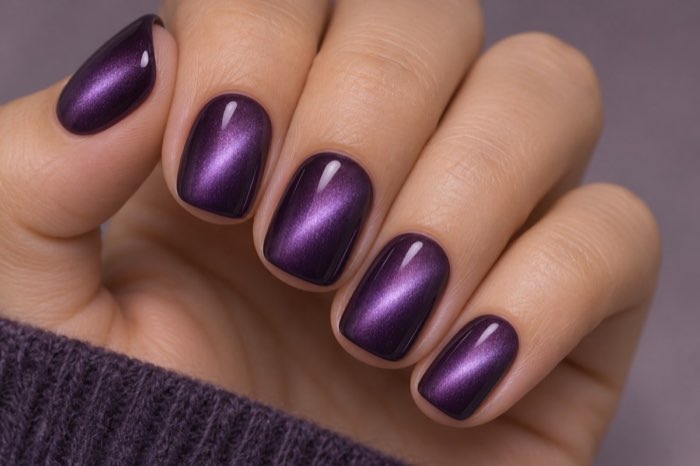 Original Nail Art Inspo image
16
Smooth only loose residue
Use a fine buffer only for residue that is already loose and only according to the product guidance. Do not chase a perfectly bare surface by thinning the nail.
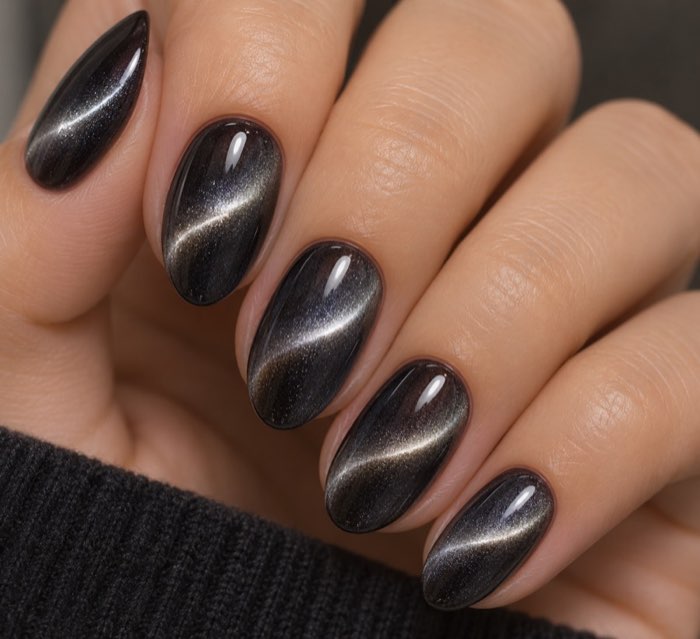 Original Nail Art Inspo image
17
Wash and dry the hands
Clean away remover residue and dry carefully. Avoid immediately applying a new system if the skin feels irritated or the nail is painful.
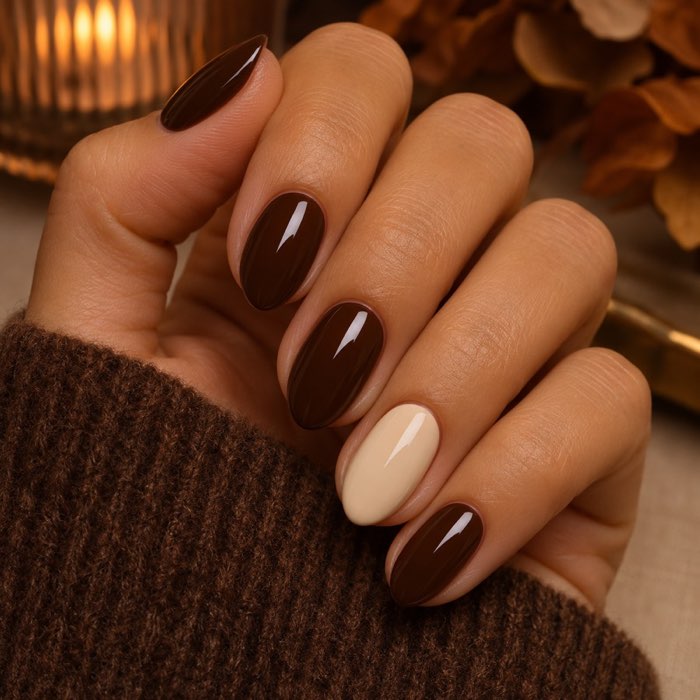 Original Nail Art Inspo image
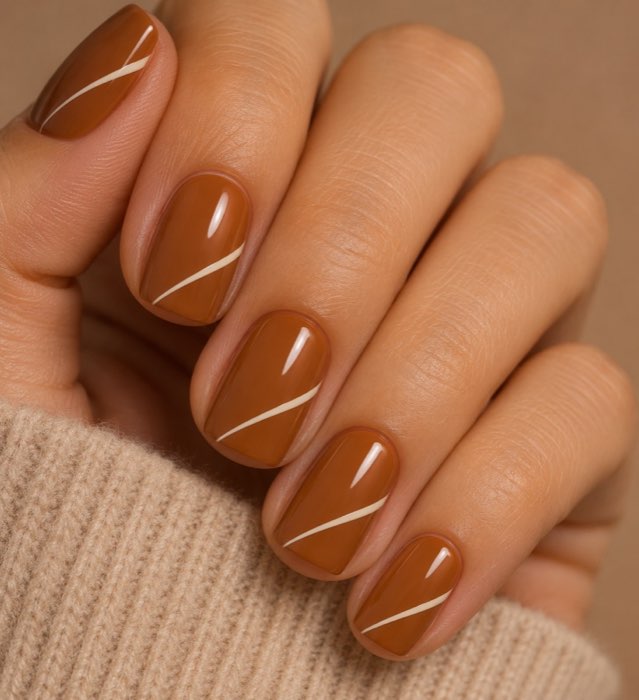
18
Rehydrate the surrounding skin
Apply cuticle oil or a fragrance-free hand cream to the surrounding skin. Moisturizer is comfort care, not a cure for damage.
 Original Nail Art Inspo image
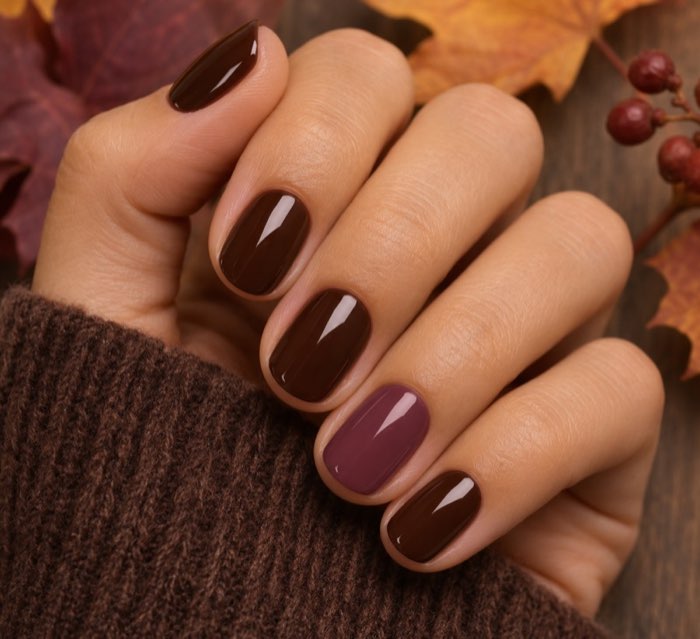
19
Record what worked
Note the product, removal time, remover, and any sensitivity. This record helps you and your nail professional choose a safer next appointment.
 Original Nail Art Inspo image
20
Know when to stop and seek advice
Stop for pain, bleeding, swelling, redness, blistering, drainage, suspected infection, or a crack into the sensitive area.
What you need before starting
Set up before you open the remover. You may need the remover recommended for the system, cotton pieces that cover the nail, foil or soak-off clips, a fine file, a wooden manicure stick, a towel or washable mat, and hand cream or cuticle oil. Keep the space ventilated and stable. Do not work near an open flame, excessive heat, food preparation, children, or pets.
Product-specific directions take priority. Some systems are designed to soak off; others need filing by a trained professional. A lamp-cured product that stays hard after the recommended soak is a signal to stop guessing, not an invitation to scrape harder.
Context image
The conservative soak-off sequence
Start by shortening only excess length. If the system requires it, lightly remove the shiny top layer without filing the natural nail. Saturate cotton with the recommended remover, place it over the product, and wrap securely without squeezing the skin. Wait for the stated time.
Test one nail. If the coating has softened, it may lift or roll away with very light pressure. If it remains hard, re-wrap for another short cycle or stop and arrange professional removal. Do not use a metal tool to lever a stubborn coating from the nail plate. Do not keep filing until the natural nail feels thin, hot, or tender.
Context image
Why peeling and scraping cause trouble
Peeling can remove layers of the natural nail along with the product. Aggressive scraping can leave ridges, tenderness, and a rough surface that catches. More force does not make an incompatible system soak off. It only increases the chance of mechanical damage.
A little residue is safer than chasing a perfectly bare nail. After the main product is gone, wash and dry the hands. If the remaining film is already loose and the product instructions allow it, use a fine buffer lightly. Stop before the natural surface becomes thin or sensitive.
Context image
When home removal is not the right choice
Arrange professional removal when the product is hard gel, acrylic, an unknown enhancement, heavily built, strongly bonded, or not responding to the stated method. Also stop when there is lifting with trapped debris, a crack into the sensitive area, bleeding, significant pain, or a nail that feels hot or unusually tender.
Do not apply a fresh product over redness, swelling, blistering, drainage, or suspected infection to hide the problem. If symptoms persist or spread, seek appropriate medical advice. A nail professional can help with product identification and safe removal; a health professional can assess symptoms that are not simply a cosmetic issue.
Context image
After removal: a simple reset
Wash away remover residue and dry carefully. Apply moisturizer to the surrounding skin. Keep the next service conservative if the nail feels sensitive: shorter length, less aggressive preparation, and more time to observe the surface may be appropriate. Do not promise yourself that one oil or treatment will repair every concern.
Record the product name, removal method, approximate timing, and any sensitivity. If you used a salon service, share the record at the next appointment. The goal is not to remove every manicure at home; it is to avoid turning a routine removal into an avoidable injury.
Context image
Distinguish gel polish from other enhancements
The word “gel” does not describe one universal removal method. A soak-off gel polish is formulated to soften in a compatible remover after the system’s surface and timing instructions are followed. Hard gel and some builder systems may remain firm and need controlled filing. Acrylic and certain extensions have their own removal steps. Press-ons may depend on adhesive, tabs, or a combination of both.
If the original service used several products, identify the full system instead of treating only the colored layer. A top coat, builder layer, overlay, or nail art can change how long removal takes. If you cannot identify the products, the safest choice is to stop at the first sign that the expected method is not working.
How to avoid a rushed removal
Choose a time when you do not need to leave immediately. Rushing encourages prying, picking, or using unsuitable tools. Work on one hand at a time if that gives you better control, and take a break if your fingers become uncomfortable from the wrap or the remover.
Keep a bin or paper nearby for used cotton and foil. Close the remover between uses and wash the work surface afterward. Do not pour leftover chemicals into an unapproved container or leave open remover unattended. Follow the product label and local disposal guidance.
A one-nail test is a safety checkpoint
The test nail tells you whether the product is responding, but it does not prove that every layer will release at the same speed. Choose a nail where the product is representative. After the stated time, observe whether the color and top layer have softened. If only the surface moves and the lower layer stays hard, do not increase force.
Re-wrap with fresh saturated cotton for a short additional cycle only when the product instructions support it. If the second check shows the same resistance, switch to professional removal. This checkpoint protects the natural nail from the “almost done” mistake, where the last hard layer is scraped away.
Care after the product is gone
The natural nail may look dry because remover and repeated washing have affected the surrounding skin. That does not mean it needs aggressive buffing or a thick coating immediately. Clean the area, moisturize the skin, and observe how the nail feels during ordinary tasks.
If the nail is comfortable, choose the next service based on its current condition rather than on a promise to restore it instantly. A shorter shape, gentle prep, and a clear removal plan can reduce repeat damage. If it is painful or visibly changed, pause decoration and seek the right advice.
Questions to ask at a salon
Ask what product was used, whether it is soak-off, what remover or file route is expected, how long the service should remain, and what signs require repair. Ask whether you should return for removal rather than attempting it at home. These are ordinary safety questions, not an accusation or a request for a guarantee.
A professional should be able to explain the general route in plain language. If the answer is unclear, the product is unknown, or the nail is already uncomfortable, postpone the next application until you understand the removal plan.
Frequently asked questions
Can I peel off gel nail polish?
Do not peel cured gel from the natural nail. Peeling can remove layers of the nail plate and make the surface tender or uneven.
How long should gel polish soak?
Follow the product or salon instructions. Timing depends on the system, number of layers, thickness, top coat, and preparation. If it remains hard, stop rather than adding force.
Why is my gel not coming off with remover?
It may not be a soak-off system, or the top layer may not have been prepared as directed. Repeated scraping is not a safe diagnosis; ask the salon or arrange professional removal.
Can I use a metal cuticle pusher?
Avoid using metal tools to pry stubborn product. A wooden stick may help with already-softened residue using light pressure, but stop at resistance.
Should I buff after gel removal?
Only remove loose residue and follow the system guidance. Do not buff aggressively to make the natural nail look perfectly bare.
Conclusion
Safe gel removal is slow, product-specific, and gentle. Identify the system, prepare the workspace, use a controlled soak when appropriate, test one nail, and stop at resistance or pain. The safest removal is the one that leaves the natural nail and surrounding skin comfortable enough for the next decision.
Useful Sources And Verification
- U.S. Food & Drug Administration nail-care guidance: https://www.fda.gov/cosmetics/cosmetic-products/nail-care-products
- FDA cosmetic safety guidance: https://www.fda.gov/cosmetics/resources-consumers-cosmetics/using-cosmetics-safely
- American Academy of Dermatology healthy nail tips: https://www.aad.org/public/everyday-care/nail-care-secrets/basics/healthy-nail-tips