
Nail care / Published 2026-11-08
How to Get Nail Polish Out of Clothes: 20 Careful Steps
A conservative stain guide for checking fabric labels, testing cleaners, blotting carefully, avoiding heat, and knowing when to call a professional.
 Original Nail Art Inspo image
Getting nail polish out of clothes is a fabric-and-dye problem, not just a solvent problem. The safest first move is usually to stop rubbing, read the care label, and test any planned cleaner on an unseen area. A product that removes polish from a nail may discolor, melt, or mark a garment.
This guide covers a conservative response for a small polish spot, plus the situations where a professional cleaner is the better choice. It does not guarantee removal, and stain results depend on the polish formula, age of the mark, fabric, dye, finish, and any previous treatment.
THE 20 STEPS
How to get nail polish out of clothes: 20 careful steps
Start with the visual you came for. Each idea below has its own reference image and a practical explanation to take to your next appointment.
 Original Nail Art Inspo image
01
Act quickly
Fresh polish is easier to manage than a dried mark. Move the garment away from the manicure area and start with gentle blotting instead of rubbing.
 Original Nail Art Inspo image
02
Check the care label
Look for fiber, finish, and washing instructions before using any solvent. A stain-removal method must not damage the fabric more than the polish.
 Original Nail Art Inspo image
03
Test an unseen area
Place a little of the planned cleaner on an inside seam or hem. Wait, blot, and inspect for color loss, texture change, or bleeding.
 Original Nail Art Inspo image
04
Lift excess polish carefully
If a thick blob has dried, lift what you can with a blunt edge or the back of a spoon. Do not scrape across delicate fibers.
 Original Nail Art Inspo image
05
Blot, do not smear
Use a clean white cloth or paper towel and press from the outside toward the center. Rubbing spreads pigment and works it deeper.
 Original Nail Art Inspo image
06
Place an absorbent layer underneath
Put clean paper towels behind the stained area so loosened polish transfers away from the fabric instead of through it.
 Original Nail Art Inspo image
07
Work from the reverse side when possible
Treating the back of the stain can push material toward the absorbent layer and away from the visible surface.
 Original Nail Art Inspo image
08
Choose a compatible remover
Acetone can affect dyes, finishes, acetate, modacrylic, and some synthetic fabrics. Never assume it is safe because it removes polish from nails.
 Original Nail Art Inspo image
09
Use small amounts
Apply cleaner to the cloth or cotton swab, not a large puddle directly to the garment. Controlled moisture reduces spreading and rings.
 Original Nail Art Inspo image
10
Change the absorbent layer often
Move to a clean section as color transfers. Reusing a saturated towel can put dissolved polish back onto the fabric.
 Original Nail Art Inspo image
11
Pause if the dye moves
If the garment color appears on your cloth, stop the solvent step and reassess. Dye transfer can create a larger mark than the original stain.
 Original Nail Art Inspo image
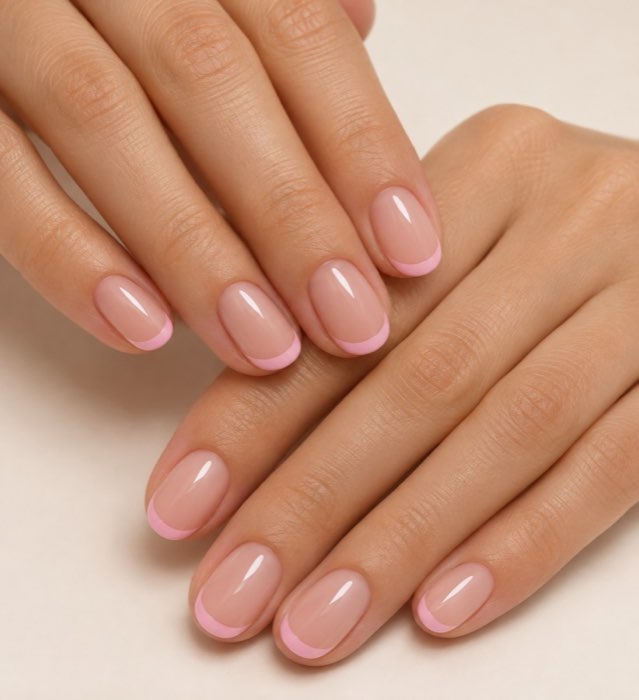
12
Avoid heat at first
Do not tumble-dry, iron, or use a hot dryer until the mark is gone. Heat can set some stains and make later treatment harder.
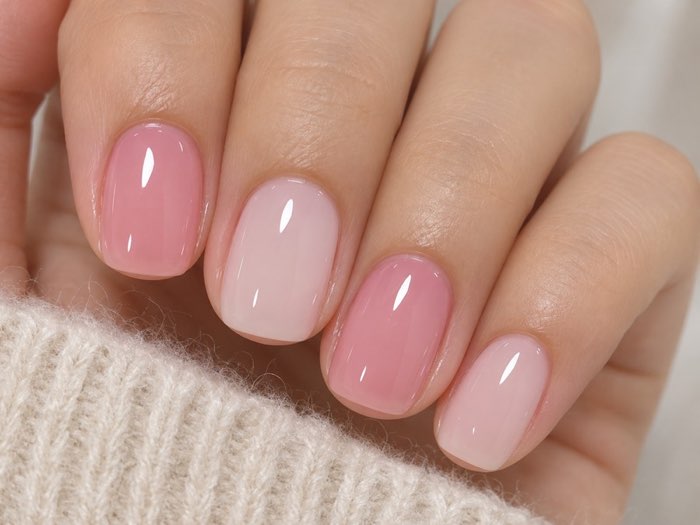 Original Nail Art Inspo image
13
Rinse according to the fiber
After a compatible spot treatment, rinse or launder as the care label allows. Do not combine cleaners casually.
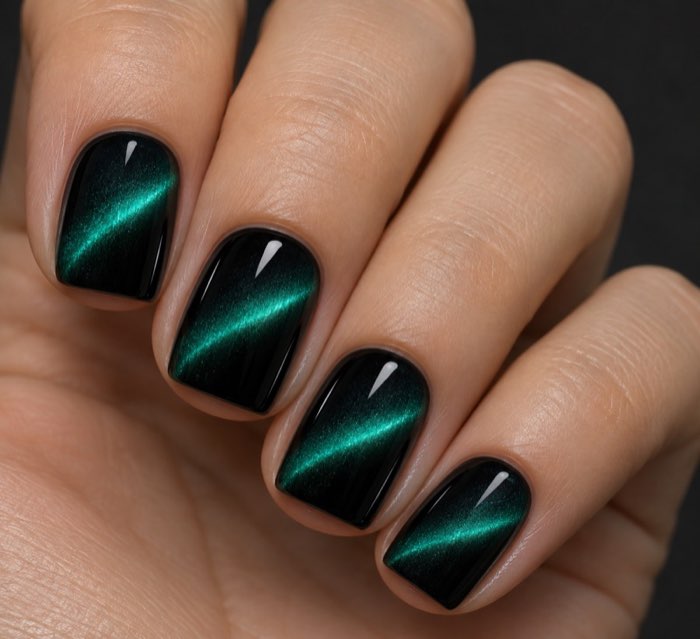 Original Nail Art Inspo image
14
Use detergent for the remaining film
A small amount of suitable laundry detergent can help with residue after the solvent step, but patch-test and follow the care label.
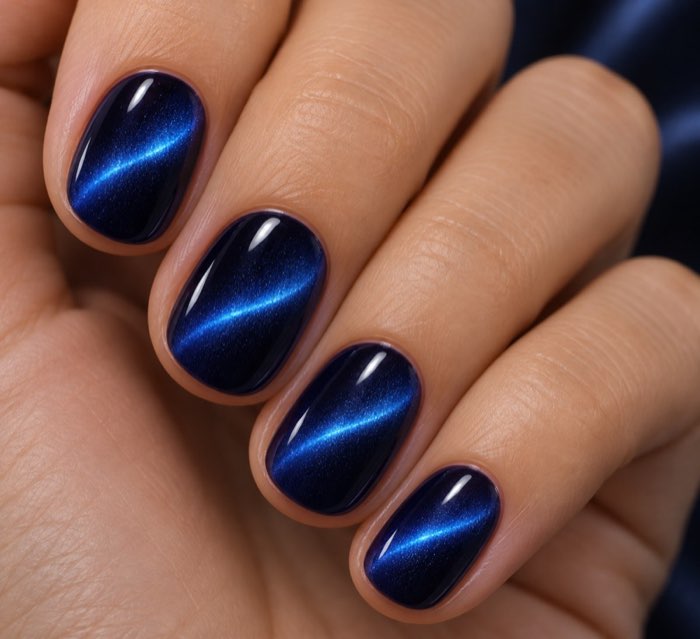 Original Nail Art Inspo image
15
Do not mix chemicals
Never combine acetone, bleach, ammonia, alcohol, or other cleaners. Chemical mixtures can create dangerous fumes or damage fibers.
 Original Nail Art Inspo image
16
Treat delicate fabrics conservatively
Silk, wool, acetate, embellished garments, coated fabrics, and dry-clean-only pieces are strong reasons to use a professional cleaner.
 Original Nail Art Inspo image
17
Keep ventilation and protection in mind
Use ventilation and protect your skin when a label calls for it. Keep solvents away from flames, children, and pets.
 Original Nail Art Inspo image
18
Repeat only when the fabric tolerates it
One careful cycle is better than repeated aggressive scrubbing. Let the area dry enough to inspect before deciding.
 Original Nail Art Inspo image
19
Check the garment in daylight
Color and texture changes can be subtle under indoor light. Inspect the front, reverse, seam, and surrounding area before washing.
 Original Nail Art Inspo image
20
Stop and ask a cleaner when unsure
If the fabric, dye, polish, or care label is uncertain, take the garment to a professional and explain what has already been applied.
Start with the garment, not the bottle
Read the care label and identify the fiber before choosing a solvent. Acetone is effective against many nail-polish formulas, but it can damage acetate, modacrylic, some dyes, coatings, and synthetic finishes. Even when a label says a fabric is washable, the dye may not tolerate the same treatment.
Dry-clean-only clothing, silk, wool, embellished items, coated fabrics, vintage pieces, and garments with uncertain fiber content deserve extra caution. Take them to a cleaner and explain the polish type, the age of the stain, and anything already applied. Do not hide the use of acetone or another solvent; that information affects the professional’s plan.
Context image
The first response for a fresh spot
Move the garment away from the manicure area and keep the stain from touching another surface. If the polish is still wet, do not wipe across it. Use a clean white cloth or paper towel to blot from the outer edge toward the center. Replace the cloth as color transfers.
If the polish is thick or partly dried, lift only what releases easily with a blunt edge or the back of a spoon. A sharp scraper can pull fibers, and a fingernail can spread pigment into the weave. The aim is to reduce the amount of polish before any liquid treatment, not to make the fabric perfectly clean in one move.
Context image
Testing and controlled treatment
Place an absorbent layer behind the stain. Test the planned product on an inside seam, hem, or other hidden area. Use a small amount on a cotton swab or white cloth, wait briefly, and look for dye transfer, fading, texture change, or a sticky finish. If anything changes, stop.
If the fabric tolerates the chosen treatment and the care label does not prohibit it, work from the reverse side when practical. Apply small amounts, blot, and move to a clean part of the absorbent layer. Do not flood the fabric. Excess liquid can spread the stain, create a ring, or carry dye into a larger area.
Context image
Why heat and rubbing make things worse
Rubbing can push polish deeper and spread it sideways. Heat from an iron, tumble dryer, hair dryer, or hot water can set some stains or change the fabric finish. Keep the garment away from heat until the mark is gone or a professional has assessed it.
Do not mix cleaners. Acetone, bleach, ammonia, alcohol, detergent, and other products should not be combined casually. A chemical reaction can create dangerous fumes, damage fibers, or make the stain harder to interpret. Use one planned method at a time and rinse or launder only as the care label allows.
Context image
After the spot treatment
When the polish has transferred as much as it is going to, follow the care label for rinsing or laundering. A suitable laundry detergent may help with the remaining film, but patch-test it and do not assume more detergent is better. Inspect the garment before drying.
Check the front, reverse, seams, and surrounding area in daylight. If a shadow remains, do not repeat aggressive cycles automatically. Let the fabric rest, document what was used, and ask a professional. Repeated solvent exposure can create a permanent ring even when the original polish might have been removable.
Context image
When to stop and use a professional cleaner
Stop home treatment when the dye moves, the fabric becomes sticky, the surface changes, the stain spreads, or the label is unclear. Stop immediately for strong fumes, skin irritation, or any unsafe setup. Ventilate the space, close the product, and follow the label’s safety directions.
A professional cleaner is the best next step for delicate, expensive, sentimental, structured, coated, or dry-clean-only garments. Tell them exactly what happened and what you applied. Honest information protects the garment and reduces trial-and-error treatment.
Match the method to the fabric
Cotton, linen, polyester, nylon, rayon, acetate, wool, silk, coated fabric, and blended garments can react differently to the same cleaner. A care label gives useful boundaries, but it does not replace a hidden-area test. Dark dyes may bleed, printed graphics may fade, and a finish may become shiny or sticky even when the fiber itself does not dissolve.
The visible stain is only part of the decision. Consider whether the garment is lined, structured, pleated, embellished, waterproofed, or likely to show a ring. If the stain is on a collar, cuff, pocket edge, or seam, the surrounding construction can hold liquid and make the mark spread. Use less product and ask for help sooner when the garment has a high replacement or sentimental value.
A simple blotting pattern
Place the stained section face down over a clean absorbent layer when the fabric and label allow reverse treatment. Apply a small amount of the tested cleaner to a white cloth or cotton swab. Press and lift rather than dragging. Move to a clean part of the cloth and replace the backing towel when it becomes colored.
Work in short checks. Let the area become less wet before judging whether the mark is changing. A wet halo can look like a larger stain even when the pigment is lifting. Do not pour cleaner directly from a bottle, and do not saturate a garment that cannot be rinsed safely.
Fresh, dried, and mixed stains
A fresh spot may transfer with careful blotting, while a dried blob may need gentle lifting before any liquid. A stain that has already been washed or dried can be harder to remove because heat or detergent has changed how the polish sits in the fibers. Previous attempts also matter, especially if bleach, oil, or a colored cloth was used.
Write down what happened before trying another step: polish color and formula if known, time since the spill, whether the garment was washed, and which products touched it. This keeps you from repeating a method that already caused dye movement or a ring.
Safety around solvents
Use ventilation and follow the product label. Keep solvents away from flame, sparks, hot appliances, food, children, and pets. Protect skin when the label calls for gloves, but do not wear a glove that reduces your control around a sharp tool. Close the bottle between checks.
Never mix cleaning products to make a stronger solution. Bleach, ammonia, alcohol, acetone, and other chemicals can react or create additional damage. If a product splashes into the eyes or causes significant irritation, follow its safety label and contact an appropriate poison or medical service.
When professional cleaning is the smart choice
Professional cleaning is not an admission that the stain is impossible. It is a lower-risk route when the fabric is delicate, expensive, structured, coated, dry-clean-only, vintage, or sentimental. It is also the better choice when the care label is missing, the dye is unstable, the polish is unknown, or a home test changes the surface.
Show the cleaner the whole garment and point out every product already used. Ask whether the proposed treatment could change color or finish and whether the stain can be reduced rather than completely removed. A clear expectation protects both the garment and the cleaning decision.
Frequently asked questions
Does acetone remove nail polish from every fabric?
No. Acetone can damage some fibers, dyes, coatings, and finishes. Always check the label and test an unseen area, or use a professional cleaner.
Should I rub a fresh polish stain?
No. Blot and lift excess gently. Rubbing spreads the pigment and can work it deeper into the weave.
Can I use nail-polish remover on clothes?
Only after checking the fabric and testing an unseen area. “Remover” formulas vary and may contain ingredients that affect dyes or finishes.
Should I wash or dry the garment first?
Follow the care label after a compatible spot treatment, but avoid heat until you know the stain is gone. Heat can make some marks harder to remove.
What if the polish is on silk or wool?
Use a professional cleaner rather than experimenting with household solvents. Explain the stain and any product already used.
Conclusion
The safest stain response is controlled: stop rubbing, read the label, test the cleaner, use small amounts, keep absorbent layers clean, avoid heat and chemical mixtures, and stop when the fabric or dye reacts. When the garment is delicate or uncertain, professional cleaning is the lower-risk choice.
Useful Sources And Verification
- American Cleaning Institute laundry care guidance: https://www.cleaninginstitute.org/cleaning-tips/clothes/stain-removal
- FTC clothing care labels: https://consumer.ftc.gov/articles/clothing-care-labels
- Poison Control household chemical safety: https://www.poison.org/