Nail care / Published 2026-11-08
How to Take Off Press-On Nails: 20 Careful Steps
A slow, adhesive-specific press-on removal guide with natural-nail protection, fit checks, and clear stop signs.
 Original Nail Art Inspo image
Taking off press-on nails should be a slow release, not a peel-and-pull shortcut. The right method depends on whether the set uses glue, adhesive tabs, a peel-and-stick layer, or a combination. A press-on that is ready to come off should release with patience and light pressure. If it resists, more force is not the answer.
This guide explains how to remove press-ons conservatively, how to protect the natural nail, and when to stop. It does not guarantee a result for every brand or adhesive. Check the kit instructions first, and treat pain, redness, swelling, bleeding, blistering, drainage, or suspected infection as reasons to pause and seek appropriate advice.
THE 20 STEPS
How to take off press-on nails: 20 careful steps
Start with the visual you came for. Each idea below has its own reference image and a practical explanation to take to your next appointment.
 Original Nail Art Inspo image
01
Identify the adhesive method
Glue, adhesive tabs, and no-glue systems can need different removal routes. Check the kit instructions before choosing oil, warm water, or remover.
 Original Nail Art Inspo image
02
Choose a calm time
Do not remove press-ons while rushing out the door. A calm setup makes it less tempting to pry or pull.
 Original Nail Art Inspo image
03
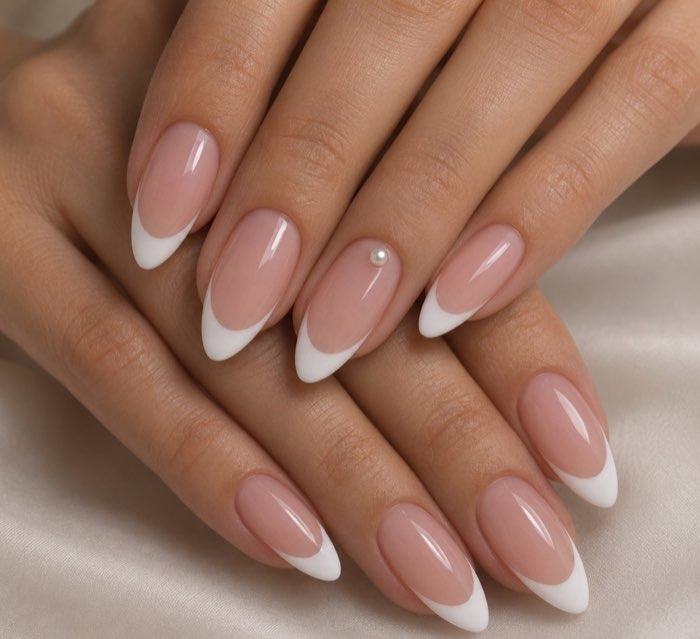
Gather supplies
Have warm water, soap, cuticle oil or a compatible remover, a wooden stick, a towel, and moisturizer ready.
 Original Nail Art Inspo image
04
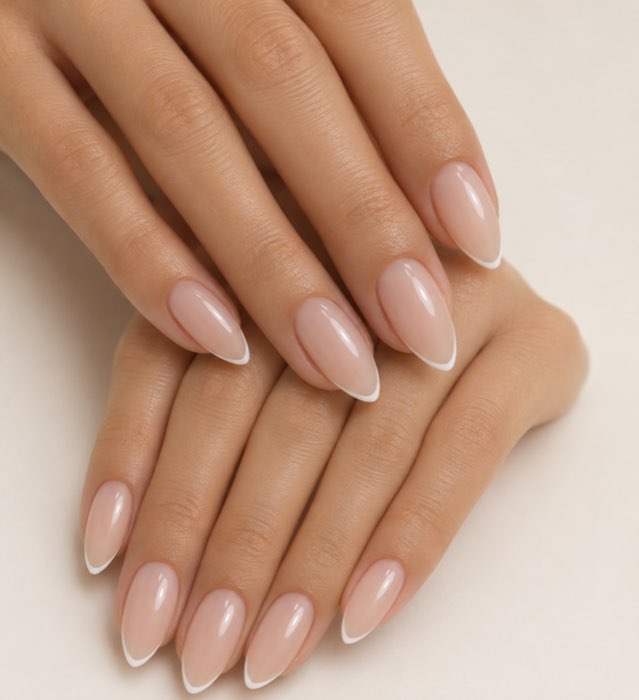
Shorten excess length
If the press-ons are long, carefully shorten the free edge so there is less leverage during removal.
 Original Nail Art Inspo image
05
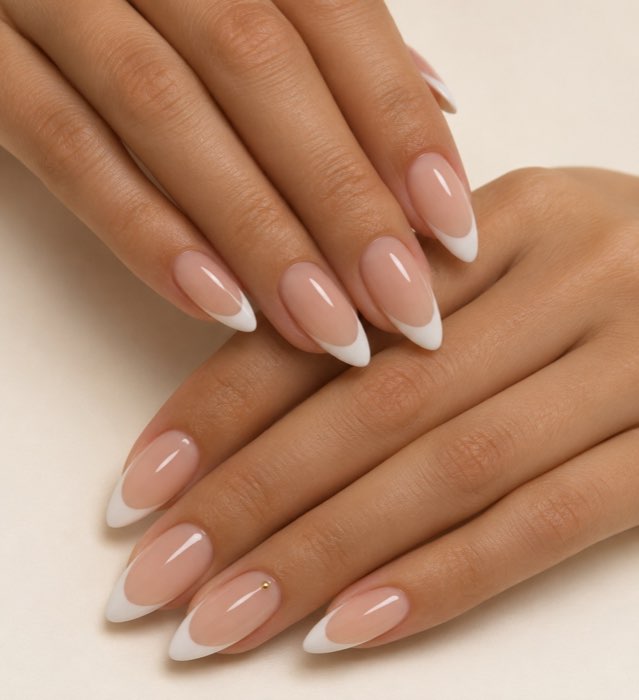
Protect the work area
Use a towel or washable mat. Keep remover away from finished surfaces, flames, children, and pets.
 Original Nail Art Inspo image
06
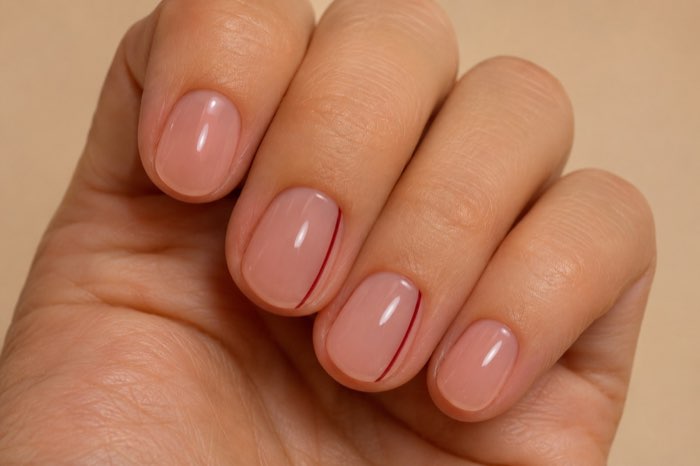
Start with the least aggressive method
Begin with the method recommended for the adhesive. Do not jump straight to force because one corner feels loose.
 Original Nail Art Inspo image
07
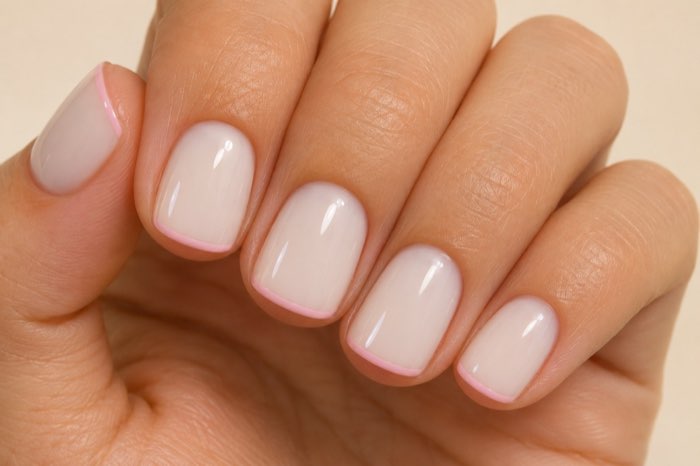
Soak adhesive tabs patiently
Warm soapy water may soften some tabs. Keep the fingertips comfortable and allow time rather than pulling.
 Original Nail Art Inspo image
08
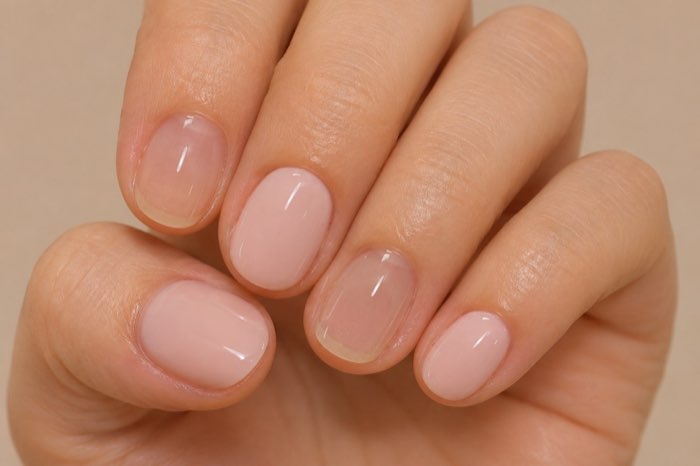
Use oil for a compatible glue route
Cuticle oil around the edges can help some glue-based sets release with time. Follow the product guidance and do not flood the skin.
 Original Nail Art Inspo image
09
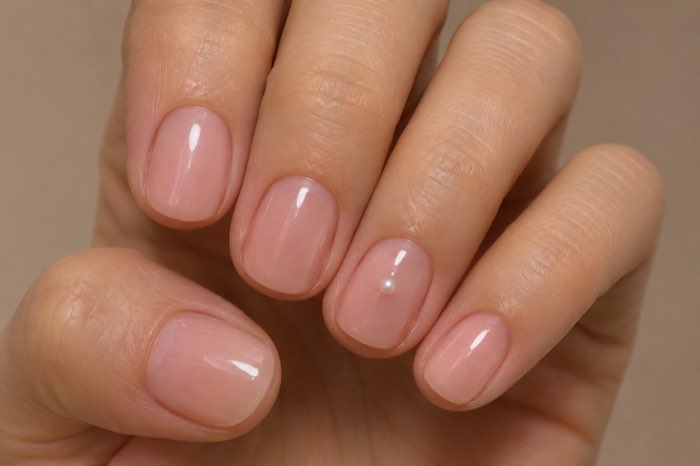
Work from the side edge
When the adhesive has softened, use a wooden stick at the side edge with light pressure. Never lever against the natural nail.
 Original Nail Art Inspo image
10
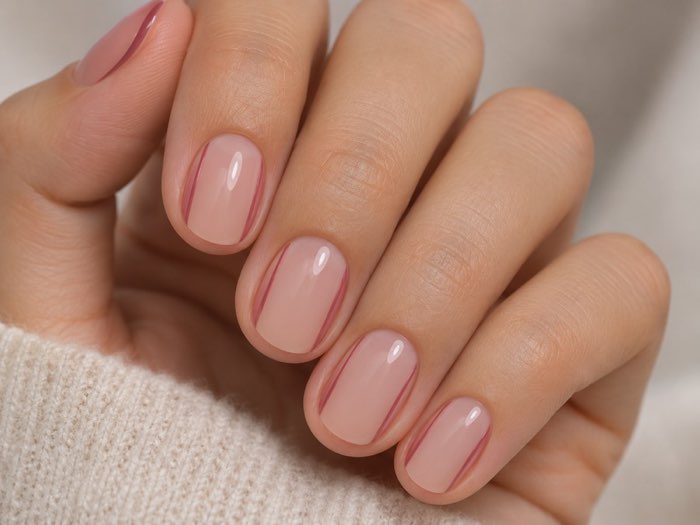
Add time, not force
If the nail does not move, return to the recommended soak or oil cycle. Resistance means the bond is not ready.
 Original Nail Art Inspo image
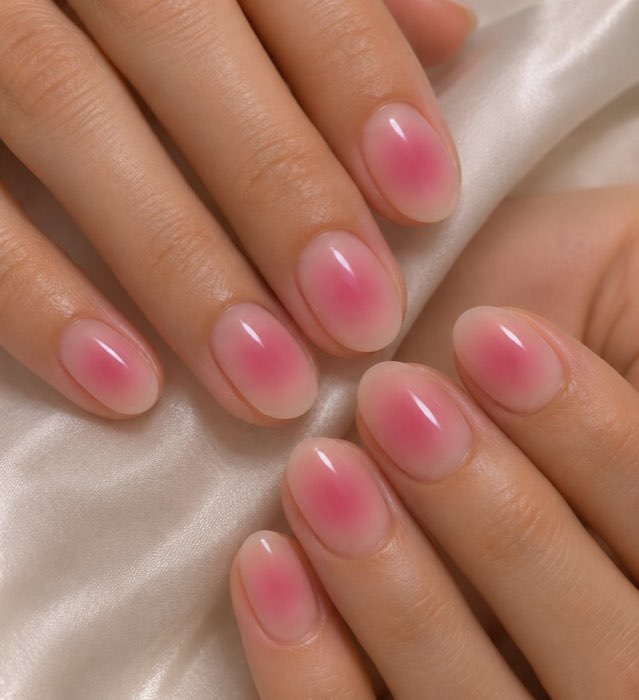
11
Remove one nail at a time
Complete the release on one nail before moving to the next. This lets you notice irritation or an unexpected adhesive reaction.
 Original Nail Art Inspo image
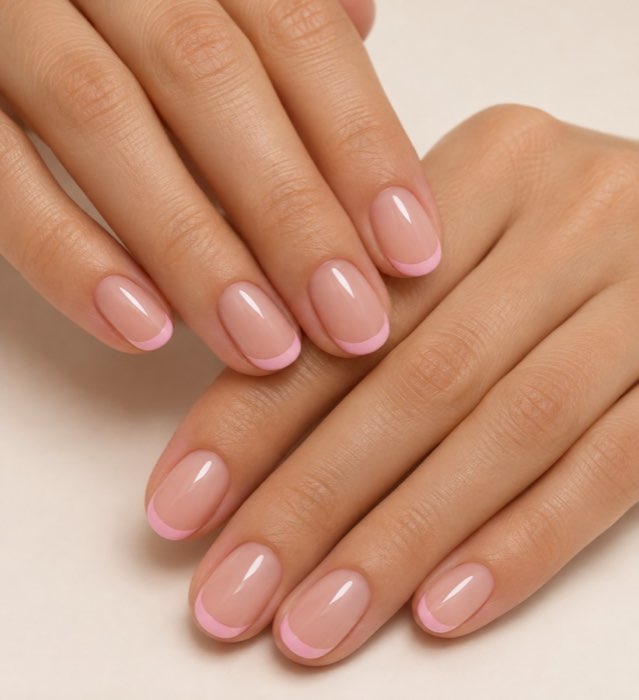
12
Keep the natural nail supported
Hold the finger steady and avoid bending the natural nail backward while the press-on releases.
 Original Nail Art Inspo image
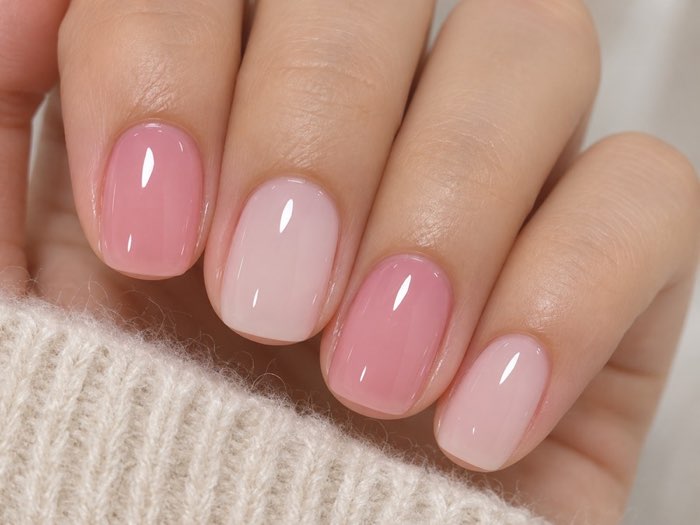
13
Do not peel a bonded nail
Peeling or snapping can remove layers of the natural nail and leave it thin or tender.
 Original Nail Art Inspo image
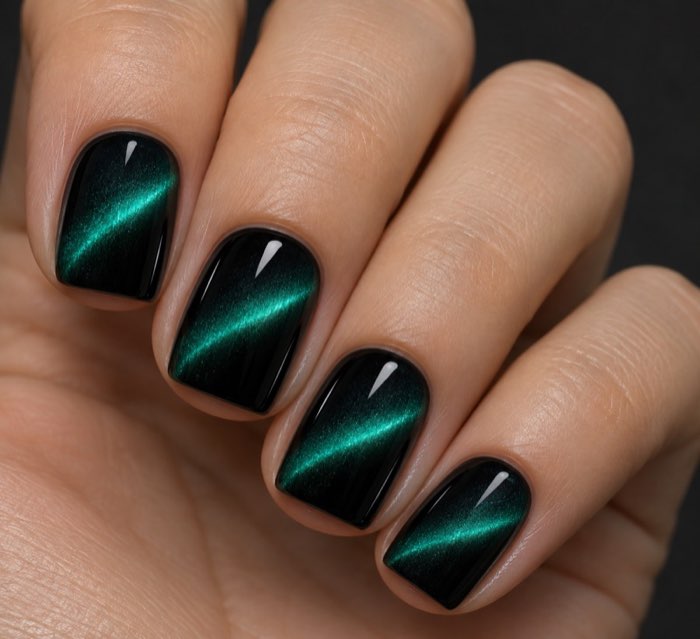
14
Separate residue from the nail
After the press-on is off, soften or roll away loose adhesive according to the product directions. Do not scrape hard residue.
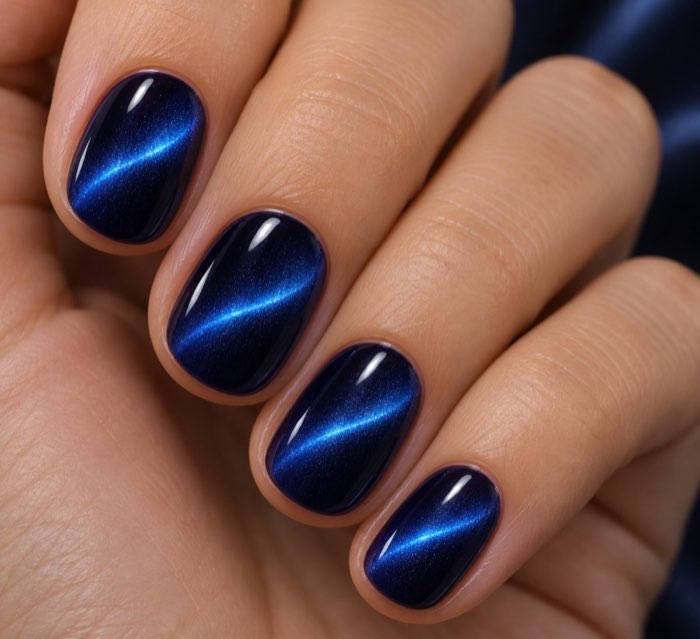 Original Nail Art Inspo image
15
Avoid metal prying tools
Metal tools can gouge the natural nail or cut the surrounding skin. A wooden stick is safer only for already-softened residue.
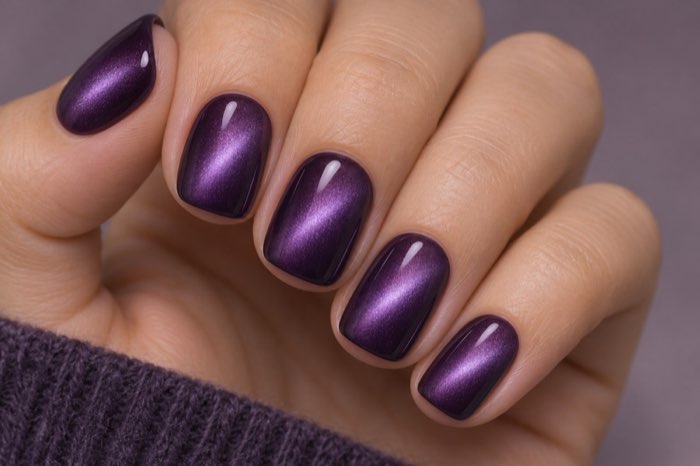 Original Nail Art Inspo image
16
Wash away the removal product
Clean the fingertips after removal and dry them. Follow the label if the remover requires a particular rinse.
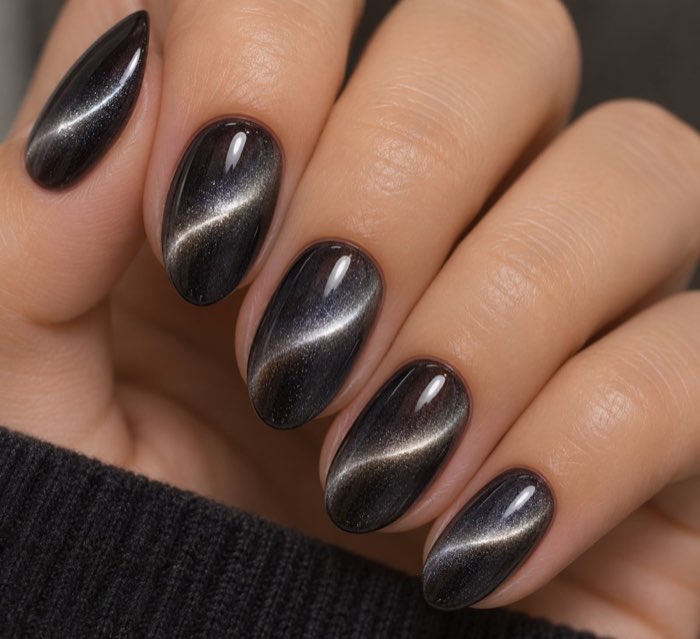 Original Nail Art Inspo image
17
Inspect before reapplying
Look for lifting, cracks, tenderness, redness, or residue before applying another set.
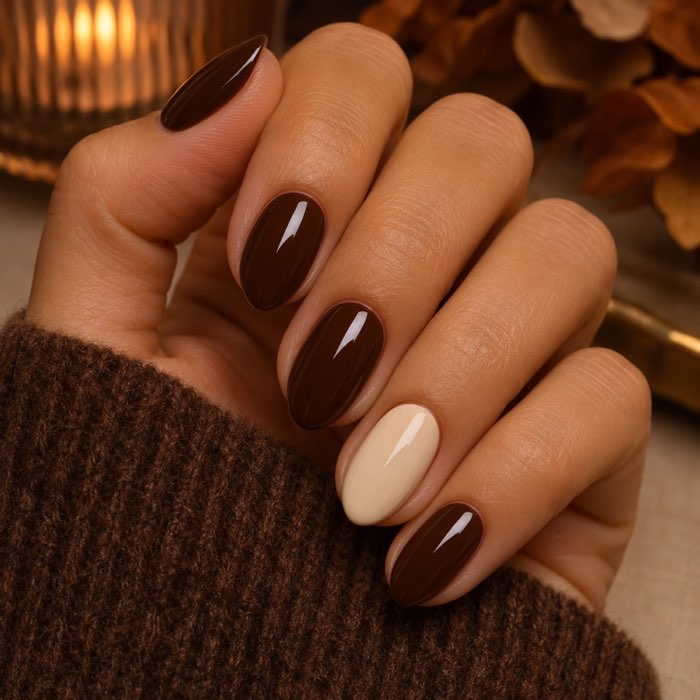 Original Nail Art Inspo image
18
Moisturize the surrounding skin
Apply cuticle oil or fragrance-free hand cream to the skin around the nail. Comfort care does not repair injury.
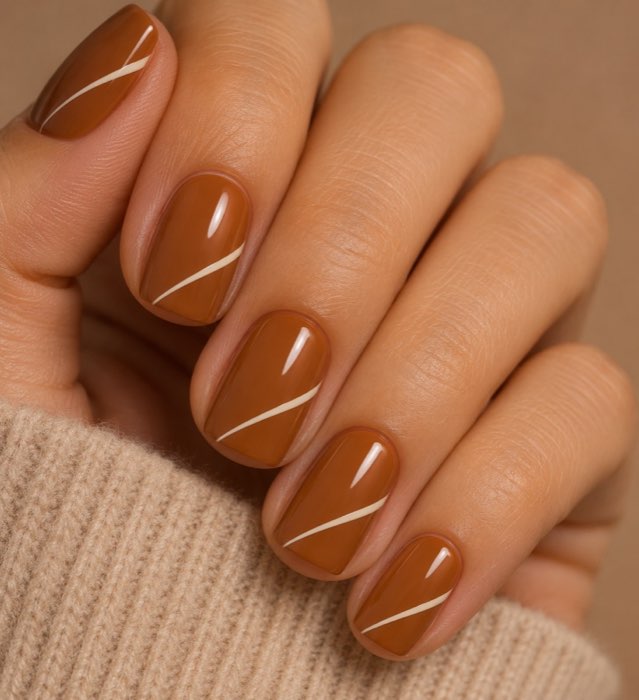 Original Nail Art Inspo image
19
Record what worked
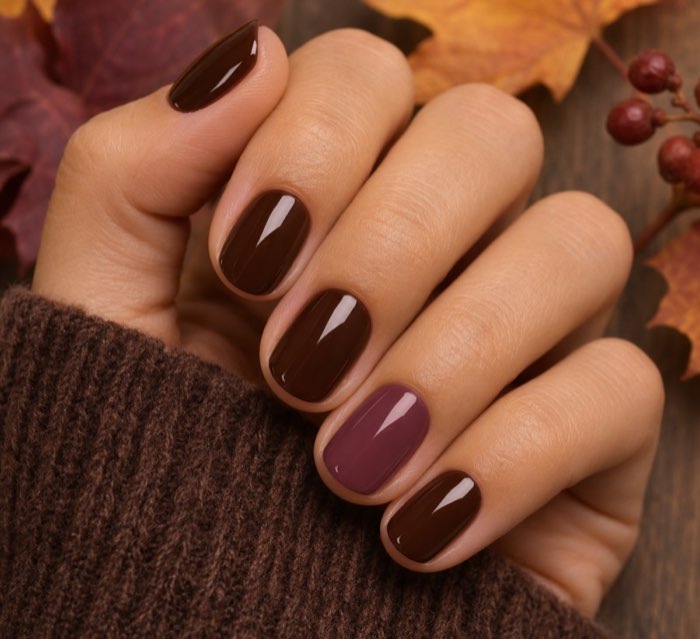
Note the brand, adhesive, soak time, and any sensitivity so the next set can be chosen more safely.
 Original Nail Art Inspo image
20
Stop for pain or damage
Stop for pain, bleeding, swelling, redness, blistering, drainage, or a crack into the sensitive area and seek advice.
Identify the press-on system first
Glue-on sets, adhesive tabs, and no-glue systems can look similar after application but behave differently during removal. A glue-bonded set may need oil and time, while adhesive tabs may respond to warm soapy water. Some systems have a brand-specific remover or removal tool. Read the kit directions before improvising.
If you do not know which adhesive was used, start with a conservative approach and test one nail. Do not combine remover, oil, and heat casually. A mystery bond is a reason to slow down, not to pry.
Context image
Prepare before you start
Choose a stable, well-lit area and place a towel or washable mat under your hands. Have the recommended removal supplies ready, plus a wooden stick, clean towel, and moisturizer. Keep solvent away from flames, finished surfaces, children, and pets. If you are using warm water, it should be comfortable rather than hot.
Shorten only excess length if the press-ons are long. This reduces leverage, but do not cut into the natural nail or squeeze the sides. A shorter press-on is easier to manage while the adhesive softens.
Context image
Glue-on press-ons: patience over force
For a compatible glue route, apply cuticle oil around the edges and allow it time to move into the bond. Some instructions recommend a warm soak; follow the product’s route rather than assuming every glue behaves the same. Work on one nail at a time and keep the finger supported.
When the edge begins to release, use a wooden stick with light pressure at the side. The press-on should gradually lift. If it stops, return to the recommended oil or soak cycle. Do not twist the press-on sideways, pull upward, or use metal to lever it off.
Context image
Adhesive tabs and no-glue sets
Adhesive tabs may respond to warm soapy water, gentle oil, or the kit’s removal instructions. Keep the fingertips comfortable and give the adhesive time to soften. Slide or roll the press-on away only when the bond is releasing.
Avoid soaking a set longer than the product recommends if the design, finish, or natural nail is sensitive to water. If a no-glue set is still strongly attached, stop and check the instructions. “No glue” does not mean “safe to rip off.”
Context image
What not to do
Do not peel a bonded press-on, bite it off, snap it, or pry with a metal tool. These shortcuts can take layers of the natural nail, leave the surface rough, or cut the surrounding skin. Do not use heat to force a bond to release, and do not apply a fresh set over pain or visible irritation.
A little adhesive residue is safer than aggressive scraping. Soften or roll away residue only when it is already loose and the product instructions allow it. If the residue is hard, leave it for a professional removal rather than thinning the natural nail.
Context image
After removal: inspect before reapplying
Wash away oil or remover residue and dry the fingers. Look for cracks, lifting, tenderness, redness, or a change in the natural nail. Apply cuticle oil or a fragrance-free hand cream to the surrounding skin, but do not treat moisturizer as a cure for injury.
If the natural nail feels comfortable, choose the next set by fit, length, adhesive method, and removal plan. If it feels thin or sore, pause the next application. Record the brand, adhesive, time, and what worked so the next service can be more controlled.
When to ask for professional help
Arrange professional removal when the adhesive is unknown, the set is strongly bonded, the nail is lifting with trapped debris, or the natural nail is cracked, painful, or bleeding. Stop for swelling, redness, blistering, drainage, or suspected infection. A nail professional can help identify the system and remove it without guessing; a medical professional can evaluate symptoms that are not simply cosmetic.
Fit and adhesive affect removal
A press-on that fits the natural nail well may still be difficult to remove if the adhesive was applied generously or the set stayed on longer than planned. A gap, lifting edge, or short wear period does not automatically mean it is safe to pull. The bond can be uneven, and the strongest section may still be attached to the natural nail.
Before starting, note whether the set was applied with glue, tabs, a brush-on adhesive, or a product supplied with the kit. If the brand gives a removal video or written sequence, save it before you begin. Directions for one system should not be treated as universal instructions for another.
A slow-release routine
Work around the perimeter rather than trying to lift the entire press-on at once. Apply the recommended softening step, wait, test one side, and stop if the edge does not move. Keep the natural nail supported with the other hand. The goal is to let the adhesive lose grip gradually.
If the press-on begins to release but catches at the center, do not pull harder. Add the time or product step the instructions allow, then test again. A small amount of residue can be cleaned later; a forced release can create a split that is harder to manage.
Glue, tabs, and mixed systems
Glue can respond to oil or a branded remover, but formulas vary. Adhesive tabs may respond to warm soapy water or gentle oil, but some tabs are designed to stay firm until a specific release motion is used. A mixed system may need a sequence rather than one product.
Do not assume that acetone is automatically the best choice. It may affect the press-on finish, surrounding skin, or other materials, and it may not be necessary. Use it only when the instructions and materials support it, with ventilation and a small controlled amount.
What healthy removal looks like
Healthy removal is not defined by how quickly the set comes off. It is defined by whether the natural nail stays comfortable, the surrounding skin remains intact, and no forceful scraping is needed. Some adhesive residue may remain briefly. That is preferable to taking the top layers of the natural nail with it.
After the set is off, wash away oil or remover and inspect in good light. Do not immediately judge the nail by shine alone. Look for tenderness, a split, a lifted edge, or a patch that feels unusually thin. If anything feels wrong, pause the next application.
Planning the next set
Record the size, shape, length, adhesive, and removal method. If the set lifted early, ask whether sizing, prep, water exposure, or adhesive amount contributed. If it was difficult to remove, choose a shorter length or an easier-to-release system next time. Good fit is a safety decision as well as a cosmetic one.
Ask a professional to review an unknown or damaged nail rather than covering it immediately. A fresh set can hide a problem and make the next removal harder to interpret. Waiting is part of the removal plan, not a failure.
Frequently asked questions
Can I peel off press-on nails?
Do not peel a bonded set. Peeling can remove layers of the natural nail and leave it thin or tender.
What is the easiest way to remove glue-on press-ons?
Follow the adhesive instructions, use a compatible oil or soak if recommended, and work slowly from the side edge. Resistance means more time is needed.
Can warm water remove press-ons?
Warm soapy water may help some adhesive tabs or systems, but it is not universal. Check the kit guidance and do not use hot water to force removal.
Can I use acetone?
Only if the adhesive or product instructions support it and the surrounding materials can tolerate it. Test carefully and keep it away from skin irritation and finished surfaces.
Should I buff after removal?
Only smooth loose residue lightly. Do not buff aggressively to make the natural nail look perfectly bare.
Conclusion
Safe press-on removal is a controlled release: identify the adhesive, prepare the workspace, soften the bond as directed, test one nail, and never pry through resistance. Protecting the natural nail matters more than removing the set quickly.
Useful Sources And Verification
- U.S. Food & Drug Administration nail-care guidance: https://www.fda.gov/cosmetics/cosmetic-products/nail-care-products
- FDA cosmetic safety guidance: https://www.fda.gov/cosmetics/resources-consumers-cosmetics/using-cosmetics-safely
- American Academy of Dermatology healthy nail tips: https://www.aad.org/public/everyday-care/nail-care-secrets/basics/healthy-nail-tips