
Nail care / Published 2026-11-22
How to Fix a Broken Nail at Home
Learn how to fix a broken nail at home with glue and a tea-bag patch or silk wrap — plus when to trim it, file it down, and stop the next break for good.
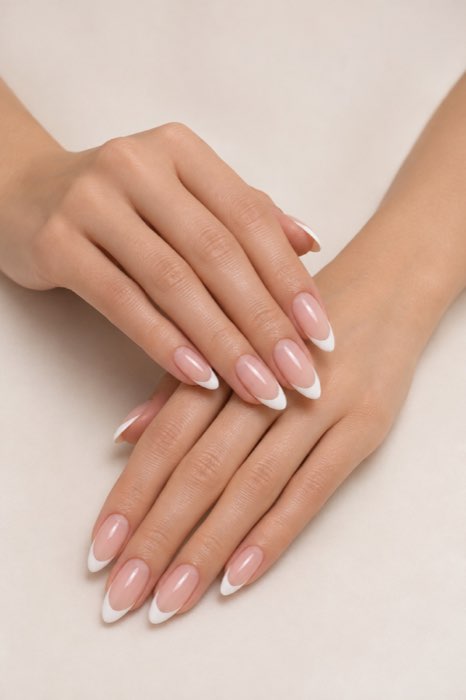 Original Nail Art Inspo image
A broken nail always seems to happen at the worst moment — a tear at the sidewall, a crack across the middle, or a corner that catches on everything you touch. The good news is that most breaks can be fixed at home in a few minutes, and a good repair can hold until the nail grows out.
This guide covers how to fix a broken nail step by step: first aid for the tear, the tea-bag patch, the stronger silk wrap, and what to do when the break is too deep to save. You need only a few basic supplies, and nothing here requires a salon visit.
At a glance: fix a broken nail
| Situation | Do this | Why it works |
|---|---|---|
| Small tear at the tip | Glue it and file smooth | Stops the tear spreading |
| Crack across the nail | Tea-bag patch + glue | The patch bridges the crack |
| Deep sidewall break | Silk wrap + two glue coats | Silk adds real strength |
| Break below the quick | Trim it short and protect it | A repair cannot hold there |
| Broken gel or acrylic | Patch, then fill or soak off | Product needs product-safe repair |
| After the repair | File, buff, then polish | Hides the repair completely |
| Prevention | Oil daily, keep nails shorter | Flexible nails break less |
First, stop the tear getting worse
The moment a nail tears, stop using that hand for anything that pulls at it. A small tear becomes a deep one fast, usually because the loose corner catches on fabric, hair, or a pocket and rips further down the nail.
If a loose flap is catching, press it gently back into place and hold it with a small piece of tape or a sticking plaster until you can repair it properly. Do not pull the flap off: a torn nail bed bleeds, hurts, and takes far longer to heal than a glued repair.
Context image
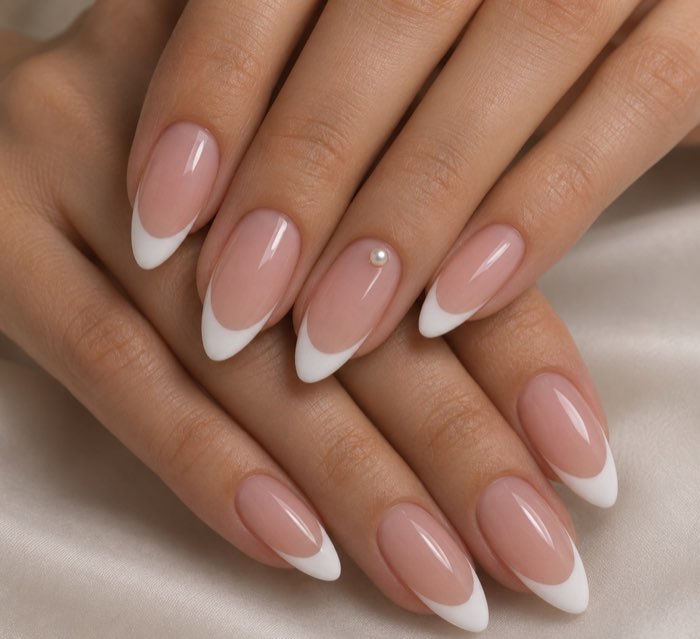
Decide: save the nail or trim it
Not every break is worth saving. If the crack is in the free edge or the upper half of the nail, a patch repair will almost always hold. If the break runs below the smile line and close to the skin, or the nail is lifting from the bed, trimming is the safer choice.
Ask two questions before you decide. First, does it hurt when you press the broken part? Pain or bleeding means the nail bed is involved, and a repair will only trap moisture and delay healing. Second, is there enough nail above the break to patch onto? If the answer to either is no, trim it short and let it grow.
Context image
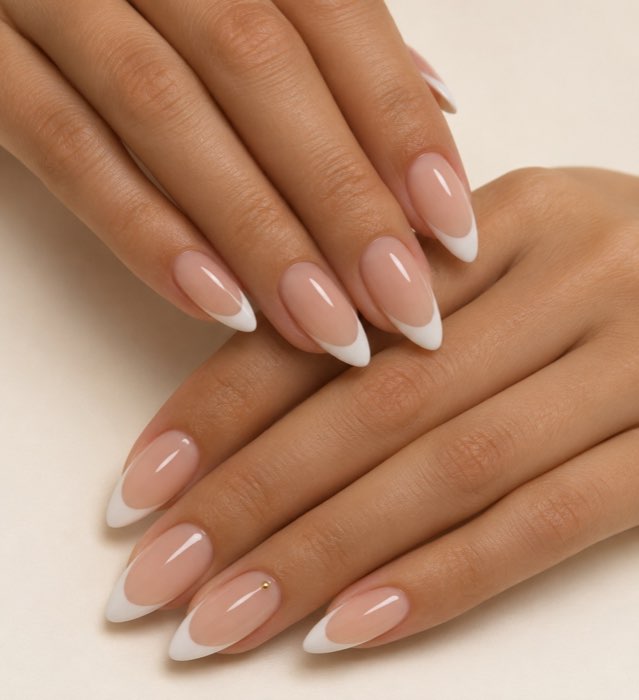
The tea-bag patch: the classic home repair
The tea-bag patch is the repair most nail techs recommend at home because it is thin, flexible, and nearly invisible under polish. Cut a small rectangle from an empty tea bag — or a coffee filter if you have no tea bags — slightly larger than the crack, and set it aside.
Apply a thin layer of nail glue over the crack, lay the patch on top, and press it flat with an orange stick. Let it dry for a minute, add a second thin layer of glue over the patch, and let that dry too. Once it is hard, file the edges gently until the patch is flush with the nail, then buff lightly.
Context image
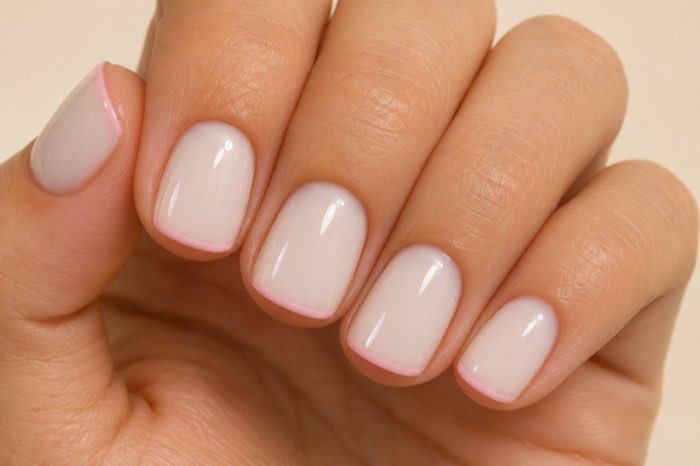
Use a silk wrap for a stronger fix
Silk wraps are the professional version of the tea-bag patch: a fine woven fabric that adds real strength without bulk. They are sold in small kits at drugstores, and one sheet covers many repairs. Cut a piece that covers the crack with a small margin on every side.
Apply the wrap the same way as a tea bag — glue, fabric, glue — but work in thinner layers and let each one dry fully. Silk is stronger than paper, so it suits sidewall breaks and nails that take a lot of wear. Two thin glue coats over silk are stronger than one thick coat, which stays soft and peels.
Context image
Fix a break at the free edge
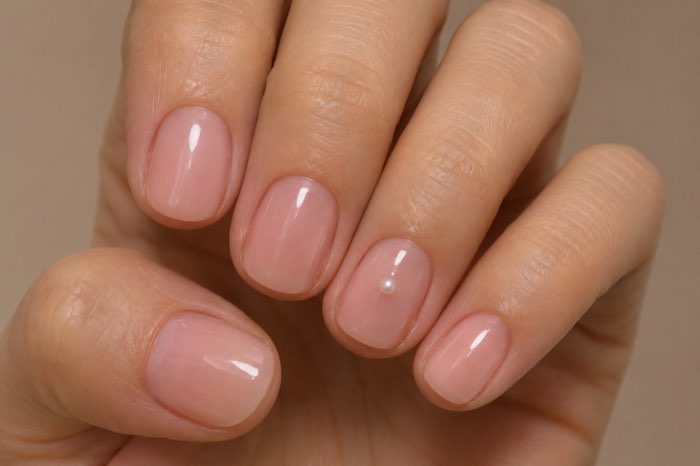
Breaks at the free edge are the easiest to fix because the repair sits on the part of the nail that carries no skin. Clean the nail, apply glue into the crack, and press the two sides together for thirty seconds. If the break is a clean split, glue alone may be enough.
For a jagged edge break, add a small patch over the top after the glue dries. File the free edge into a slightly shorter, rounder shape so the repaired corner does not catch again. A square corner concentrates stress; a softly rounded one spreads it.
Context image
Fix a break at the sidewall
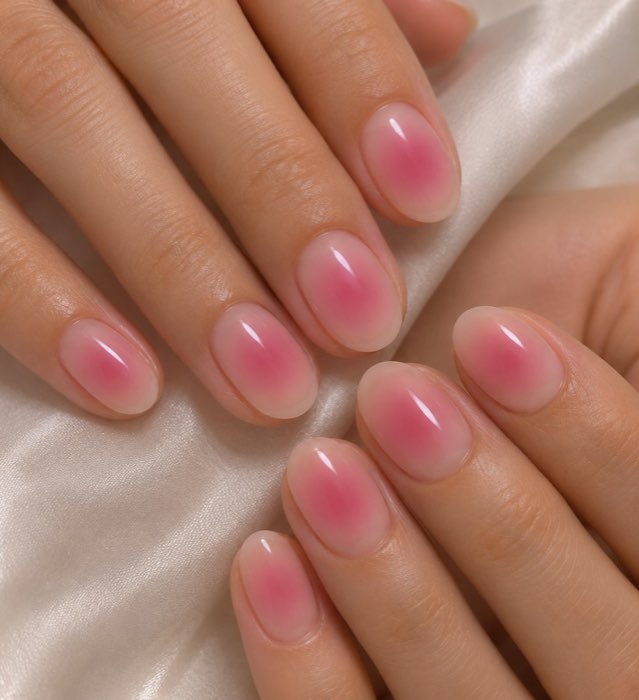
Sidewall breaks are the hardest home repair because the break sits where the nail bends every time you use your hand. A glue-only fix will usually pop open again within a day, so use a silk wrap here rather than a tea bag — the extra strength matters.
Cut the wrap generously so it extends past the break onto solid nail on both sides, and wrap the edge of the fabric slightly around the side of the nail if you can. Keep the patch thin: a bulky sidewall repair catches on things and lifts. If the sidewall crack keeps reopening after two attempts, trim the nail short and let it grow out.
Context image
Repair a broken gel or acrylic nail
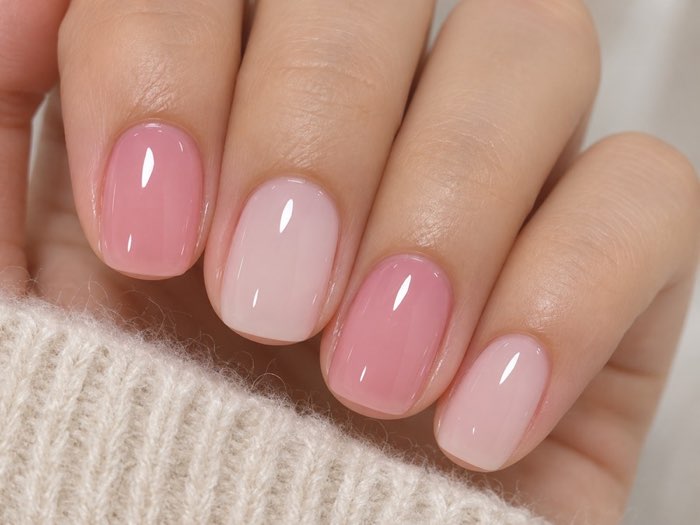
A broken gel or acrylic nail needs a different approach, because regular nail glue does not bond well to cured product. If the break is small, you can patch it the same way as a natural nail, then paint over it with the same gel color and cure it — the new gel layer locks the patch in place.
If the enhancement has lifted or cracked through to the natural nail, the safest fix is to soak it off and start again. Our guide to removing gel nail polish walks through the soak-off steps without damaging the natural nail underneath. Forcing a cracked enhancement off will take layers of natural nail with it.
Context image
File and shape after the repair
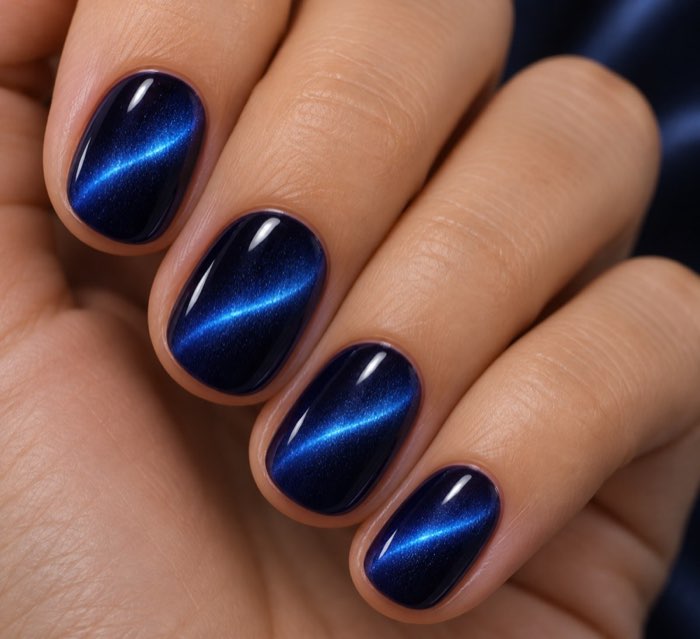
Once the glue is fully hard, the repair needs shaping — a patch left proud of the nail will catch and peel. Use a fine-grit file and work in one direction, from the patch edge toward the center, until the repair sits flush with the nail surface.
Check your work by running a fingertip across the repair: it should feel smooth, with no ridge and no rough edge. Our guide to shaping almond nails shows the filing sequence that keeps the free edge strong. Do not file the patch itself down to nothing — you need the fabric layer to stay intact.
Context image
Paint over the repair so it disappears
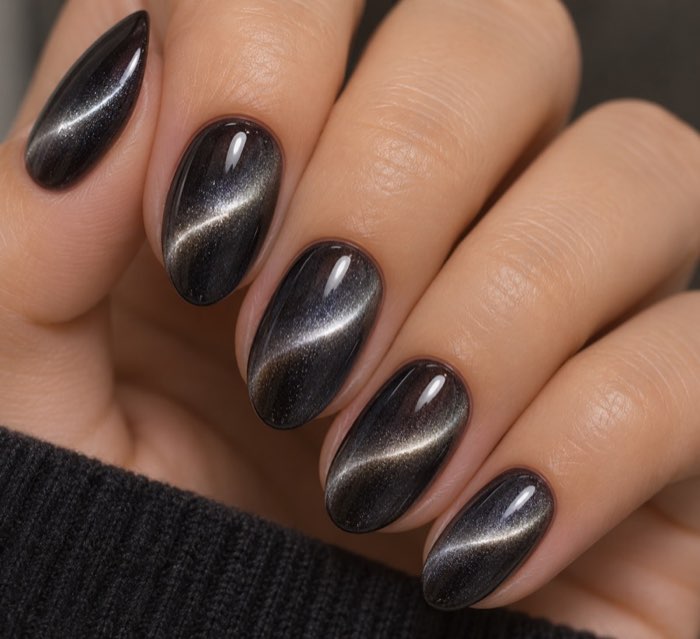
A good patch is invisible once polished. Start with a ridge-filling base coat, which levels the tiny step between patch and nail, then apply two thin coats of color and a top coat. Opaque and darker colors hide repairs best; sheer shades show the patch outline more.
If you wear your nails bare, buff the repair gently with a fine buffer block instead — it will not be invisible, but it will be smooth and tidy. Avoid soaking the repaired nail for a few hours after the fix: water softens glue before it has fully cured, and a fresh repair is at its weakest in the first hour.
Context image
When to remove the nail instead
Sometimes the honest answer is to cut the nail short. Remove it when the break is below the quick, when there is bleeding or pain, when the nail is lifting from the bed, or when the same spot has broken three times. A short nail that grows out healthy beats a long nail that keeps splitting.
Trim with clippers, then file the edge smooth so it does not snag. Keep the short nail oiled and protected while it grows — cuticle oil daily, gloves for wet work, and no picking. Growth is about three millimetres a month, so a deep break takes a few weeks to grow past the free edge.
Context image
Stop breaks before they start
Most broken nails share the same causes: dry, brittle nail plates, too much length for the hands using them, and water exposure. Daily cuticle oil is the simplest prevention — flexible nails bend where dry nails snap — and gloves for washing up protect against the swelling and drying cycle that weakens nails.
Length matters too. If one nail always breaks while the others hold, it is usually the longest one, or the one on your dominant hand doing the most work. Keeping nails a few millimetres shorter removes most of the leverage that causes breaks, and our guide to making a manicure last longer covers the daily habits that keep nails strong.
What a home repair can't fix
A home repair cannot fix a nail bed injury, an infection, or a nail that has separated from the bed. Pain, swelling, redness, pus, or a dark line under the nail all mean the problem is under the nail, not in it — and no amount of glue will help. See a doctor or a dermatologist if any of those appear.
A repair also cannot restore a nail that keeps breaking in the same place because of a ridge, a dent, or a habit like picking. If the same nail breaks month after month, the cause is usually structural or behavioral, and the fix is to address that — shorter length, gentler filing, and a break from enhancements — rather than patching the same spot again.
Frequently asked questions
Can you really fix a broken nail at home?
Yes, for most breaks. A crack in the free edge or upper half of the nail can be glued and patched with a tea bag or silk wrap, and the repair can hold until the nail grows out. Breaks below the quick, or with pain and bleeding, should be trimmed instead.
How long does a tea-bag repair last?
A well-applied tea-bag patch usually lasts one to two weeks — long enough for the break to grow past the stress point. It lasts longest under polish with a top coat, and shortest if the nail is soaked in water often. Reapply if the edge starts to lift.
Can I use super glue on a broken nail?
Super glue works in an emergency because it is the same cyanoacrylate chemistry as nail glue, but nail glue is thinner, brushes on more evenly, and is formulated for nails. Use nail glue when you can; reserve super glue for a one-off fix and keep it off the skin.
Should I cut a broken nail or save it?
Save it if the break is in the free edge or upper half and does not hurt. Cut it if the break is deep, below the quick, painful, bleeding, or lifting from the nail bed. A short nail that grows out healthy is better than a long nail that keeps splitting.
Why do my nails keep breaking in the same place?
Usually because of a weak point: a ridge, a dent, an old break that never fully grew out, or one nail kept longer than the rest. File the weak spot shorter, oil it daily, and give it a few weeks to grow past the free edge before wearing length there again.
Can I put gel polish over a repaired nail?
Yes, if the repair is on a natural nail and fully dry. Apply base coat, then gel color, and cure each layer as normal — the gel locks the patch in. Do not apply gel over a repair that is still soft or lifting, and never cure gel over broken skin.
When should I see a professional about a broken nail?
See a nail technician if the same nail keeps breaking after two repairs, or if an enhancement is cracked through. See a doctor if there is pain, swelling, redness, pus, bleeding that will not stop, or a nail lifting from the bed — those need medical attention, not glue.
Conclusion
A broken nail is a small problem with a simple fix: tape it, decide whether to save or trim it, patch it with a tea bag or silk, and file it smooth. The repair buys time — weeks of it — while the nail grows out. And the habits that stop the next break are the same ones that make every manicure last longer: oil daily, keep the length honest, and wear gloves for wet work.
Sources and verification
- FDA: Nail care products — U.S. Food & Drug Administration nail-care guidance.
- FDA: Using cosmetics safely — FDA cosmetic safety guidance.
- American Academy of Dermatology: Healthy nail tips — everyday nail-care guidance.
- NHS: Nail problems — when to seek advice.