
Nail shapes / Published 2026-11-21
How to Shape Almond Nails at Home: A Step-by-Step Guide
Learn how to shape almond nails at home: the filing sequence, tools, length check, fixing uneven sides, and aftercare — for short and long nails.
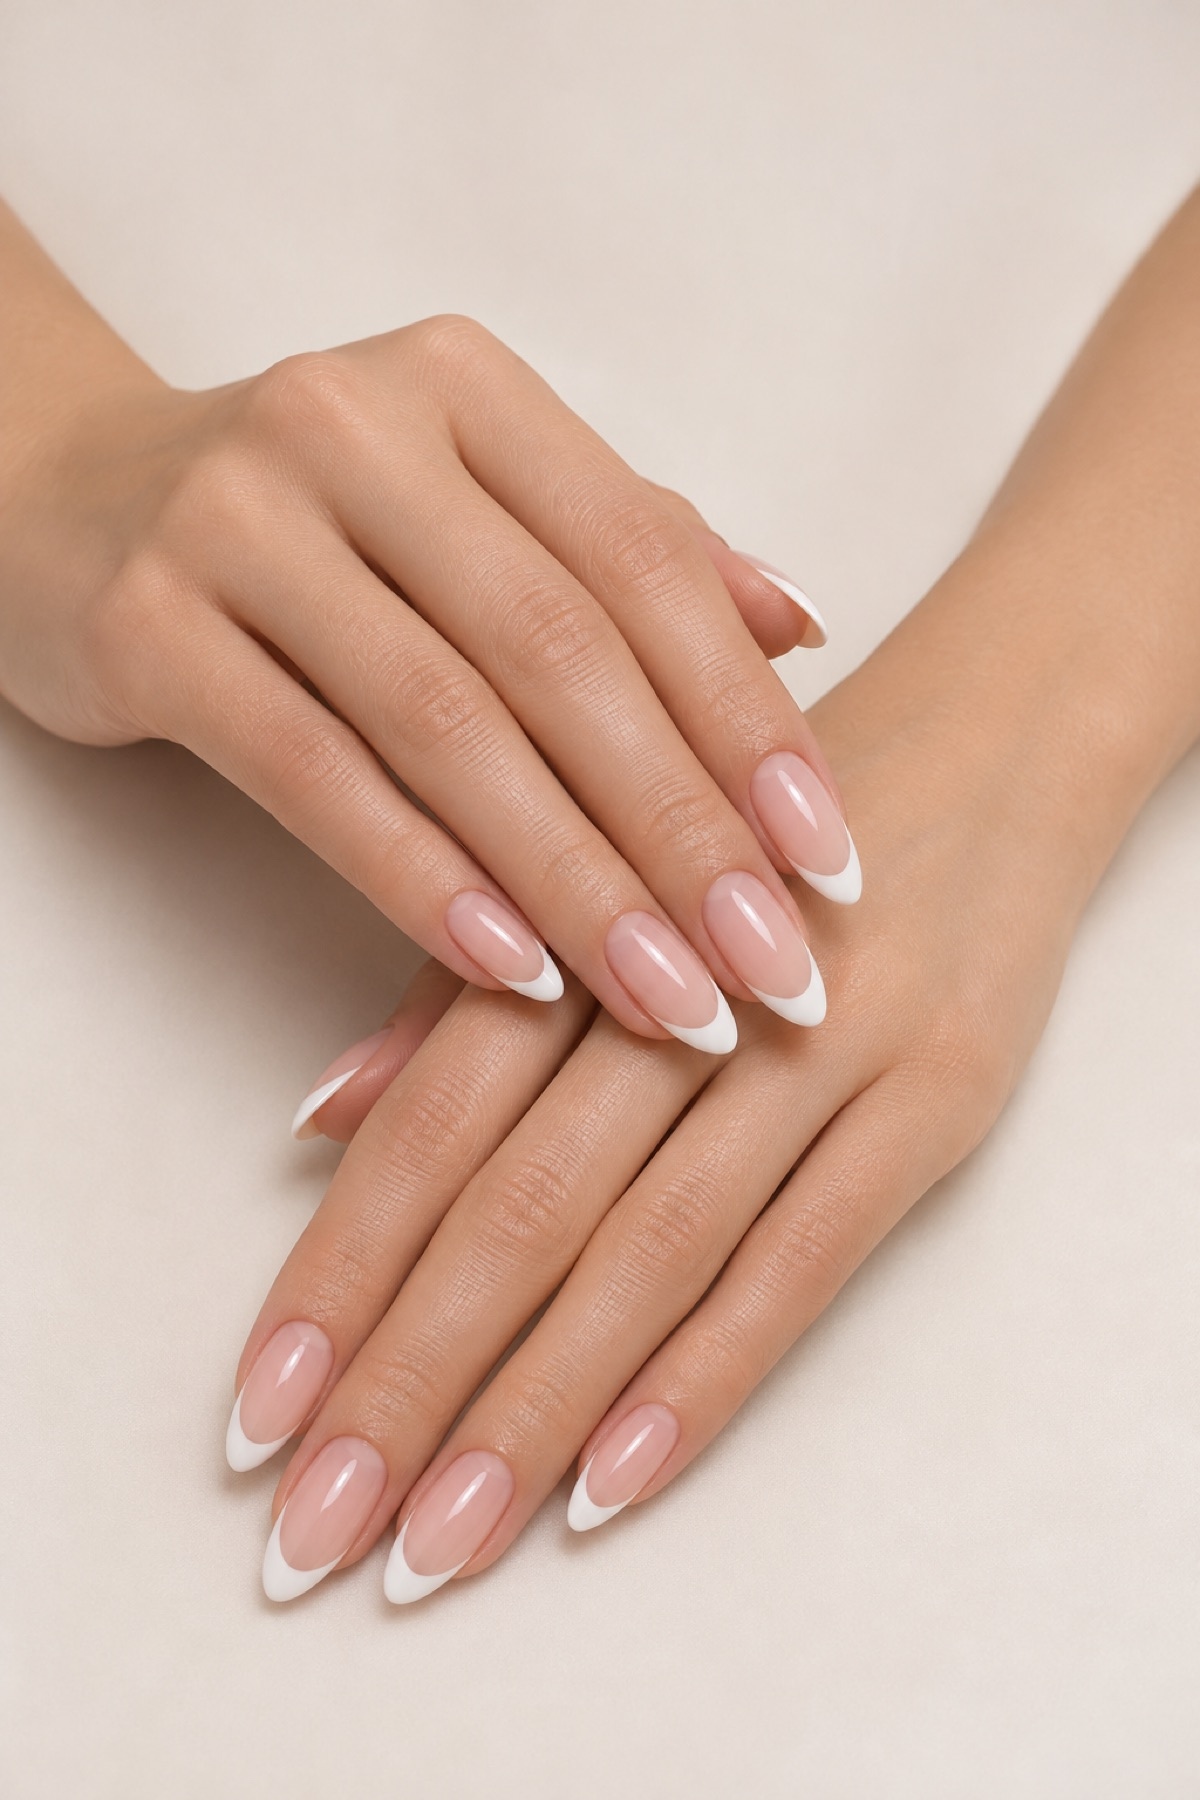 Original Nail Art Inspo image
Almond nails are one of the most requested shapes in the salon for a simple reason: the tapered sides and softly rounded point make fingers look longer without the sharp tip of a stiletto. The shape works on natural nails and extensions, at medium length and — with the right adjustments — on shorter nails too.
Shaping almond nails at home is mostly a filing skill, not a product skill. The sequence below covers the full process: checking your length, filing the sidewalls, rounding the tip, fixing uneven sides, and finishing so the shape holds. Take your time on the first pass — you can always file more, but you cannot file less.
Almond shaping at a glance
| Step | What to do | Tool | Time |
|---|---|---|---|
| 1. Assess | Check length, symmetry, and nail-bed width | Your eyes | 2 minutes |
| 2. Trim | Shorten long nails to a rough almond outline | Nail clippers | 2 minutes |
| 3. File the sides | Taper both sidewalls toward the center line | Medium-grit file | 5 minutes |
| 4. Shape the tip | Round the point, checking from every angle | Medium-grit file | 5 minutes |
| 5. Smooth | Refine edges and remove filing dust | Fine buffer, brush | 3 minutes |
| 6. Finish | Hydrate cuticles and add base coat or polish | Cuticle oil, base coat | 5 minutes |
What almond nails actually look like
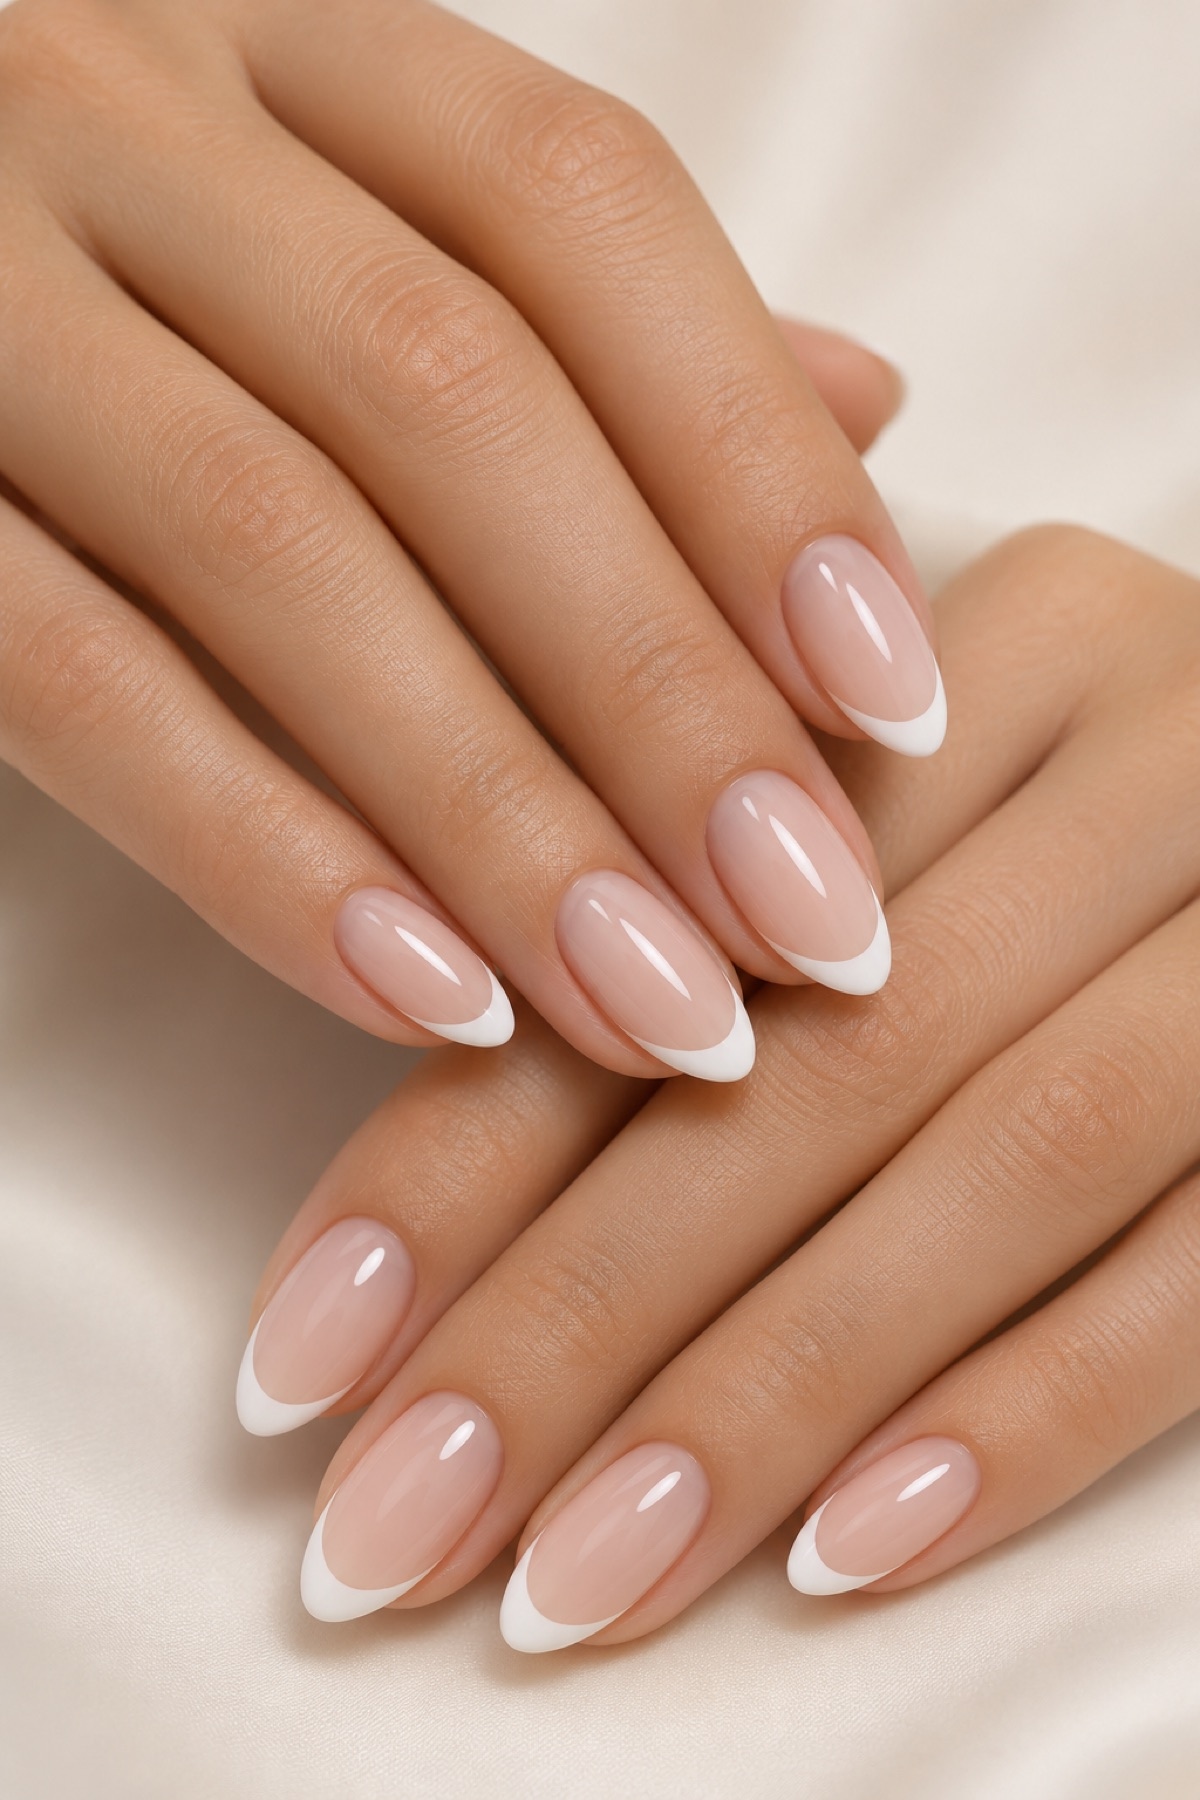
An almond nail is narrower than an oval and softer than a stiletto. The sidewalls taper from the widest point of the nail toward the tip, and the tip itself rounds off instead of coming to a sharp point. Viewed from above, the outline resembles an almond nut: wide at the base, gently narrowing, and rounded at the end.
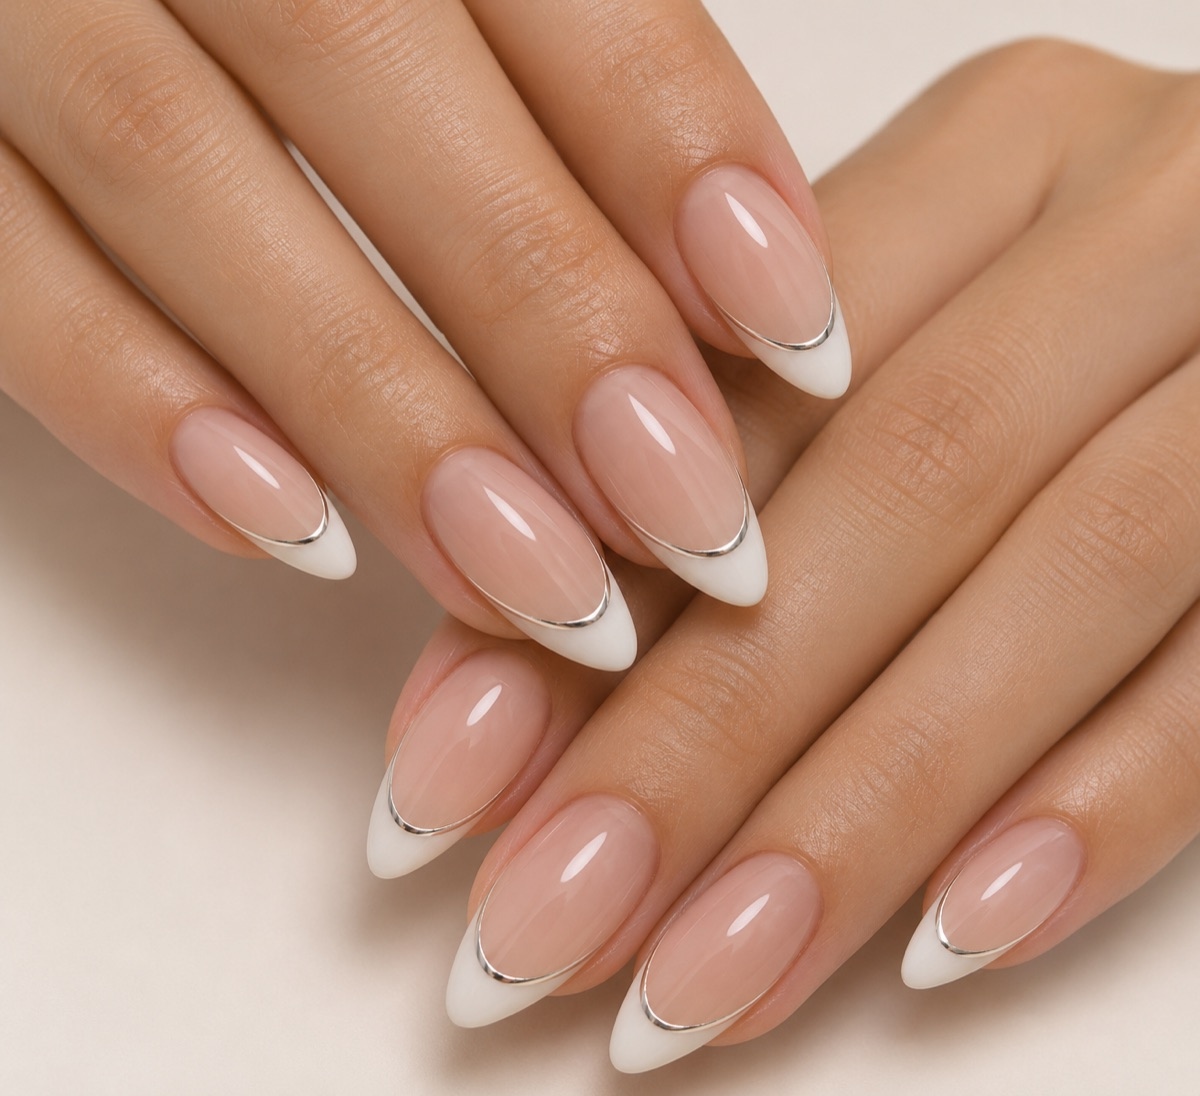
That taper is what makes the shape flattering. It draws the eye along the finger, which is why almond is the default recommendation for anyone who wants longer-looking hands without extreme length. It also suits most polish styles — from a clean white French tip on almond nails to deep creams and chrome — because the shape itself is already the design.
The shape has one honest limitation: it needs length. Almond is defined by the taper, and a taper needs free edge to work with. If your nails barely clear the fingertip, the result will read as a soft oval rather than an almond. That is not a failure — it is the same shape at a shorter length — but it helps to set expectations before you start filing.
Context image
What you need before you start
Almond shaping needs very little equipment, and the file matters more than anything else. A medium-grit file — around 180 grit — removes length without tearing the free edge. A finer buffer smooths the edge afterward. Avoid coarse metal files on natural nails: they remove material fast and leave a rough edge that splits more easily.
- A medium-grit nail file (around 180 grit) for shaping
- A fine buffer for smoothing the free edge
- Nail clippers, only if you need to remove significant length first
- A soft brush or dry cloth to clear filing dust
- Cuticle oil to finish, once the shape is set
Work on clean, dry nails with no polish on them. Filing over polish hides the true edge and makes it harder to judge symmetry. If you are reshaping nails that already have gel on them, remove the gel first — our gel removal guide covers the careful soak-off sequence — rather than filing through the product.
Check your length and nail beds first
Before filing, look at all ten nails together. Nail beds differ in width from finger to finger, and the thumb and index finger are usually wider than the rest. The almond taper should follow each nail's own center line, not a single template — a narrow pinky nail needs a gentler taper than a wide thumbnail to end up looking like the same shape.
Check the length too. Hold your hands palms-down and look at the free edge from the side: for a true almond, the free edge should extend a few millimeters past the fingertip. If some nails are shorter than others, file the set to the length of the shortest nail first. Matching length before shaping is what makes the finished set look deliberate rather than uneven.
Also check the condition of the nails. If a nail is splitting, peeling, or sore at the corners, do not file into the damage — trim back past the split if you can, or let that nail grow out in a shorter oval while the rest take the almond shape. Our nail-care guide covers the routine that keeps length stable between manicures.
Context image
The filing sequence, step by step
The order matters: sides first, tip last. Filing the tip first leaves you guessing where the taper should land, while filing the sides first gives the tip its position for free. Work on one hand at a time, and check symmetry after every few strokes rather than at the end.
- Find the center line. Imagine a line running from the base of the nail to the middle of the free edge. The almond point will sit on this line.
- File the first sidewall. Hold the file at a slight angle and file from the sidewall toward the center in smooth, one-direction strokes. Stop when the side begins to taper — do not file into the skin at the corners.
- Mirror the second sidewall. Match the same angle and number of strokes on the other side, then hold the nail at eye level and compare both sides. They should taper evenly toward the center line.
- Round the tip. With both sides tapered, file the remaining point into a soft curve, blending the tip into the sidewalls. The point should look rounded, not sharp — if it could scratch, it is still too pointed.
- Check from every angle. Look from above, from the side, and with the hand palm-down. A good almond looks symmetrical from above and shows a smooth curve from the side.
- Smooth the edge. Run the fine buffer lightly along the free edge to remove filing marks, then brush away the dust. A smooth edge snags less and holds polish better.
File in one direction only. Sawing back and forth frays the free edge, which leads to peeling at the tip — the exact spot where an almond shape takes the most stress. Short, light strokes give more control than long, heavy ones, and they remove less length per pass, which is what you want while learning.
Context image
Shaping natural nails vs extensions
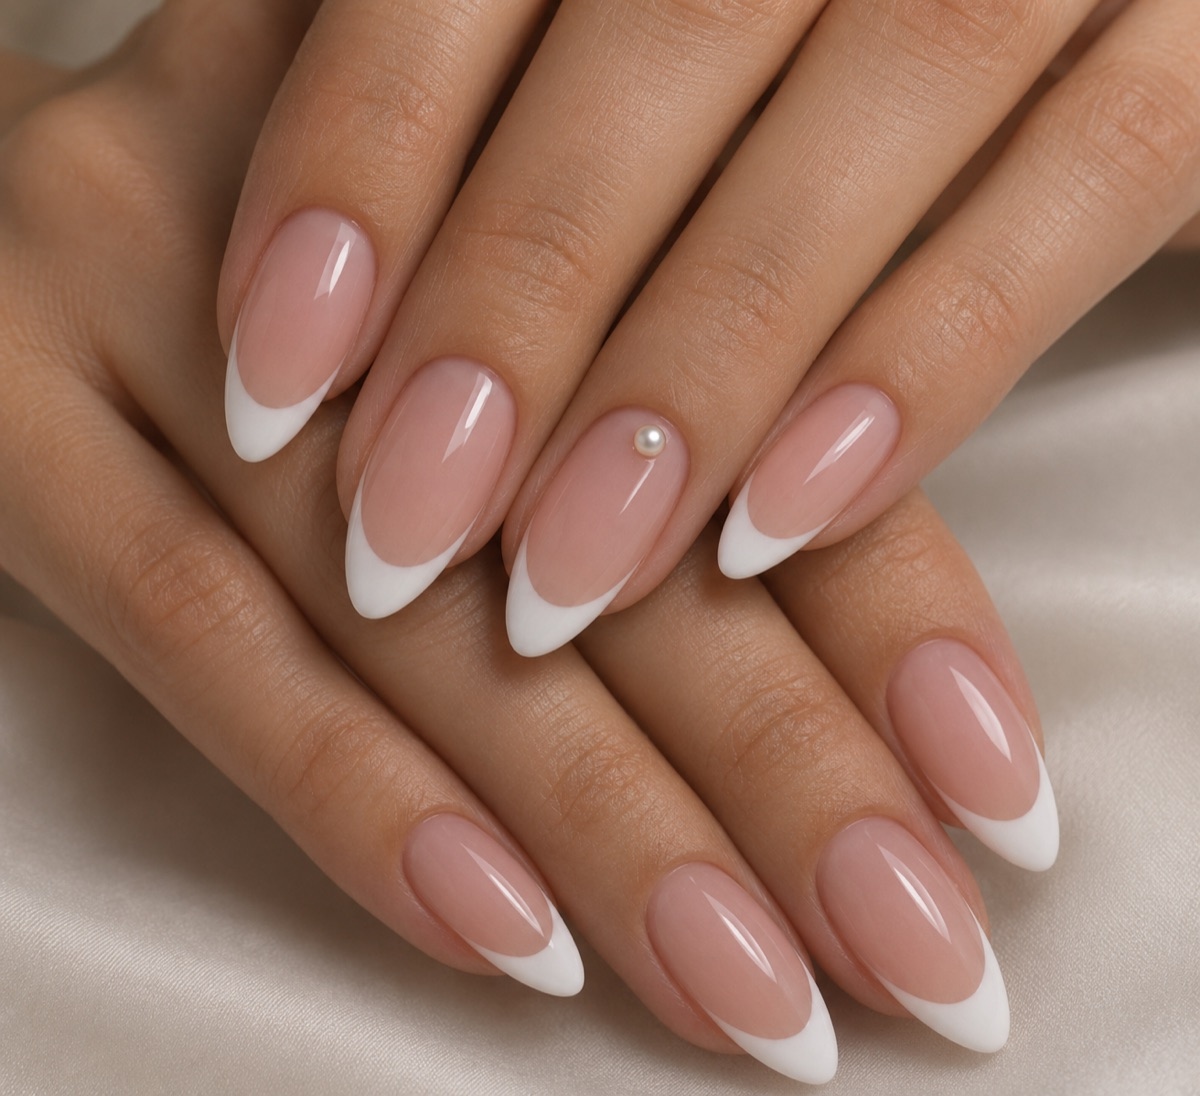
The sequence is the same for natural nails and extensions, but the material changes the stakes. Natural nails are thinner and more flexible, so light pressure and a medium-grit file are enough — pressing hard bends the nail and files an uneven edge. Extensions are harder and more forgiving of pressure, but they also file faster, so it is easier to overshoot the taper.
For extensions, shape before color, not after. Filing a finished gel set risks lifting the color at the free edge. If you are building length with tips, start with tips that already lean almond — our almond and coffin tips guide and gel extensions guide compare the options — so the filing is refinement rather than reshaping.
One difference worth knowing: natural nails grow out of shape within a week or two as the free edge lengthens, while extensions hold the shape until the next fill. If you like almond but dislike weekly upkeep, extensions are the lower-maintenance route to the same look.
Context image
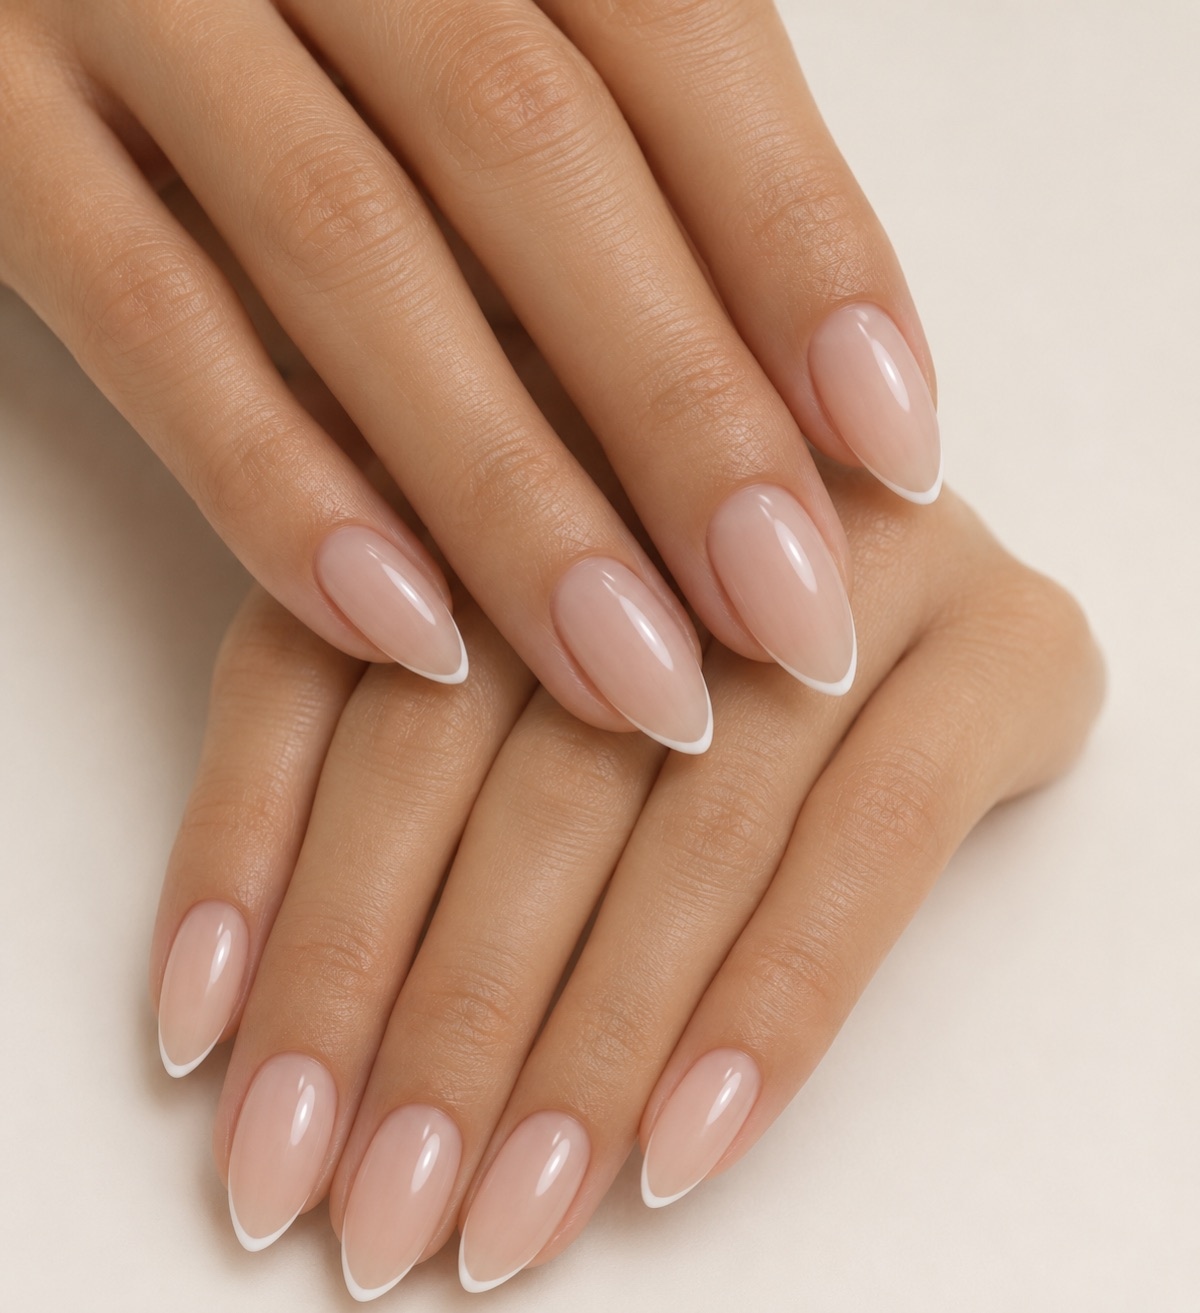
Fixing uneven sides and a crooked point
Almost every first almond attempt comes out slightly crooked. The fix depends on what went wrong. If one side is straighter than the other, file the straighter side only, a few strokes at a time, until both sides taper at the same angle. If the point sits off-center, the side opposite the point is over-filed — file the other side to bring the center line back.
The mistake to avoid is chasing symmetry by filing both sides down repeatedly. Each round shortens the nail, and after two or three rounds there is no length left to shape. Instead, identify the single side that needs work, correct it in small passes, and check at eye level after each pass. A crooked almond that keeps its length always looks better than a symmetrical almond filed down to a nub.
If a nail ends up too pointed — closer to a stiletto than an almond — do not file the sides further. Round the tip itself with a few light strokes across the point, blending it into the sidewalls. The difference between almond and stiletto is only a few strokes at the tip.
Context image
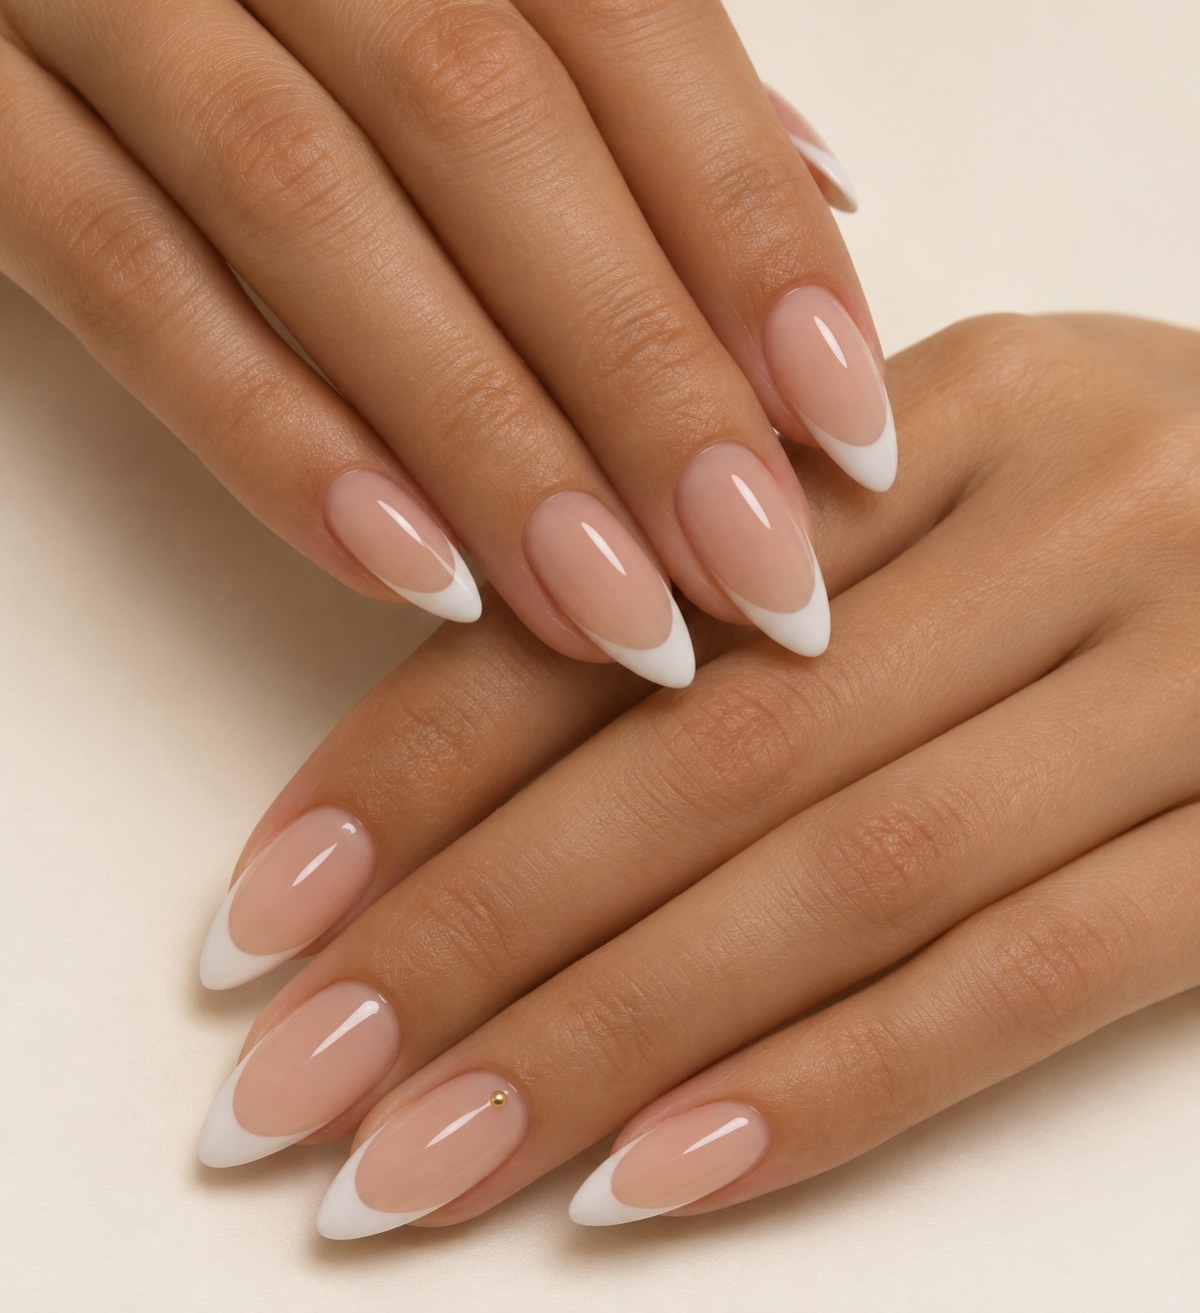
Almond nails on short nails
Short nails can wear an almond-inspired shape, but the technique changes. With little free edge, a full taper leaves almost no tip — so the goal becomes a soft almond-oval: taper the sidewalls only slightly and round the tip generously. The result reads as almond from a normal viewing distance, and it keeps enough width at the sides to stay strong.
Keep the length realistic. On short nails, even two millimeters of free edge is enough to suggest the shape, and sheer or nude polish helps: a milky white or nude layer extends the visual length of the nail without adding physical length. Dark colors do the opposite — they outline the true edge and make short nails look shorter.
If your nails are short because they keep breaking, the shape is not the problem to solve first. Short almond works best on healthy nails that are simply kept short. Press-ons are a practical shortcut while natural nails grow out — our press-ons for short nail beds include almond options that give the look immediately.
Context image
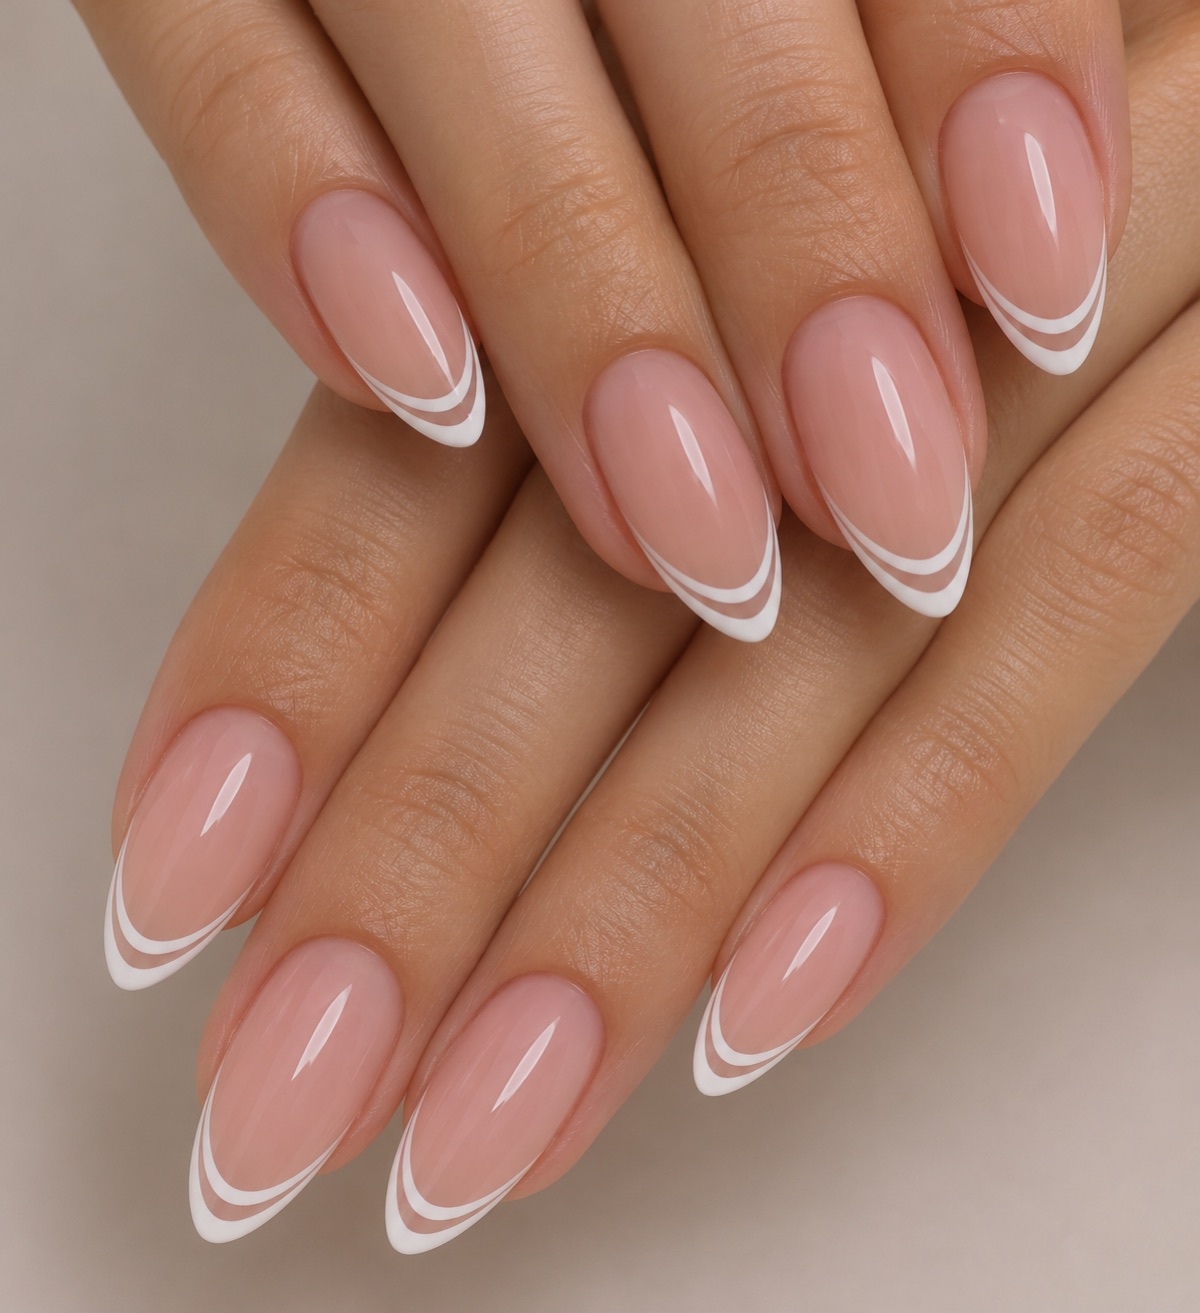
Smooth, seal, and finish
A shaped nail is not a finished nail. The filing leaves a raw free edge that catches on fabric and lifts polish, so the last steps matter as much as the shaping. Buff the edge lightly until it feels smooth to a fingertip dragged across it, then brush away all dust — dust trapped under a base coat shows as bumps.
Seal the edge with whatever finish you choose. A base coat alone protects the free edge; a full manicure with color and top coat should wrap the top coat slightly over the tip, a step often called capping the edge. That thin wrap is what keeps an almond tip from chipping in the first few days, when the shape is newest and the edge is thinnest.
Finish with cuticle oil, massaged into the skin around the nail rather than onto the polish. Hydrated cuticles frame the shape better and make the whole set look intentional. If you used gel polish, follow the lamp and curing instructions on the product label — uncured gel left on the skin is the most common avoidable mistake in home gel manicures.
Context image
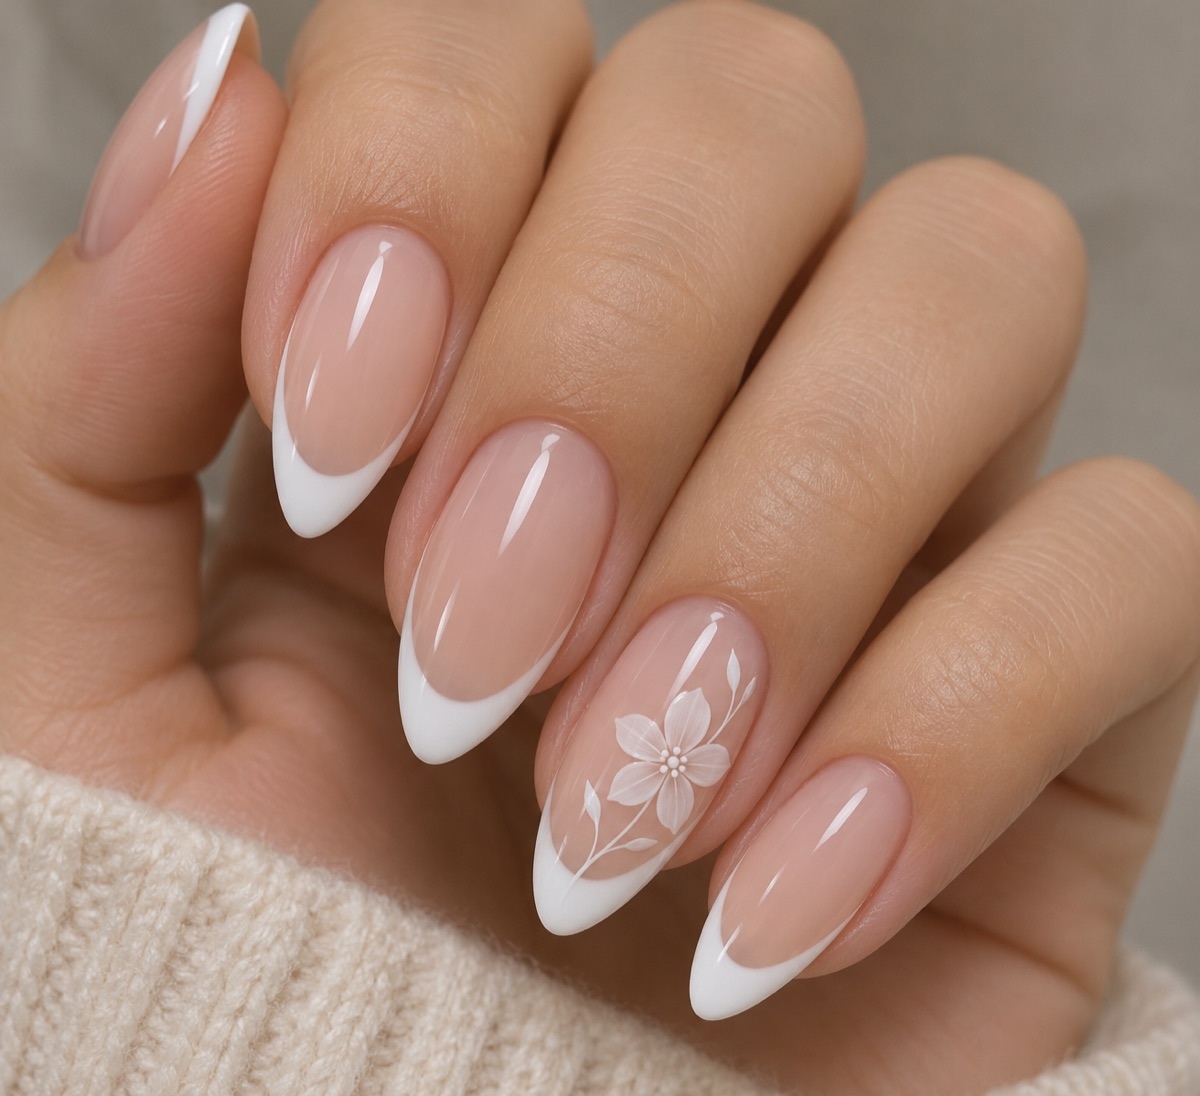
Common mistakes that weaken the shape
Most almond problems come from a short list of habits. Filing back and forth instead of in one direction frays the edge and invites peeling. Filing the sidewalls too deep — into the corners where the nail meets the skin — weakens the nail's anchor and invites ingrown corners. And filing while the nails are wet, or right after a shower, shapes a softer nail that shifts as it dries.
The other common mistake is impatience with length. Almond needs free edge, and filing a short nail into a sharp almond taper leaves a thin, fragile tip that breaks within days. If the length is not there yet, wear the soft almond-oval and let the nails grow — the shape will be waiting when the length arrives.
Finally, do not skip the smoothing step. A rough free edge catches on everything — hair, fabric, keyboard keys — and every catch is a small tug on the tip. Two minutes with a fine buffer after shaping prevents most of the chips that people blame on the polish.
How to maintain the shape between manicures
Nails grow about a tenth of a millimeter a day, which means an almond shape drifts out of taper within a week or two. The maintenance is light: once a week, run the file along each sidewall with a few strokes to restore the taper, and round the tip if it has grown pointed. This takes about five minutes for both hands and keeps the set looking deliberate.
Between filings, the habits in our nail-care guide do the quiet work: cuticle oil daily, gloves for wet cleaning work, and no using the nails as tools. An almond tip is the narrowest part of the nail and the first to go if it is used to open cans or scrape labels.
When one nail breaks, resist the urge to file the whole set down immediately. Trim the broken nail to a neat short oval, keep the rest at almond length, and let the short nail catch up over the next two weeks. A single shorter nail is far less noticeable than a full set filed down to match it.
What you need
Affiliate disclosure: The links below are affiliate links to Amazon. If you buy through one, Nail Art Inspo may earn a commission at no extra cost to you. As an Amazon Associate, Nail Art Inspo earns from qualifying purchases.
The kits below bundle the prep tools this guide mentions — a file, a buffer, and prep supplies. Check the current listing for the exact contents, size, and price.
 01Amazon listing image
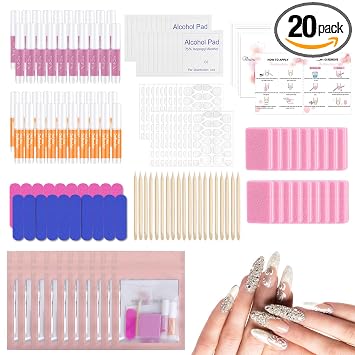
20-Piece Prep Kit with Glue and Tabs
Best for: Best for a compact first setup
The listing names glue, remover, a mini file, buffer, prep pad, wood stick, and adhesive tabs. It is a practical starting point for readers who want both a stronger-bond option and a quicker tab option.
- Pack
- 20-piece prep bundle / listing snapshot
- Sizes
- Accessory kit; verify current contents
- Length
- Accessory kit
- Shape
- Not applicable
- Adhesive
- Glue + tabs listed
- Wear note
- Follow product instructions
Pros
- Both adhesive routes are listed
- Includes basic prep tools
- Clear accessory checklist
Cons
- Not a finished press-on nail set
- Check the current package
- Glue removal still needs care
Amazon listing · Price checked 21 November 2026
 02Amazon listing image
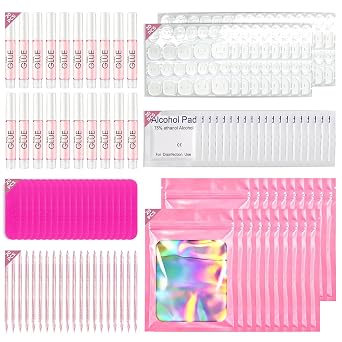
Press-On Nail Tool Kit with Everything
Best for: Best for a broad accessory checklist
The listing uses an all-in-one tool-kit position. It can help a new user gather files, prep items, and adhesive-related tools, but confirm whether the current package includes glue, tabs, remover, or only accessories.
- Pack
- Accessory kit / verify contents
- Sizes
- Accessory sizes; verify package
- Length
- Accessory kit
- Shape
- Not applicable
- Adhesive
- Verify current package
- Wear note
- Follow package instructions
Pros
- Broad kit positioning
- Useful for setup gaps
- May reduce separate purchases
Cons
- Contents need verification
- No established brand signal
- May include extras you do not need
Amazon listing · Price checked 21 November 2026
Frequently asked questions
How long do nails need to be for an almond shape?
Almond needs some free edge to taper — very short nails cannot hold the shape because there is nothing to narrow. As a rough guide, the free edge should extend a few millimeters past the fingertip. Short nails can still get a soft almond-oval blend, covered in the short-nails section above.
Should I file almond nails wet or dry?
File dry. Wet nails are softer and more flexible, so they file unevenly and the shape can shift as they dry. Work on clean, dry nails and file in one direction rather than sawing back and forth.
What grit file is best for shaping almond nails?
A medium-grit file, around 180 grit, is the standard choice for shaping natural nails: coarse enough to remove length without tearing the edge. Finish with a finer buffer to smooth the free edge after shaping.
Can I shape almond nails on press-ons?
Yes — press-ons can be filed to an almond shape, and many almond press-on sets already come pre-shaped. File gently from the underside edge outward and seal the filed edge with a top coat so layers do not lift.
Why does my almond shape look crooked?
The most common cause is filing one sidewall more than the other, which shifts the center line. Stop, hold the nail up at eye level, and compare both sides before filing more. Correcting early takes a few strokes; correcting late can cost the whole length.
Is almond or oval better for weak nails?
Oval is usually the safer choice for weak or peeling nails because it keeps more width at the sides. Almond narrows the sides, which concentrates stress at the tip. If your nails split easily, grow them out in an oval first and move to almond once the length is stable.
How often should I re-file an almond shape?
A light tidy-up once a week keeps the taper even as nails grow — usually a few strokes per side rather than a full re-shape. Full re-shaping is only needed after a break, a length change, or a new manicure.
Conclusion
Almond is a forgiving shape to learn: the rounded point hides small filing differences, and the taper does most of the visual work. File the sides before the tip, check symmetry from above and from the side, and stop while the point still looks soft. With a smooth edge, a sealed finish, and a weekly five-minute tidy-up, the shape holds until your next manicure — and the more often you shape it, the faster the sequence gets.
Useful Sources And Verification
- U.S. Food & Drug Administration nail-care guidance: https://www.fda.gov/cosmetics/cosmetic-products/nail-care-products
- FDA cosmetic safety guidance: https://www.fda.gov/cosmetics/resources-consumers-cosmetics/using-cosmetics-safely
- American Academy of Dermatology healthy nail tips: https://www.aad.org/public/everyday-care/nail-care-secrets/basics/healthy-nail-tips
- NHS nail problems guidance — when to seek advice: https://www.nhs.uk/symptoms/nail-problems