Tutorials / Published 2026-11-22
How to Do a French Manicure at Home
Learn how to do a French manicure at home: prep, white tips with guides or freehand, sheer pink base, top coat and cleanup — plus fixes for wobbly lines.
 Original Nail Art Inspo image
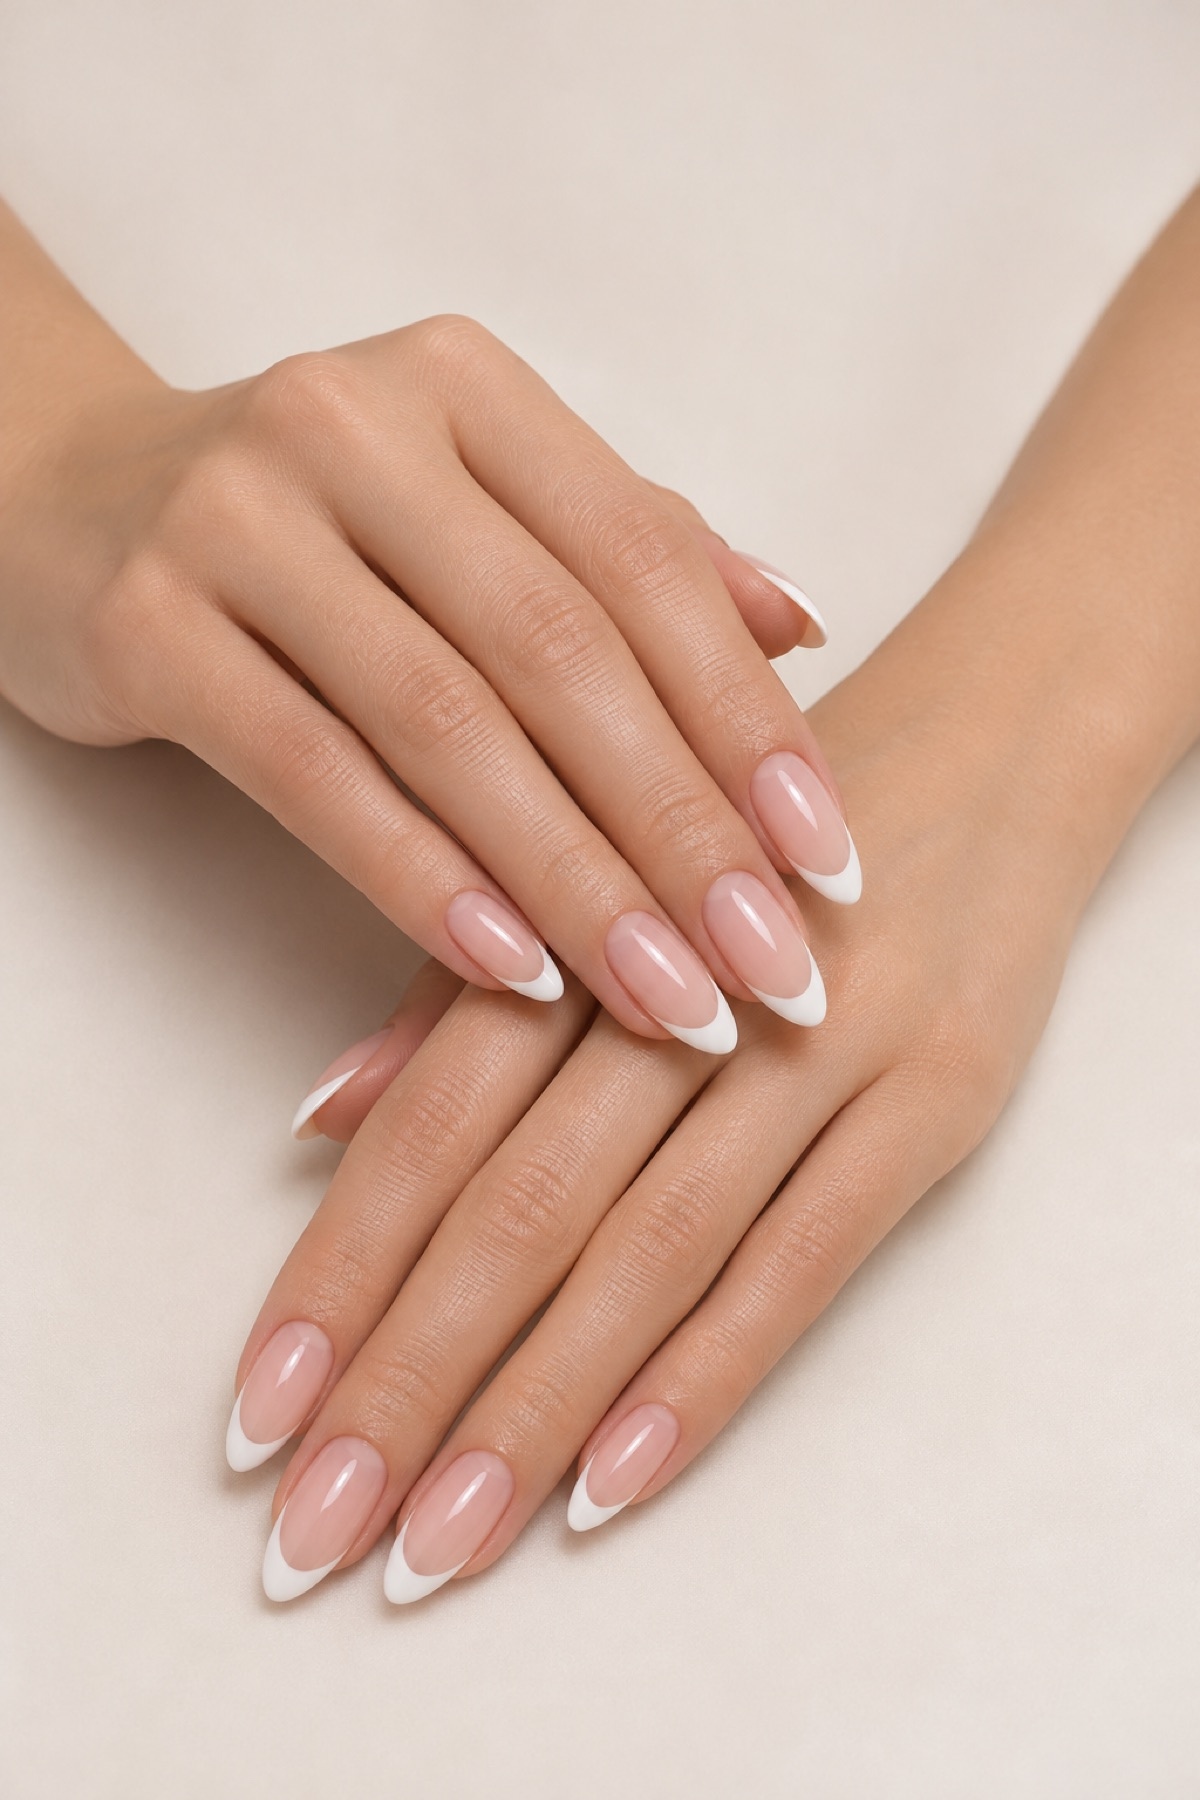
A French manicure is the most requested classic in nail art for a reason: white tips over a sheer pink base suit every skin tone, every outfit, and every occasion. It looks expensive, it grows out gracefully, and it is far easier to do at home than its reputation suggests.
This guide walks through how to do a French manicure at home from start to finish — preparation, shaping, the sheer base, white tips with guides or freehand, top coat, and cleanup — plus the fixes for the wobbly lines every beginner meets on the first try.
At a glance: a French manicure at home
| Step | Do this | Why it matters |
|---|---|---|
| Prep | Clean, push cuticles, buff lightly | Polish grips a clean nail |
| Shape | Even length, soft square or almond | The tip line follows the shape |
| Base | One thin sheer pink coat | Evens the nail bed tone |
| White tips | Guides or freehand, two thin coats | Thin coats stay crisp |
| Fixes | Clean brush in remover | Straightens a wobbly line |
| Top coat | Seal the free edge | Protects the white tip |
| Cleanup | Brush around cuticles | A clean edge sells the look |
What you need for a French manicure
You need less than you think: a base coat, a sheer pink or nude polish, an opaque white polish, a top coat, and a small cleanup brush. French tip guides — the small curved stickers — are optional but worth buying for a first attempt, and a bottle of polish remover plus cotton pads handles cleanup.
Choose the white carefully: it should be opaque in two thin coats, not streaky or chalky. A white that needs three coats will look thick and lumpy at the tip. For the sheer base, pick a pink or nude one shade lighter than your natural nail bed, so it evens the tone without hiding it.
Context image
Prep the nails first
A French manicure shows every flaw in the prep, because the sheer base hides nothing. Remove old polish completely, wash your hands, and push the cuticles back gently after a shower or a minute in warm water. Never cut living cuticle skin — a ragged cuticle line ruins the clean look.
Buff the nail surface very lightly to remove shine, then wipe each nail with polish remover or rubbing alcohol on a lint-free pad. This removes natural oils so the sheer base grips evenly. Skip hand cream and cuticle oil until the manicure is finished — oil under polish causes peeling.
Context image
Shape the nails for a French tip
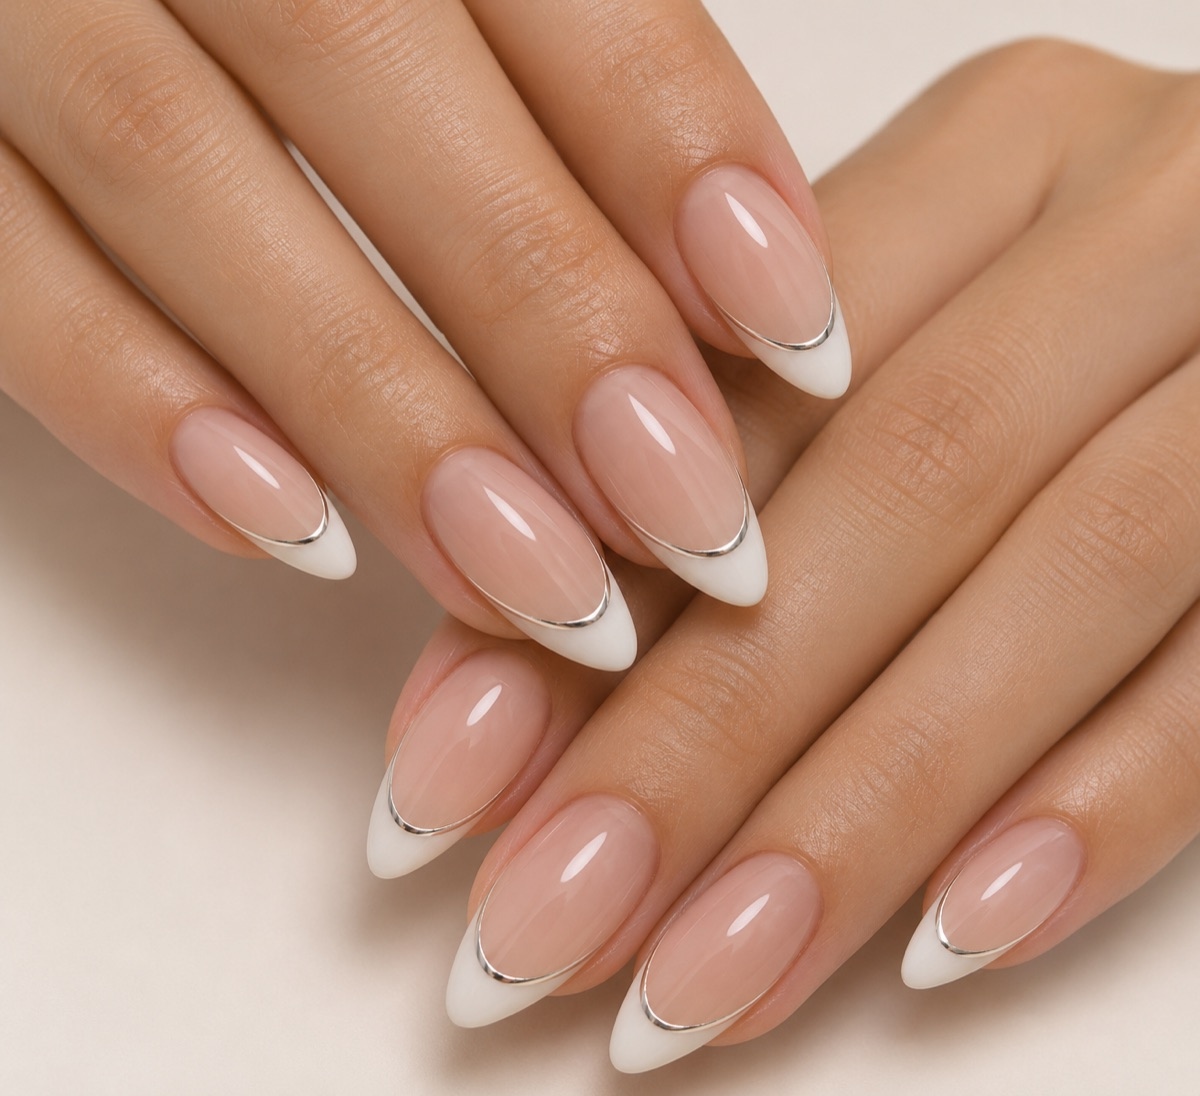
The shape decides the smile line, so get it right before any polish goes on. A soft square suits most French manicures because its straight free edge makes the white tip easy to paint; almond shapes look elegant but need a steadier hand, since the tip curves.
File all ten nails to the same length first, then shape each one. Our guide to shaping almond nails shows the filing sequence that keeps both sides even. Check the length from the palm side — uneven nails are obvious once the white tips are on.
Context image
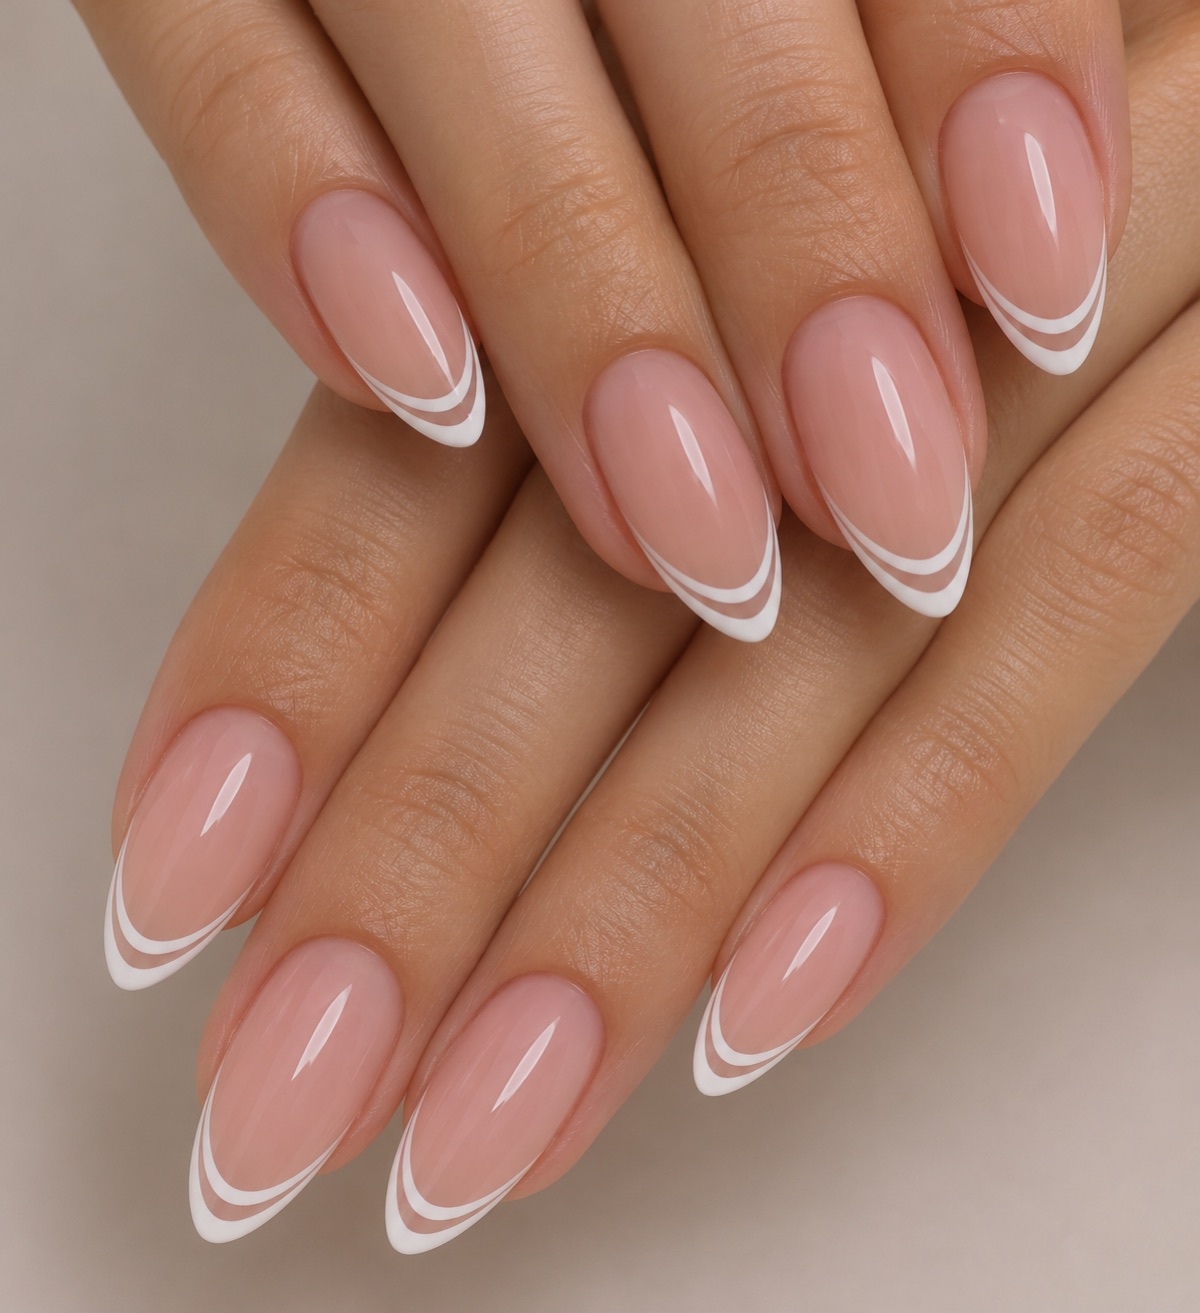
Apply the sheer pink base
Start with one thin coat of base coat and let it dry. Then apply the sheer pink or nude polish in one thin coat over the whole nail, from cuticle to free edge. One coat is usually enough: the goal is a translucent wash that evens out the nail bed, not full coverage.
Let the sheer coat dry completely before the white goes on — at least five minutes. If the base is still tacky, the white brush will drag it and smear pink into the tip. A sheer base that looks slightly uneven while wet usually levels as it dries, so resist the urge to add a second coat.
Context image
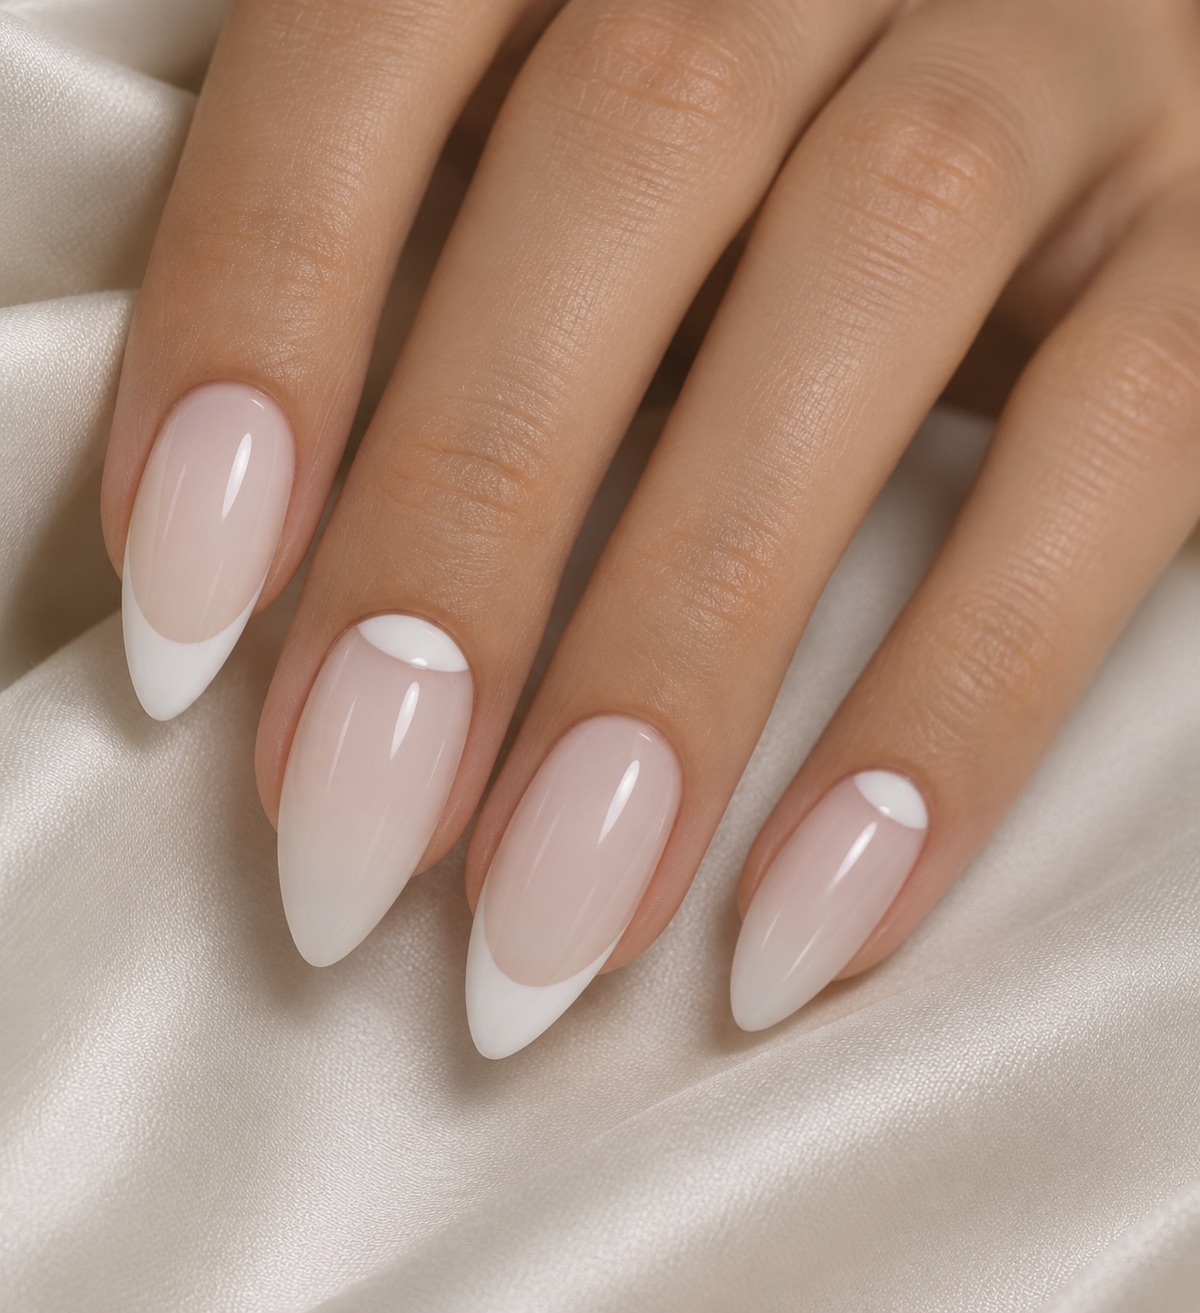
Paint the white tips with guides
French tip guides are the easiest route to a clean smile line. Place a guide on each nail so its curved edge sits where you want the white to end — usually about two to three millimetres of tip showing — and press it down firmly, especially at the sidewalls, so polish cannot bleed underneath.
Paint the white over the exposed tip in two thin coats, letting the first dry before the second. Peel the guide off while the second coat is still slightly wet, pulling it away slowly toward the side. Wait a minute, then check the line: any bleed can be fixed with a cleanup brush dipped in remover.
Context image
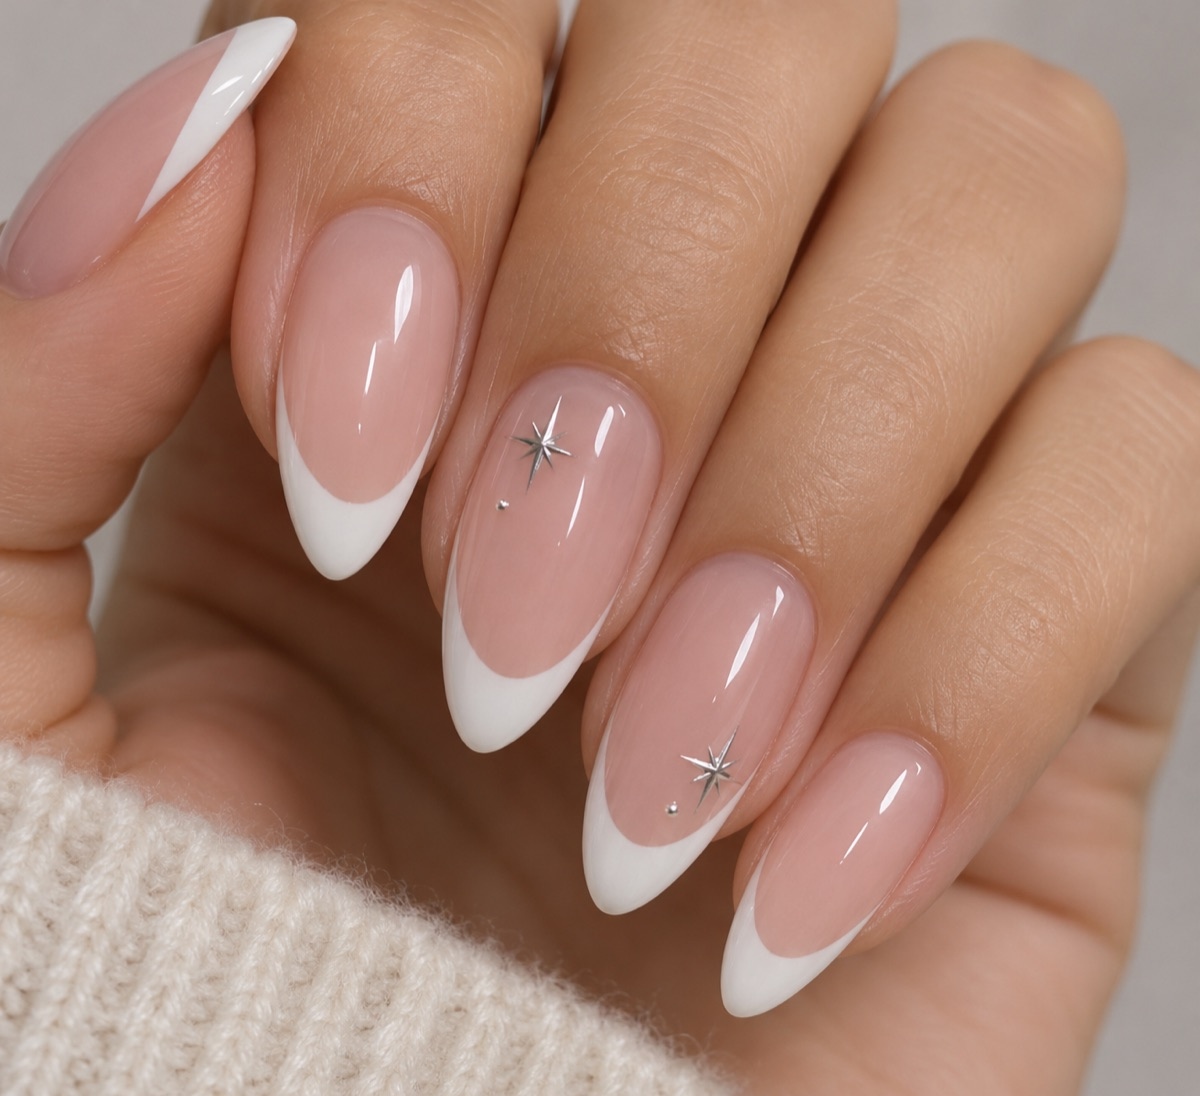
Paint the white tips freehand
Freehand tips look the most natural once you have the motion, and they need no supplies beyond a steady hand. Rest the hand you are painting on a table, brace your painting wrist on the same surface, and paint the tip in one smooth stroke from one sidewall to the other, following the curve of the free edge.
Work one nail at a time and keep the brush loaded but not dripping. If the line wobbles, do not try to fix it mid-stroke — finish the coat, let it dry, and correct it with a cleanup brush. Two thin coats give full opacity; a single thick coat looks chalky and chips at the tip.
Context image
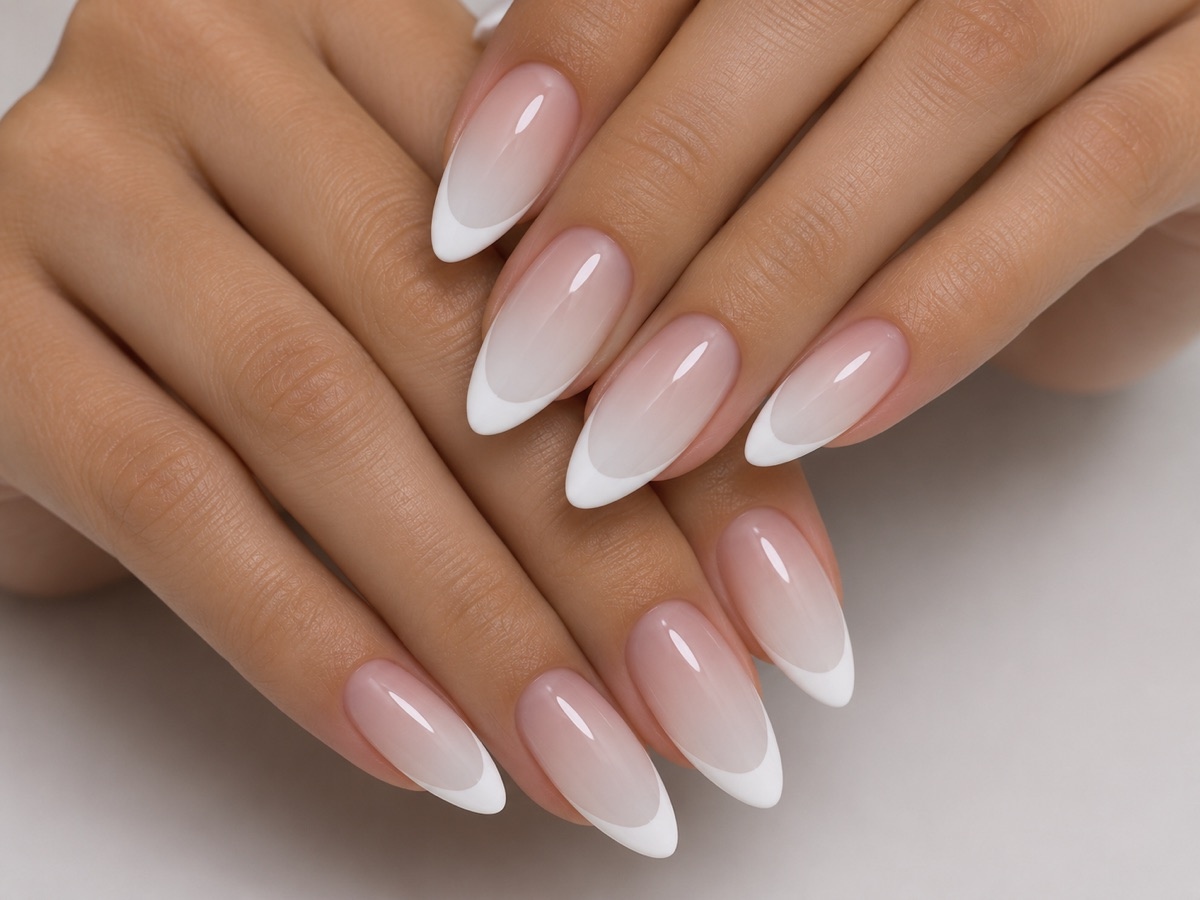
Fix wobbly lines and mistakes
A wobbly smile line is fixable and every French manicure needs a little correction. Dip a small flat brush in polish remover, wipe most of the liquid off, and run the brush along the edge of the white tip to straighten it. Work slowly — the brush removes white where it touches and leaves the rest alone.
For a line that is too thick on one side, thin it from the underside of the smile line rather than the top. If a nail is badly smudged, remove the white from that nail only and redo it — touching up a wet mistake usually makes it worse. The cleanup brush is the difference between a homemade look and a salon one.
Context image
Seal it with top coat
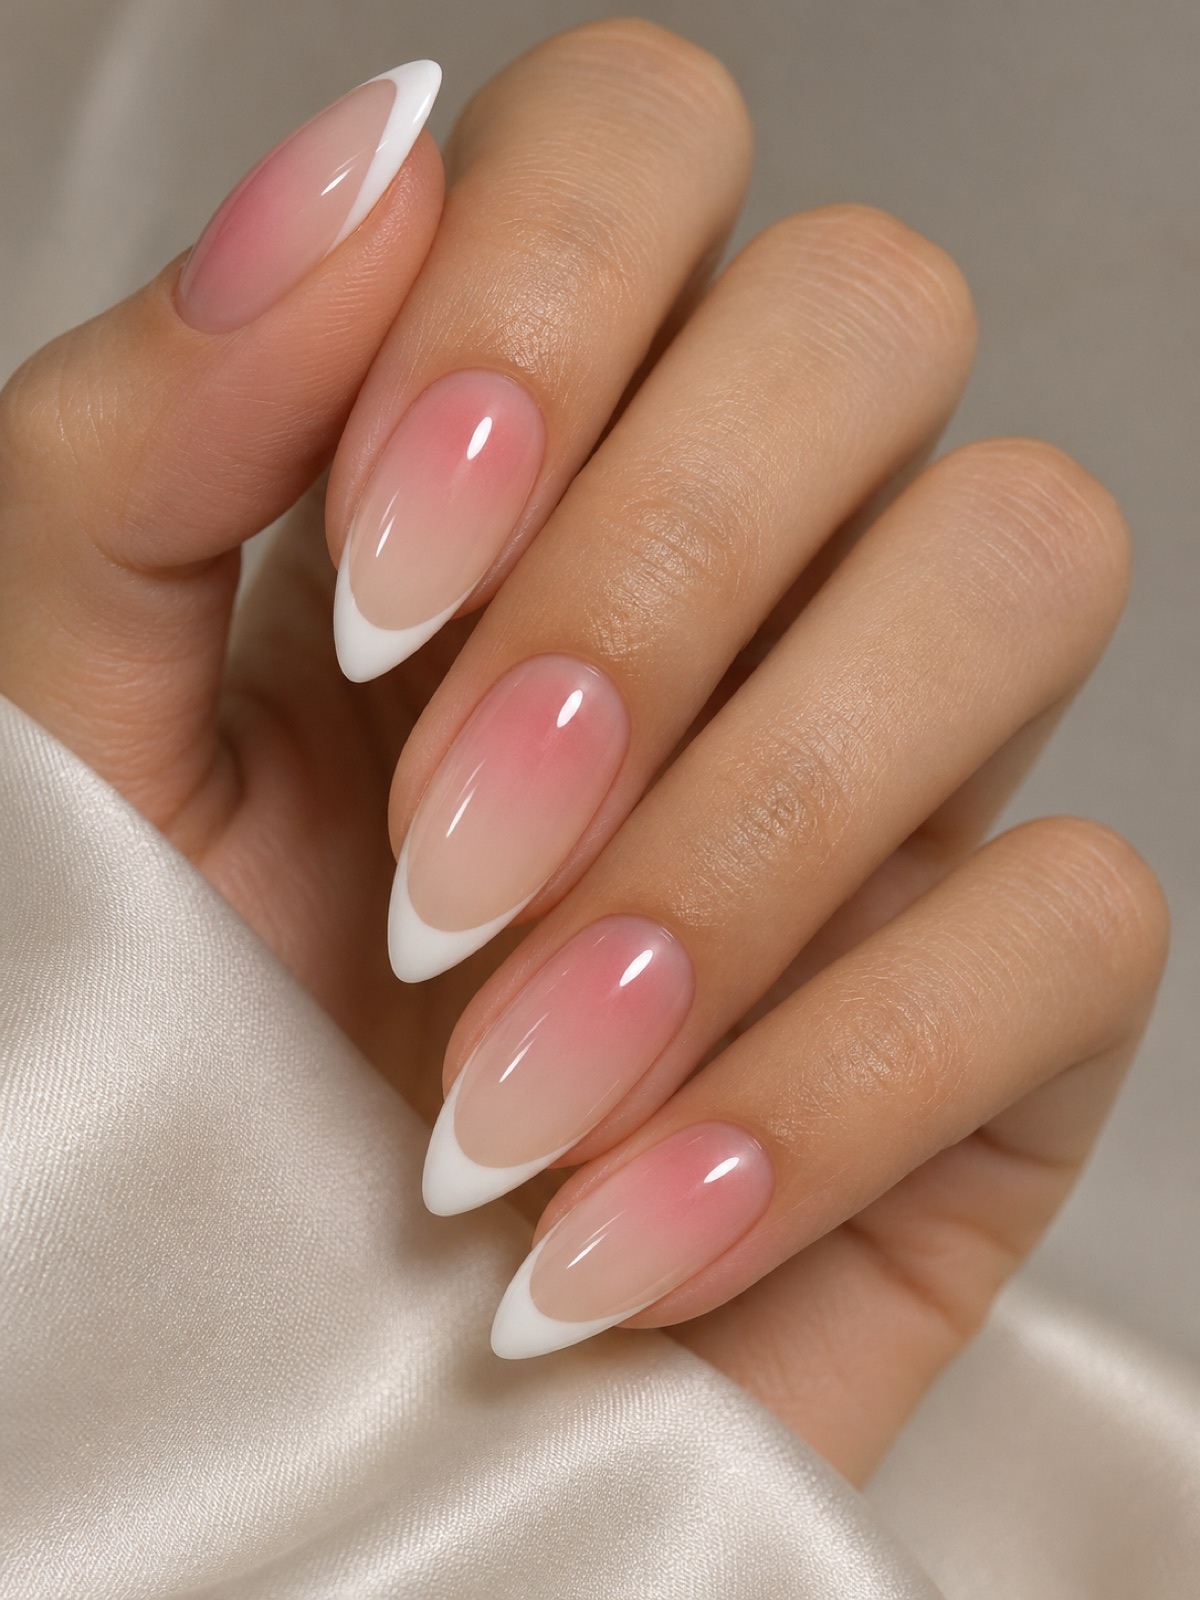
Top coat does two jobs on a French manicure: it smooths the tiny step between the white tip and the sheer base, and it protects the white from staining and chipping. Apply one generous coat over the whole nail, and run the brush lightly along the free edge to seal the tip.
Let the top coat dry fully before using your hands — at least fifteen minutes, longer if you applied thick coats. A quick-dry top coat helps here, but it does not replace drying time. If the white looks slightly yellow after top coat, the top coat itself is usually the cause; switch to a non-yellowing formula next time.
Context image
Clean up the edges
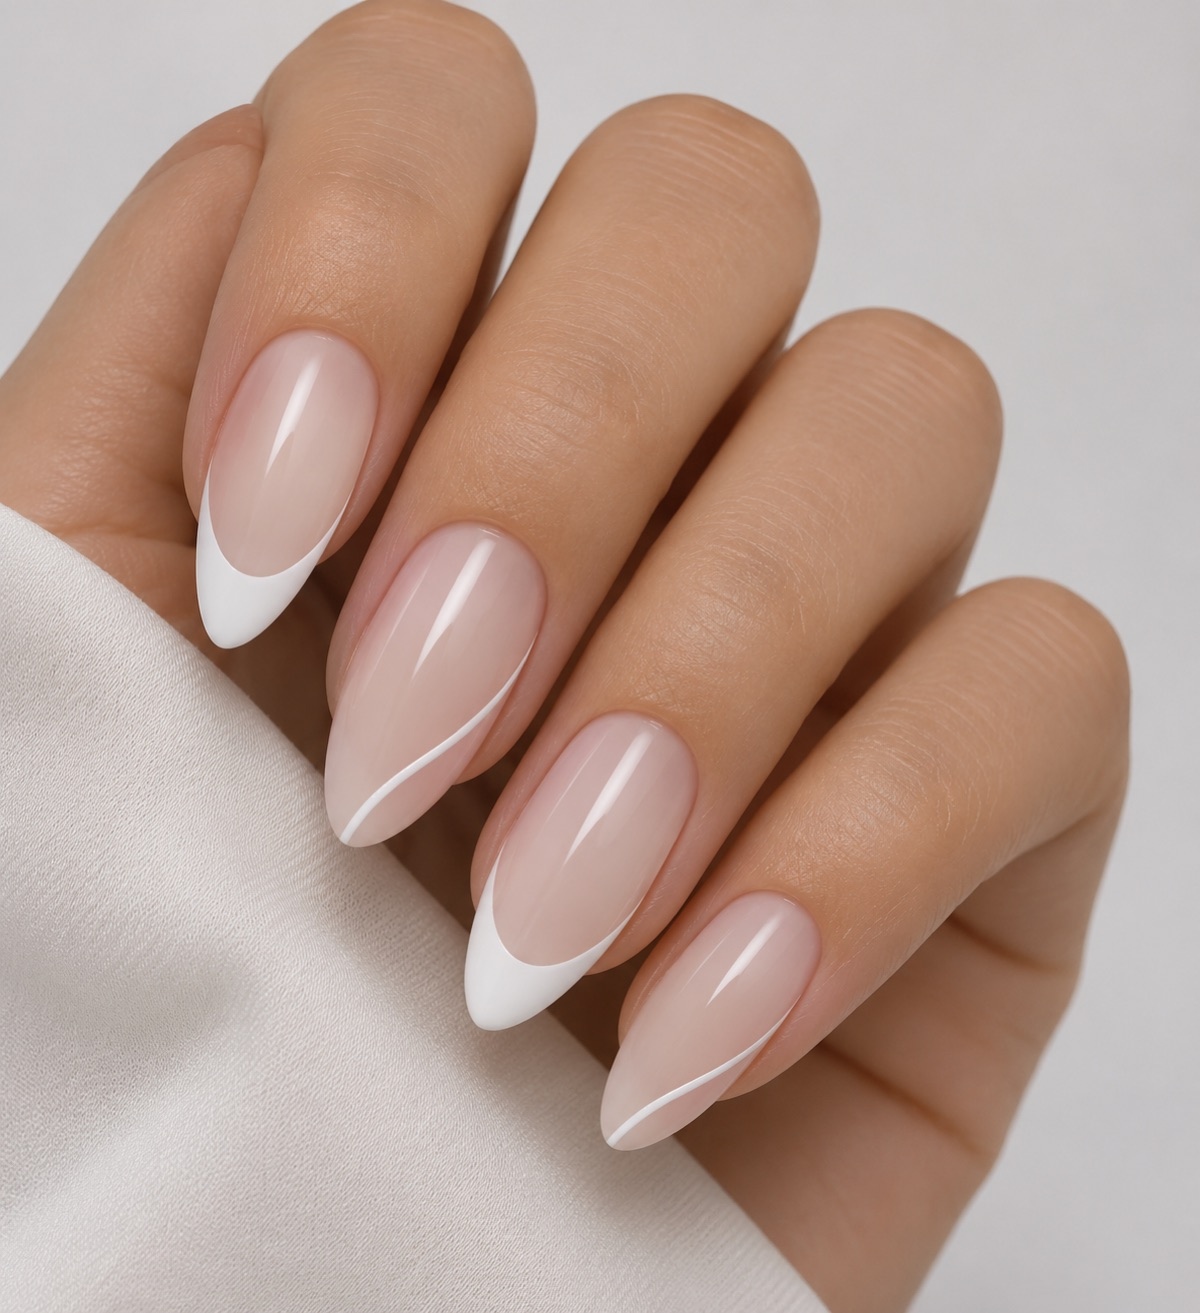
Cleanup is the last step and the one that makes the manicure look finished. Dip a small brush or a cotton bud in polish remover and run it around each cuticle and sidewall, removing any polish that touched skin. Work with a light touch so you do not drag remover onto the nail itself.
Check the manicure in daylight before you call it done — indoor light hides smudges that daylight shows. Any white on the skin will come off with a little more remover, and a final drop of cuticle oil on the skin around the nail (never on the polish) makes the whole hand look polished.
Context image
French manicure variations to try
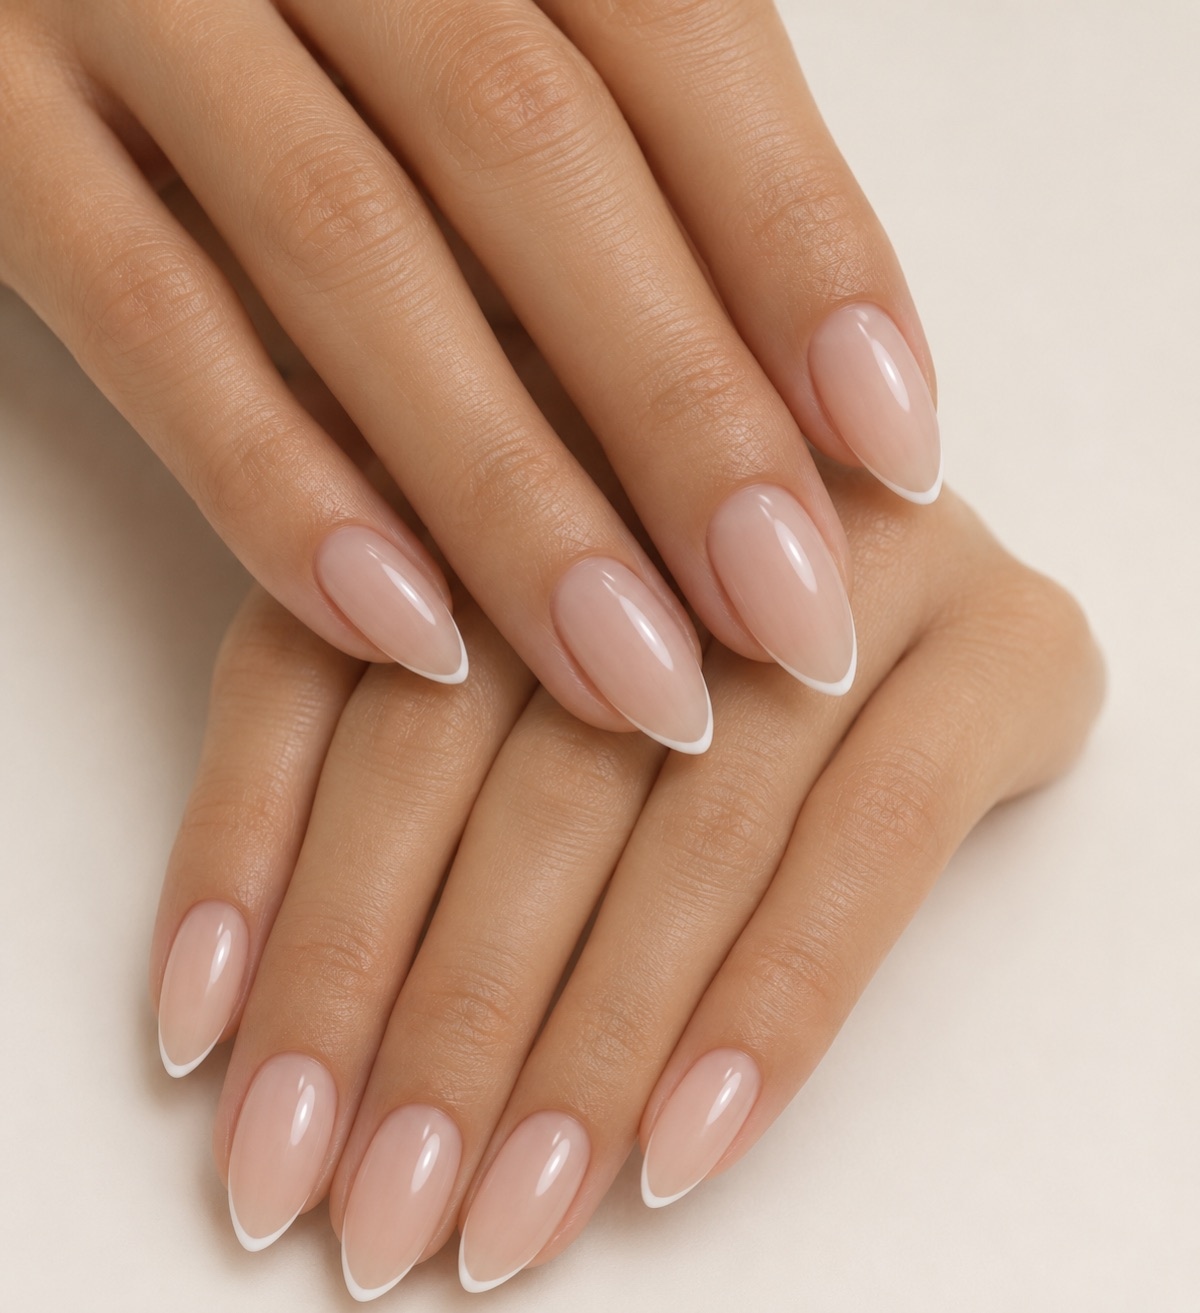
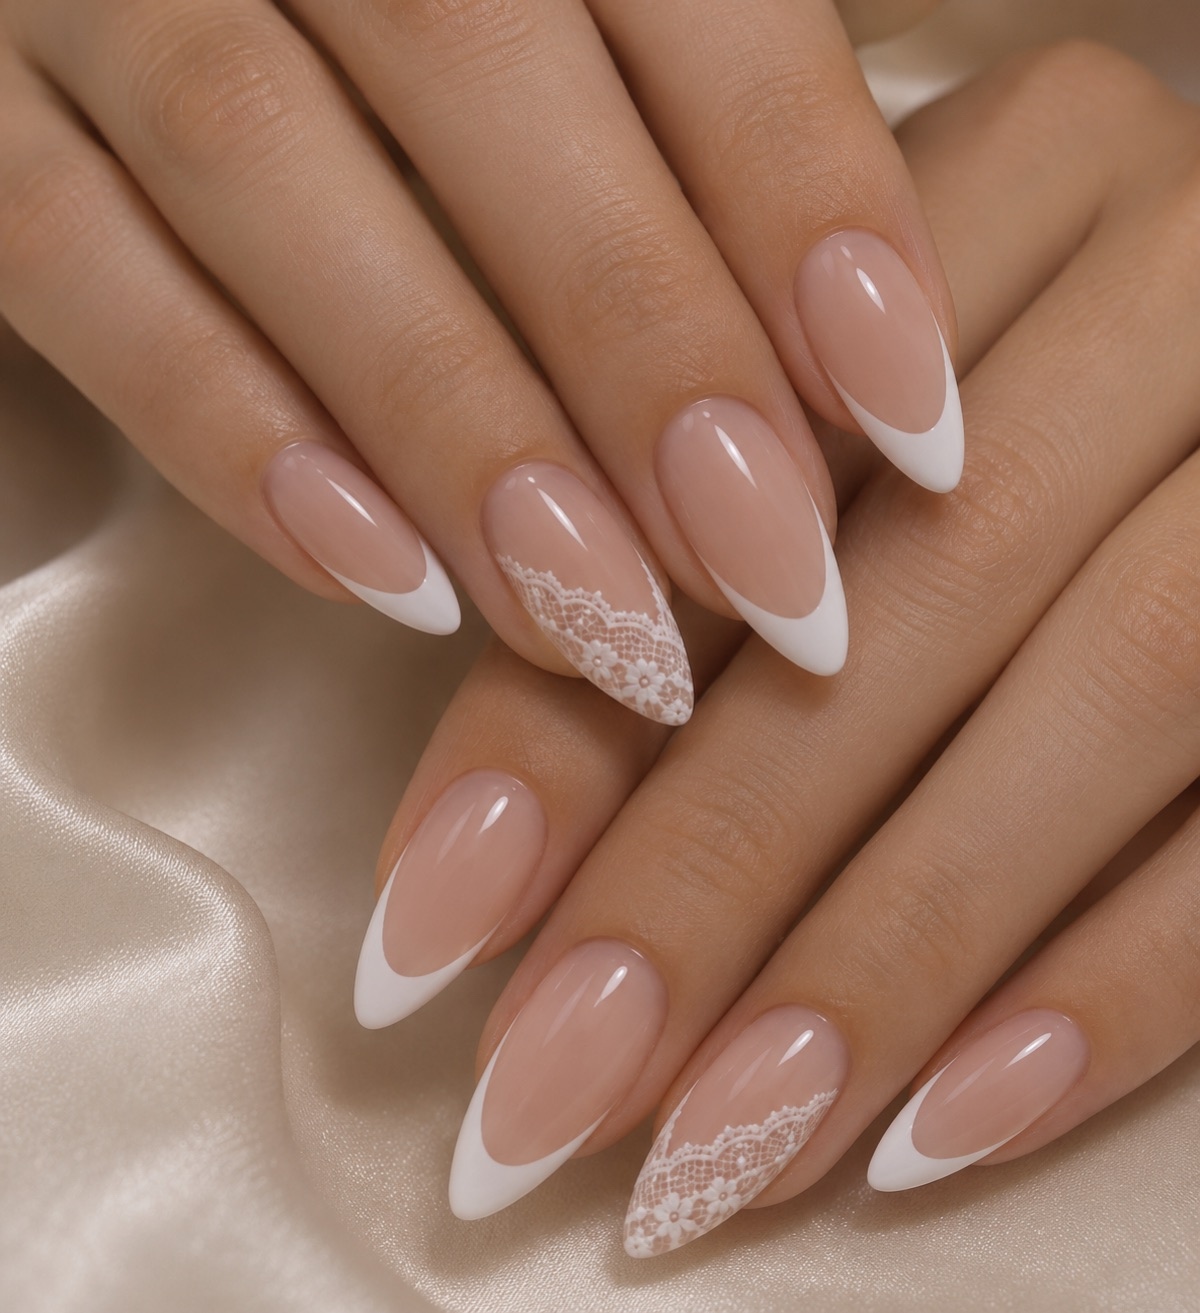
Once the classic is comfortable, the variations are easy. A colored French swaps the white for black, red, or a pastel; a reverse French paints the smile line at the cuticle instead of the tip; and a micro French uses a very thin white line for a subtle look on short nails.
Our guide to white French tip almond nails shows the look on almond shapes with design ideas, and the best nude nail polishes will help you find a sheer base that matches your skin tone. Start with one variation at a time — changing both the tip color and the shape in one sitting makes mistakes harder to trace.
Context image
Make your French manicure last
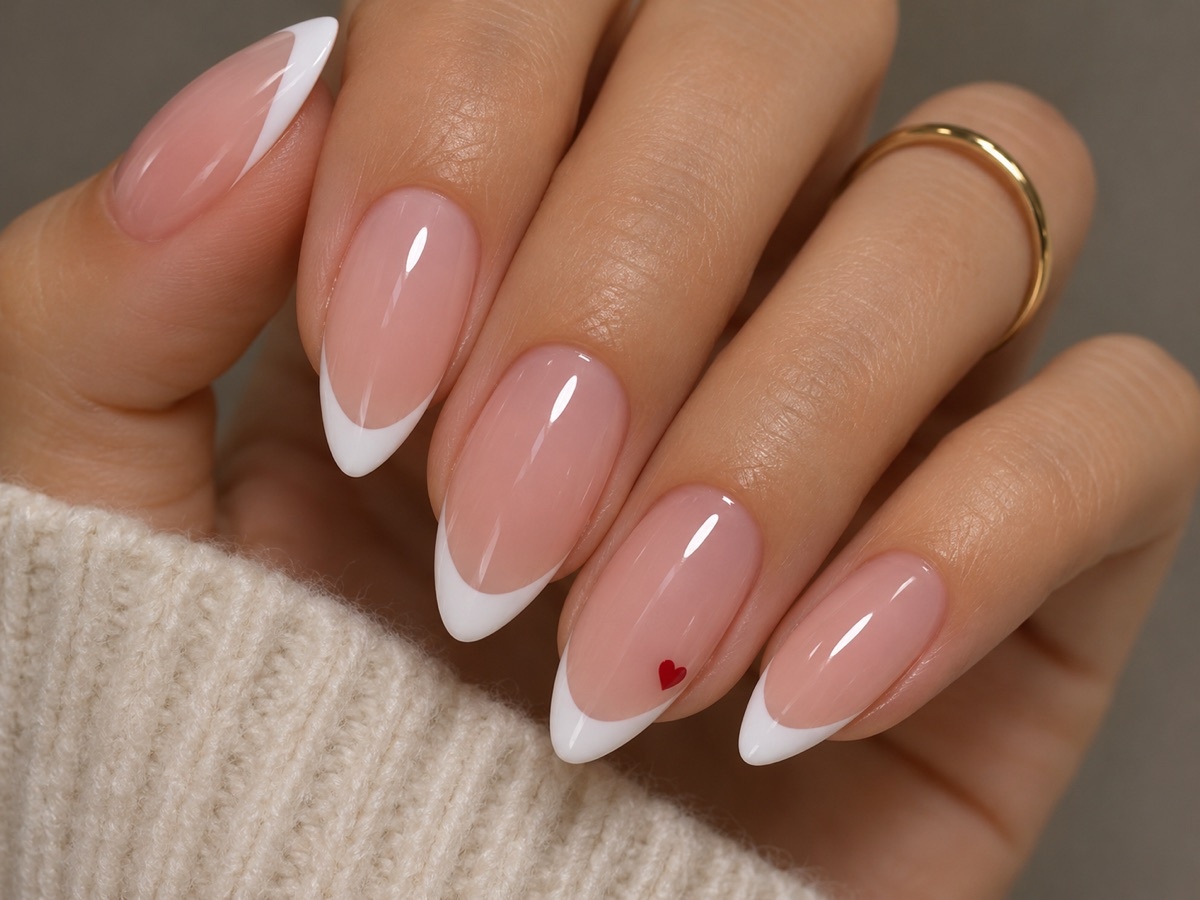
A French manicure lasts as long as any other manicure when the routine is right: thin coats, a sealed free edge, and daily care. Reapply a thin top coat every two or three days to keep the white bright and the edge sealed — this one habit adds several days of wear.
Protect the tips from the things that stain them: self-tanner, hair dye, turmeric, and harsh cleaning products all yellow white polish. Wear gloves for cleaning and washing up, and keep the nails oiled once the polish is fully dry. Our guide to making a manicure last longer covers the full routine.
Mistakes that ruin a French manicure
The most common mistake is painting the white too thick — thick white looks chalky, dries slowly, and chips at the tip within a day. The second is skipping the sheer base: white tips painted straight onto a bare nail show every ridge and uneven tone in the nail bed.
The third is impatience between coats. White over a tacky sheer base drags and smears; top coat over wet white dents and clouds. Give each layer real drying time, and the result will look like a salon manicure. Rushing is the one mistake that no cleanup brush can fix.
Frequently asked questions
Is a French manicure hard to do at home?
Not with guides. French tip guides give a clean smile line on the first try, and the rest of the manicure is just a sheer base and a top coat. Freehand takes a few attempts, but the cleanup brush fixes most mistakes, so the learning curve is short.
What is the best white polish for French tips?
An opaque white that covers in two thin coats. Test it on one nail first: if the first coat is streaky and the second coat still shows the nail underneath, the polish is too sheer. Avoid whites that dry chalky — they chip faster at the tip.
Should I use guides or paint freehand?
Use guides for your first few French manicures — they guarantee a straight smile line while you learn the shape. Move to freehand once you are confident, because freehand lines look softer and more natural. Many people use guides on the dominant hand and freehand on the other.
Why does my French manicure look yellow?
Usually the top coat: some formulas yellow as they cure, especially under sunlight. Switch to a non-yellowing top coat. Staining from self-tanner, hair dye, or cleaning products can also yellow white tips — wear gloves and reapply top coat every few days.
How long does a French manicure last?
About a week for regular polish and two to three weeks for gel, the same as any manicure. Reapplying top coat every two or three days keeps the white bright and the edge sealed, which is what makes a French manicure look fresh for longer.
Can I do a French manicure on short nails?
Yes — use a micro French with a very thin white line, about one millimetre, instead of the classic wide tip. A thin line suits short nails and still reads as French. Keep the sheer base light so the nail bed does not look washed out.
Can I do a French manicure with gel polish?
Yes, and it lasts longer. Use a gel base, a sheer gel pink, and a gel white, curing each layer for the full recommended time. Paint the white in two thin coats and cure between them, then seal with a gel top coat and wipe off the tacky layer if your system needs it.
Conclusion
A French manicure at home comes down to three things: clean prep, a thin sheer base, and a steady white tip — with guides if you are learning, freehand when you are confident. Give each coat time to dry, fix the line with a cleanup brush, and seal the free edge with top coat. The result is the classic that suits everything, done on your own schedule.
Sources and verification
- FDA: Nail care products — U.S. Food & Drug Administration nail-care guidance.
- FDA: Using cosmetics safely — FDA cosmetic safety guidance.
- American Academy of Dermatology: Healthy nail tips — everyday nail-care guidance.
- NHS: Nail problems — when to seek advice.